Products
Discover which Konligo event structure is best fit for your next project
All these designs and products are protected worldwide by Calysta, ranked by Legal Awards as the Best IP Law firm in Belgium 2019.
Konligo's structures.
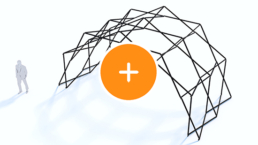
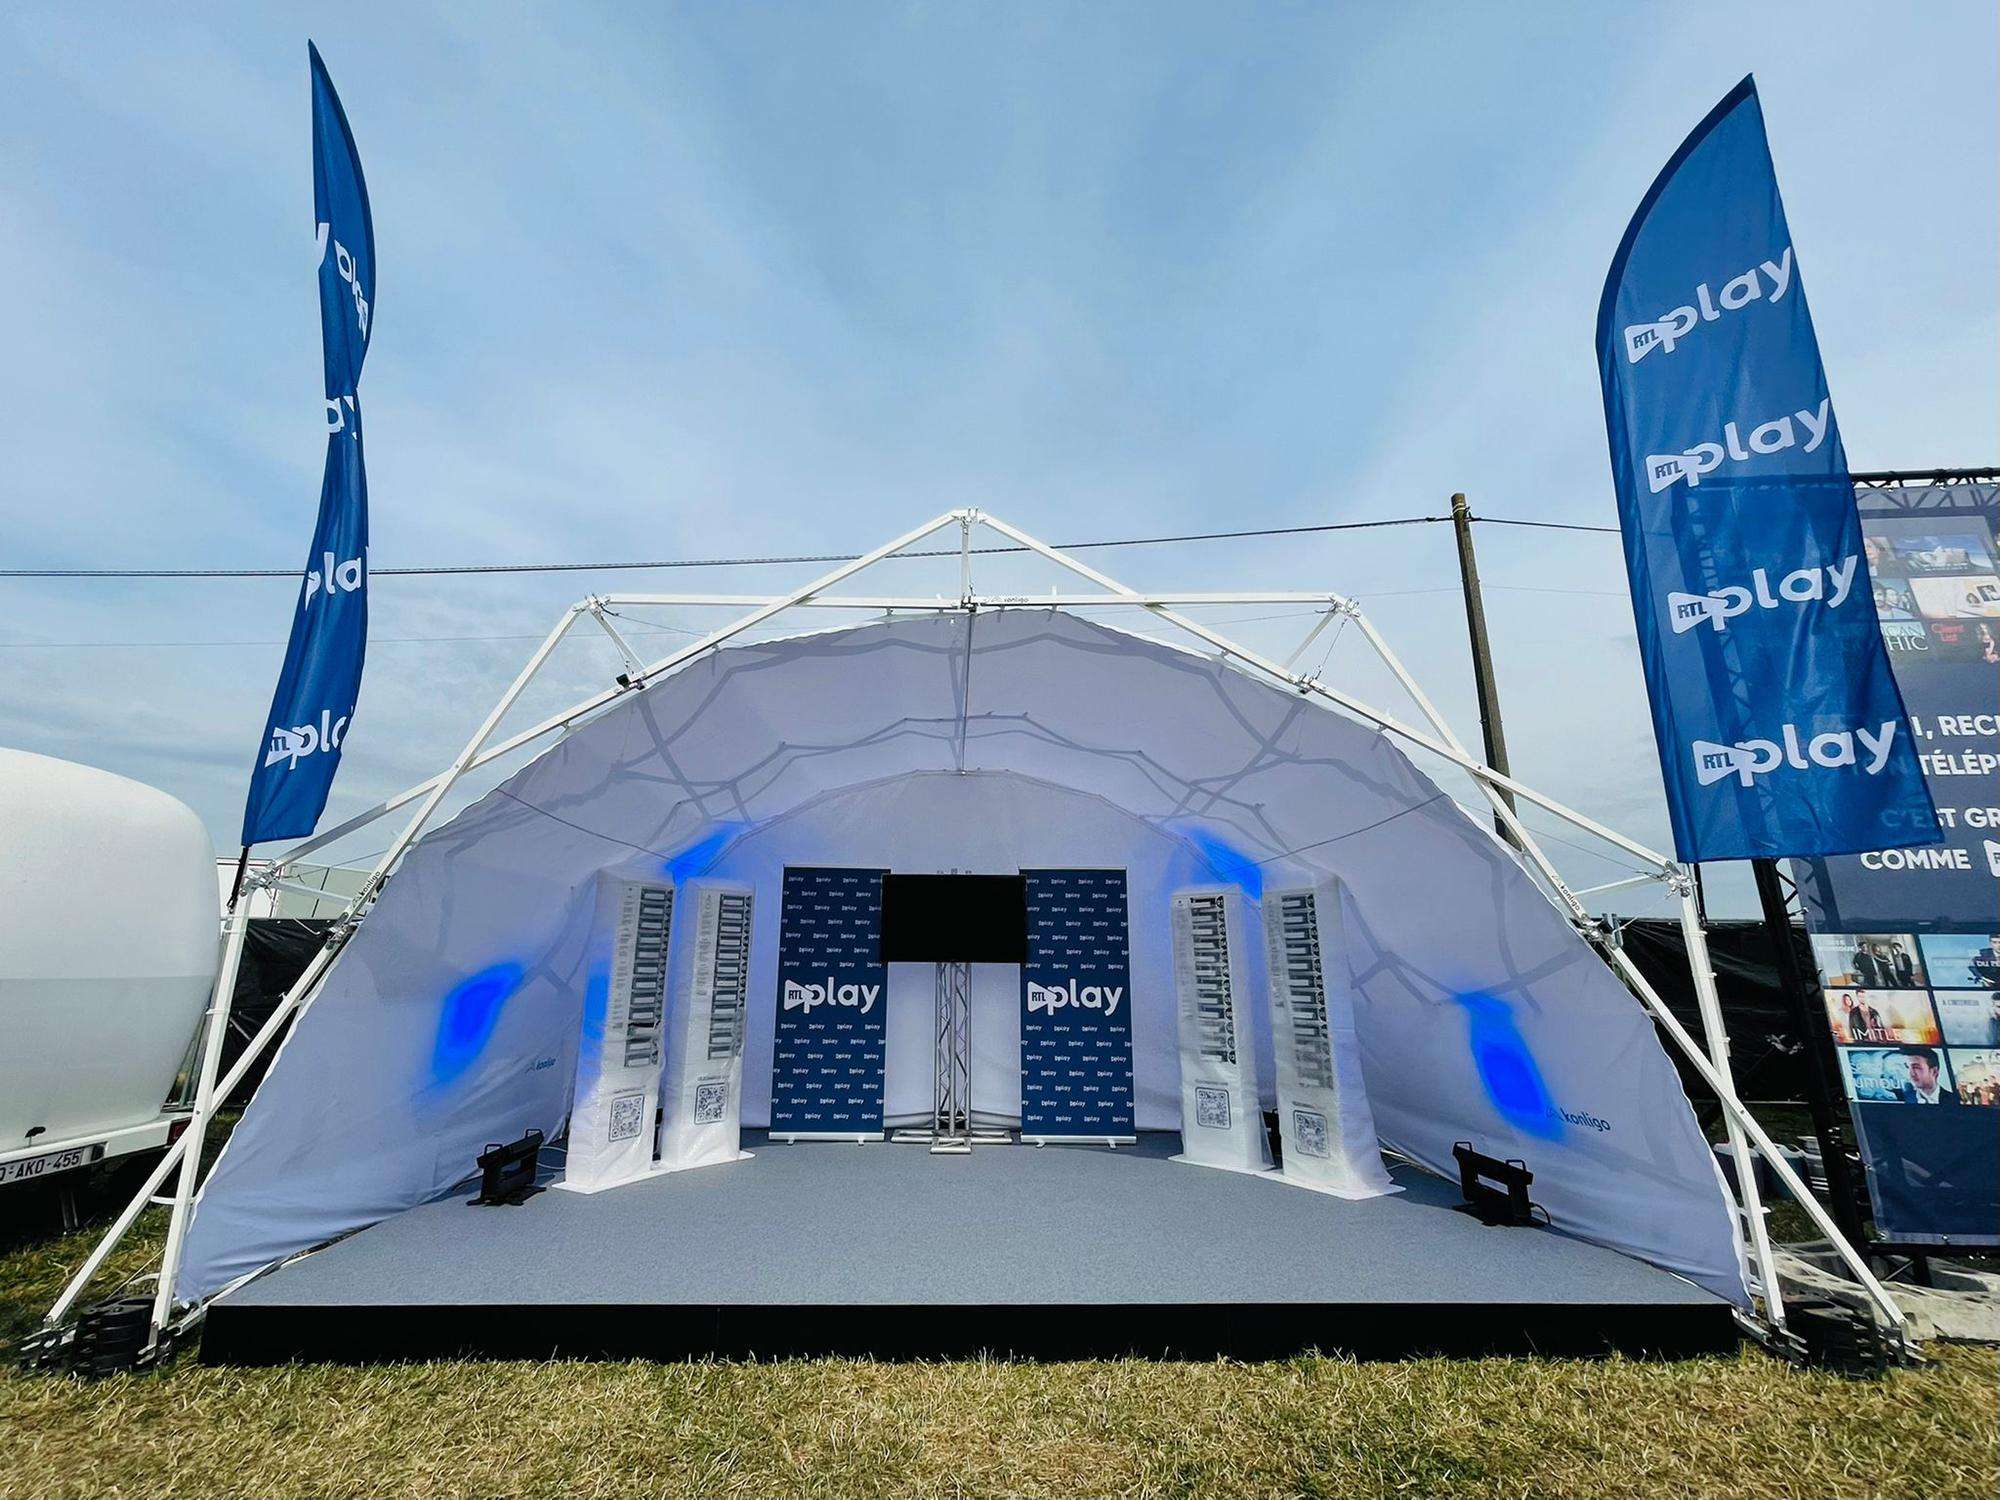
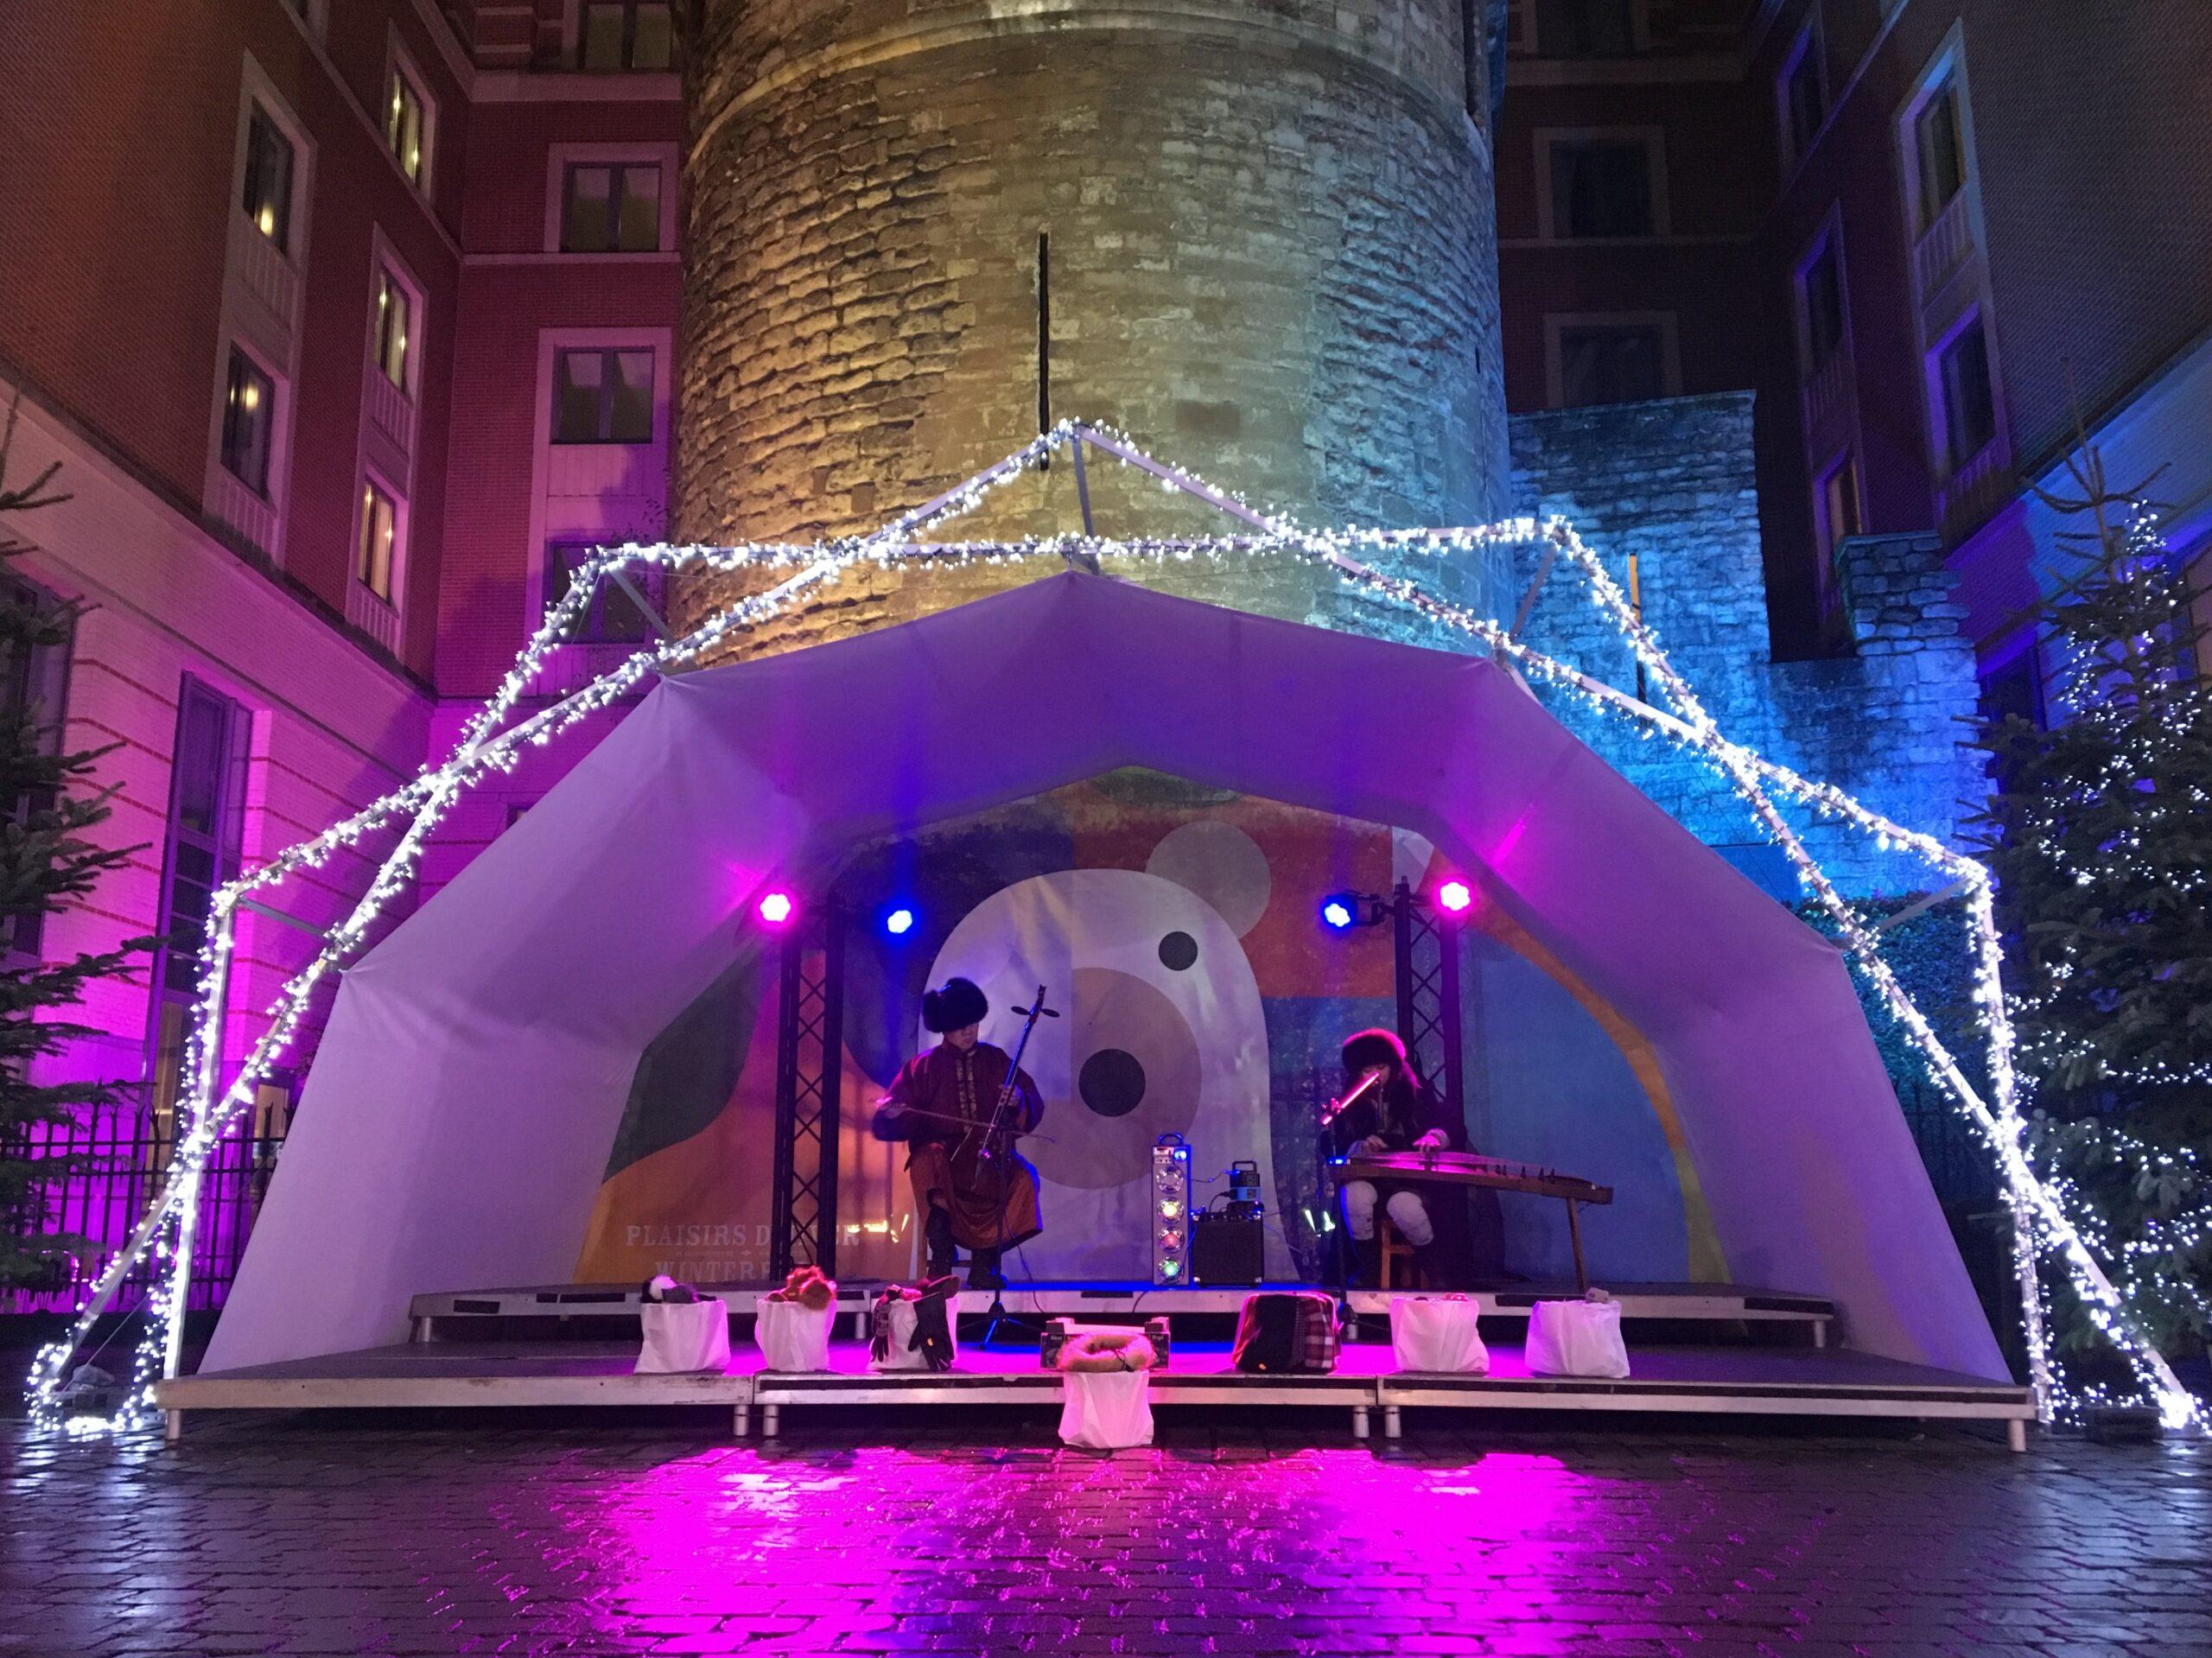
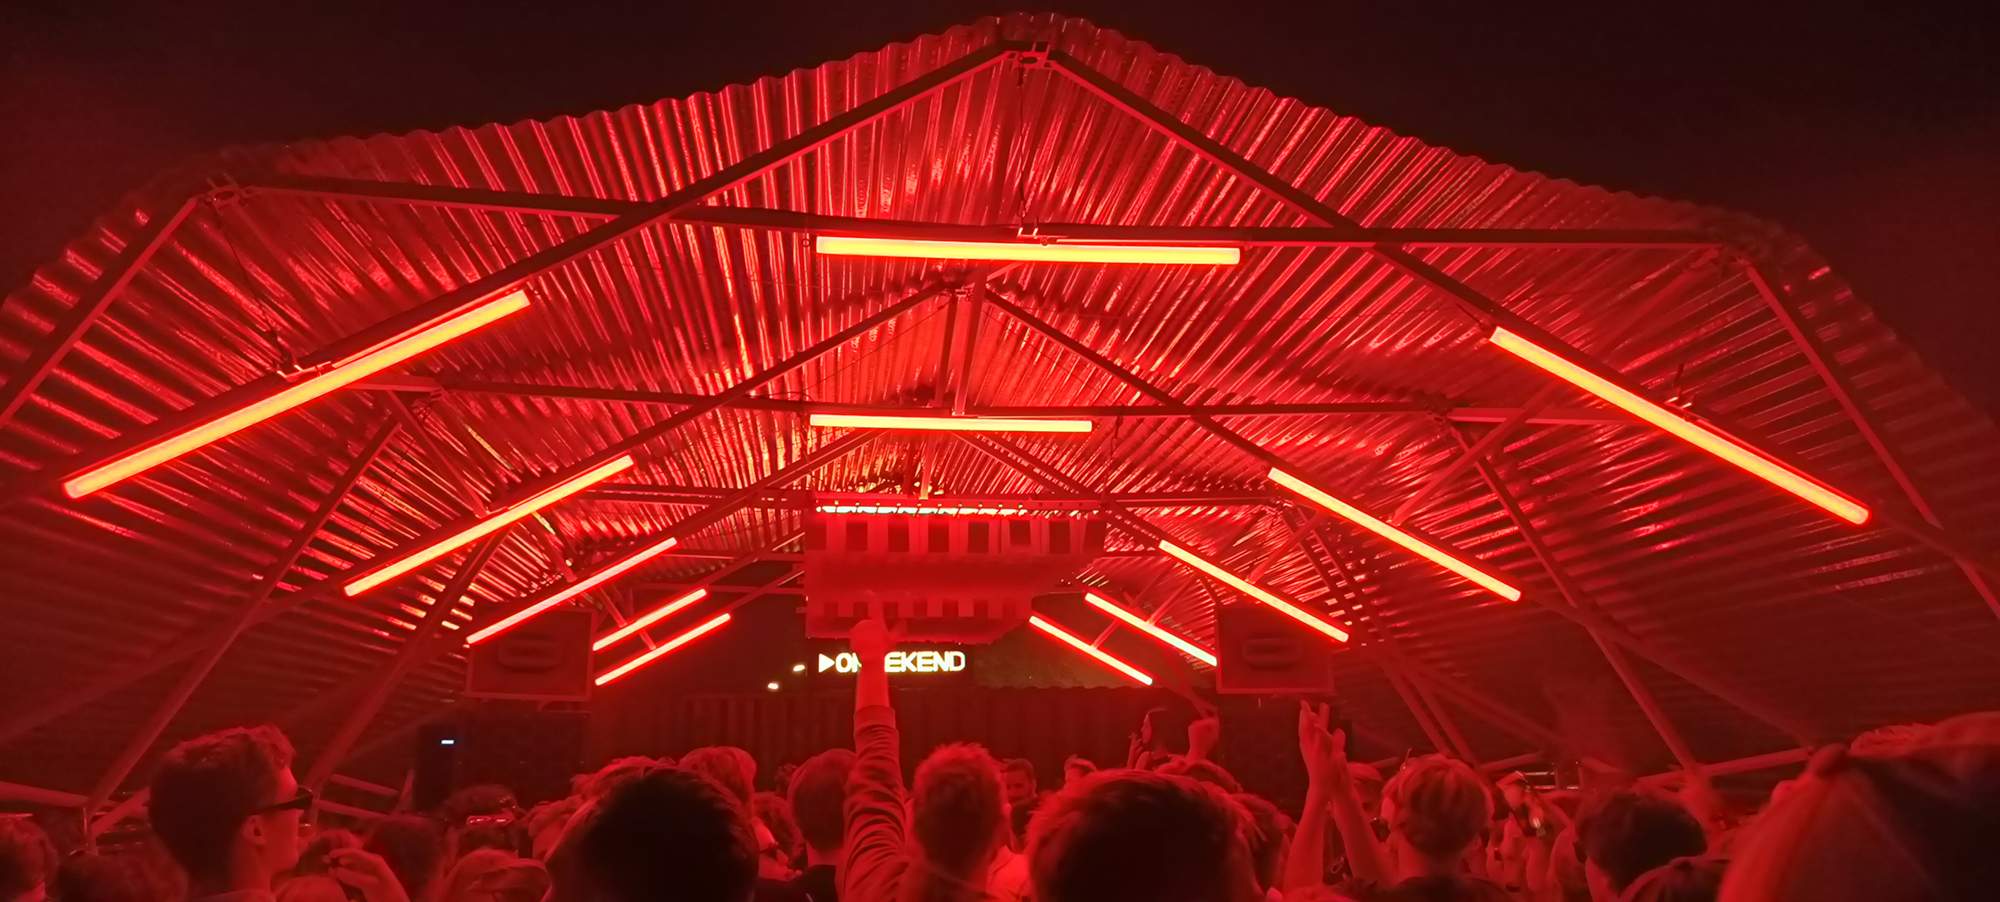
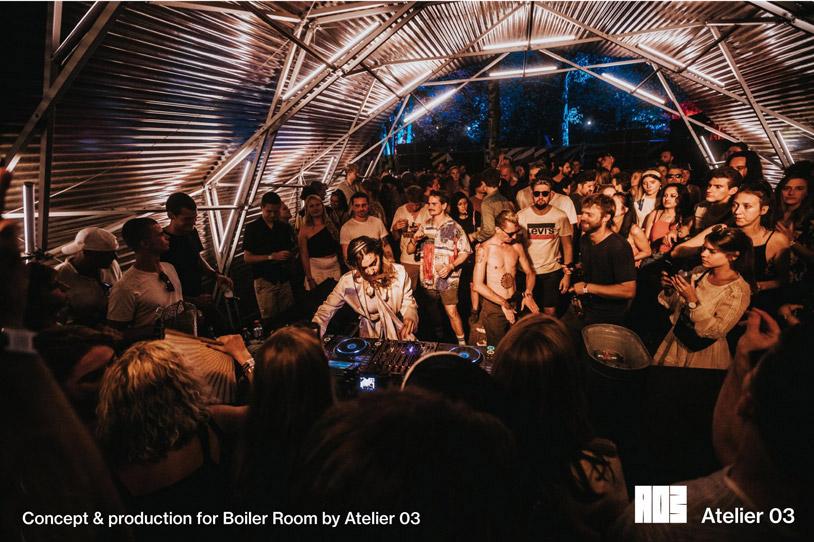
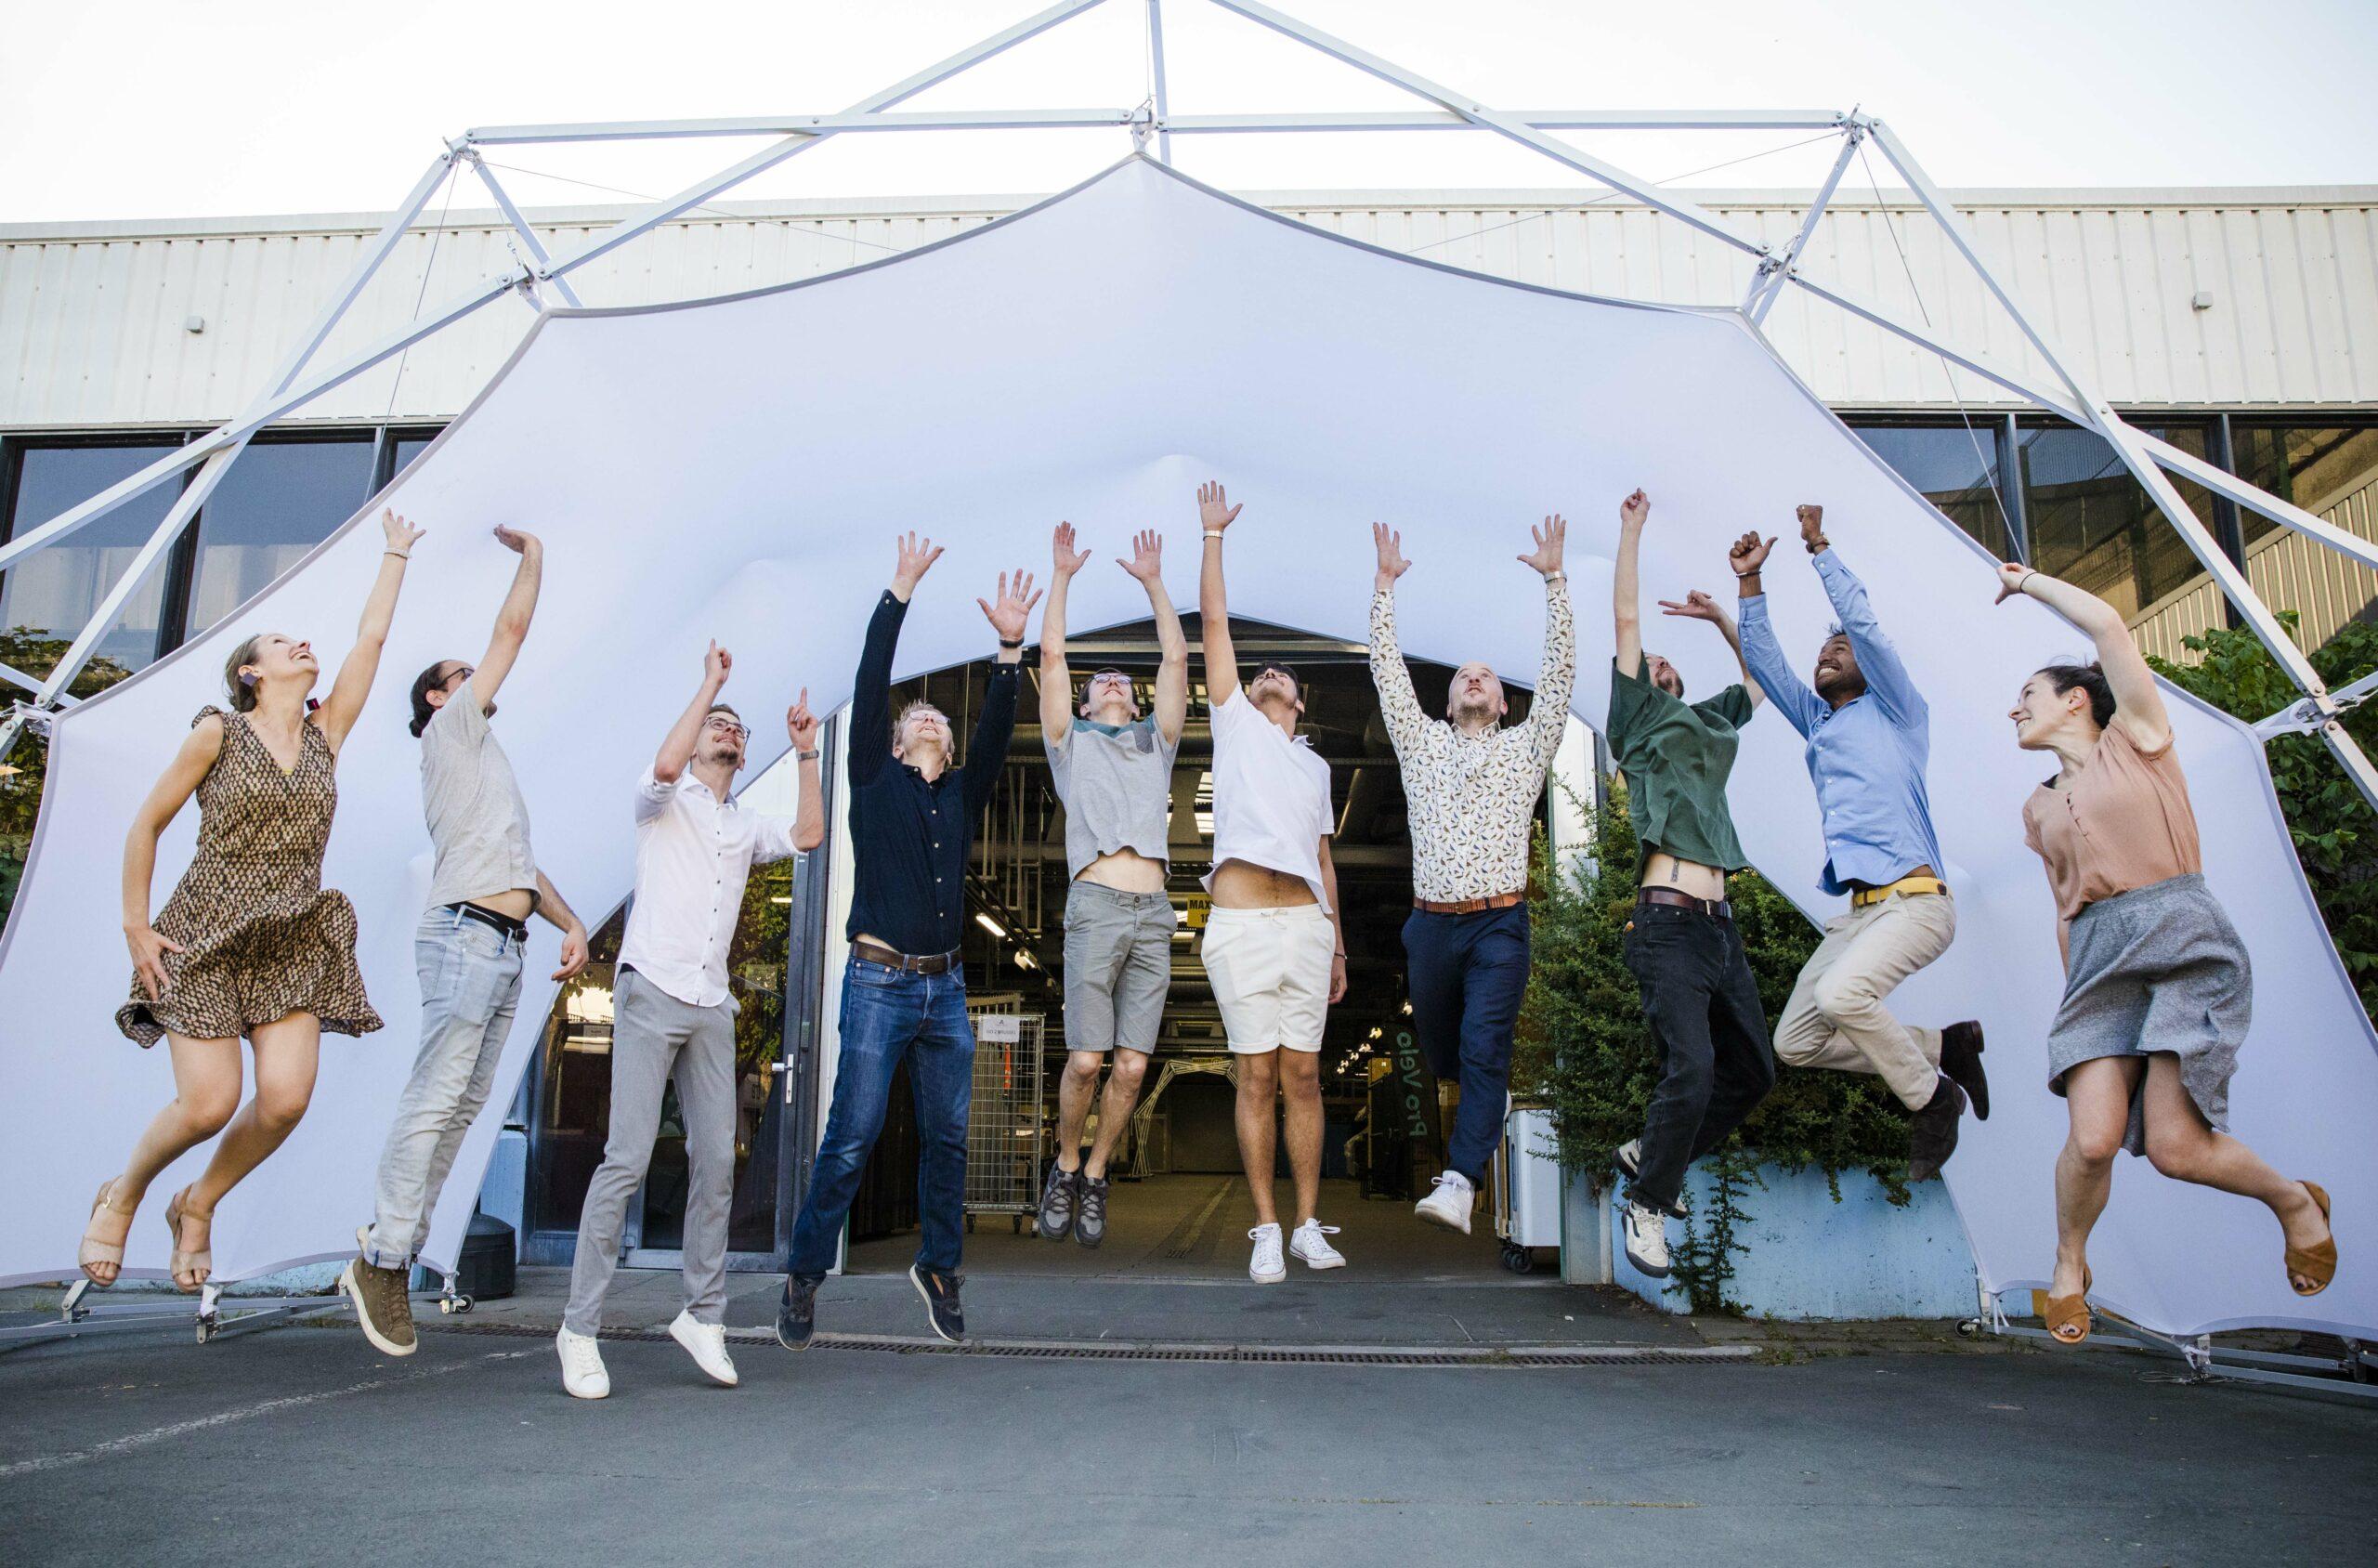
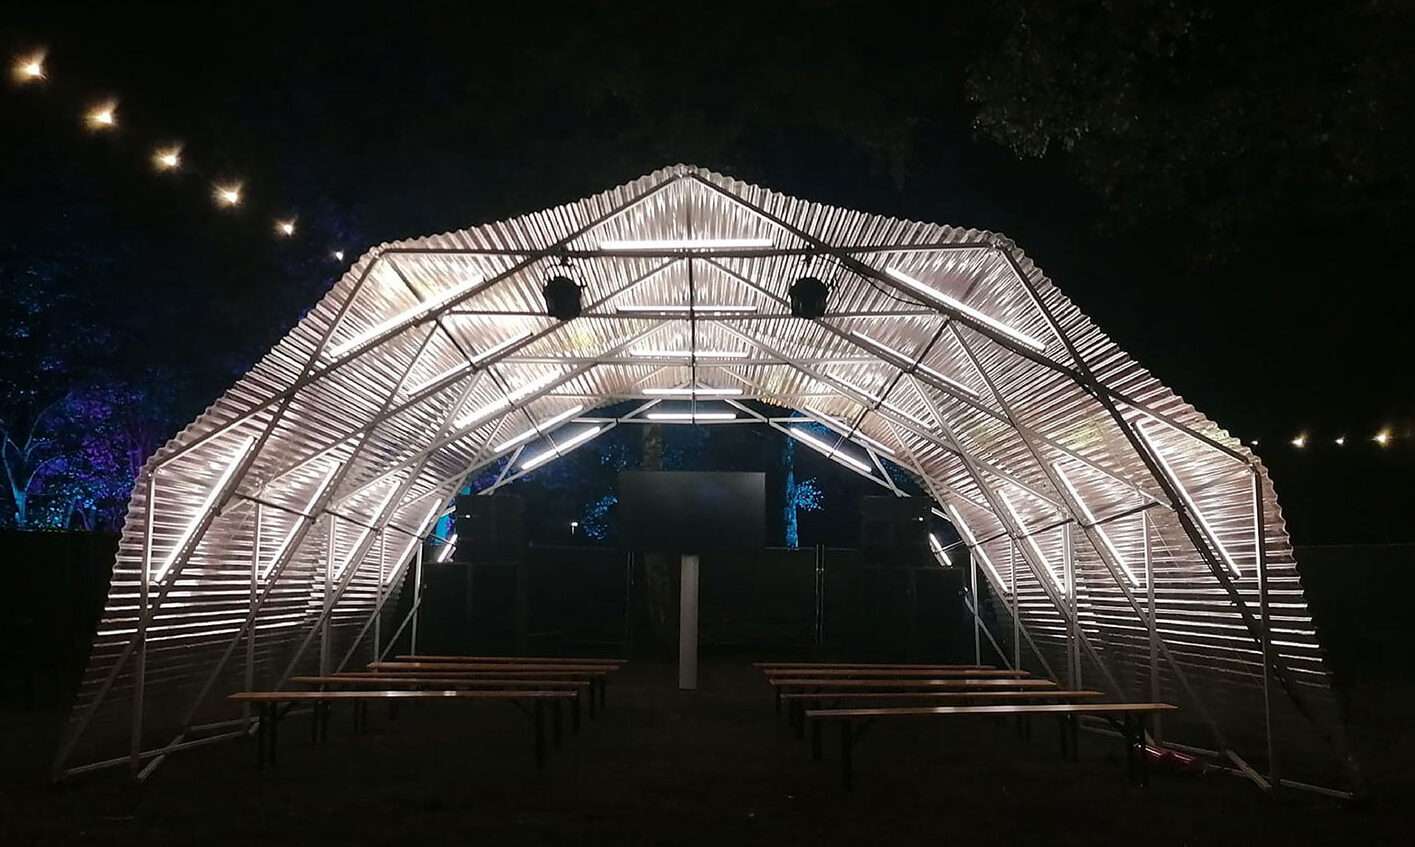
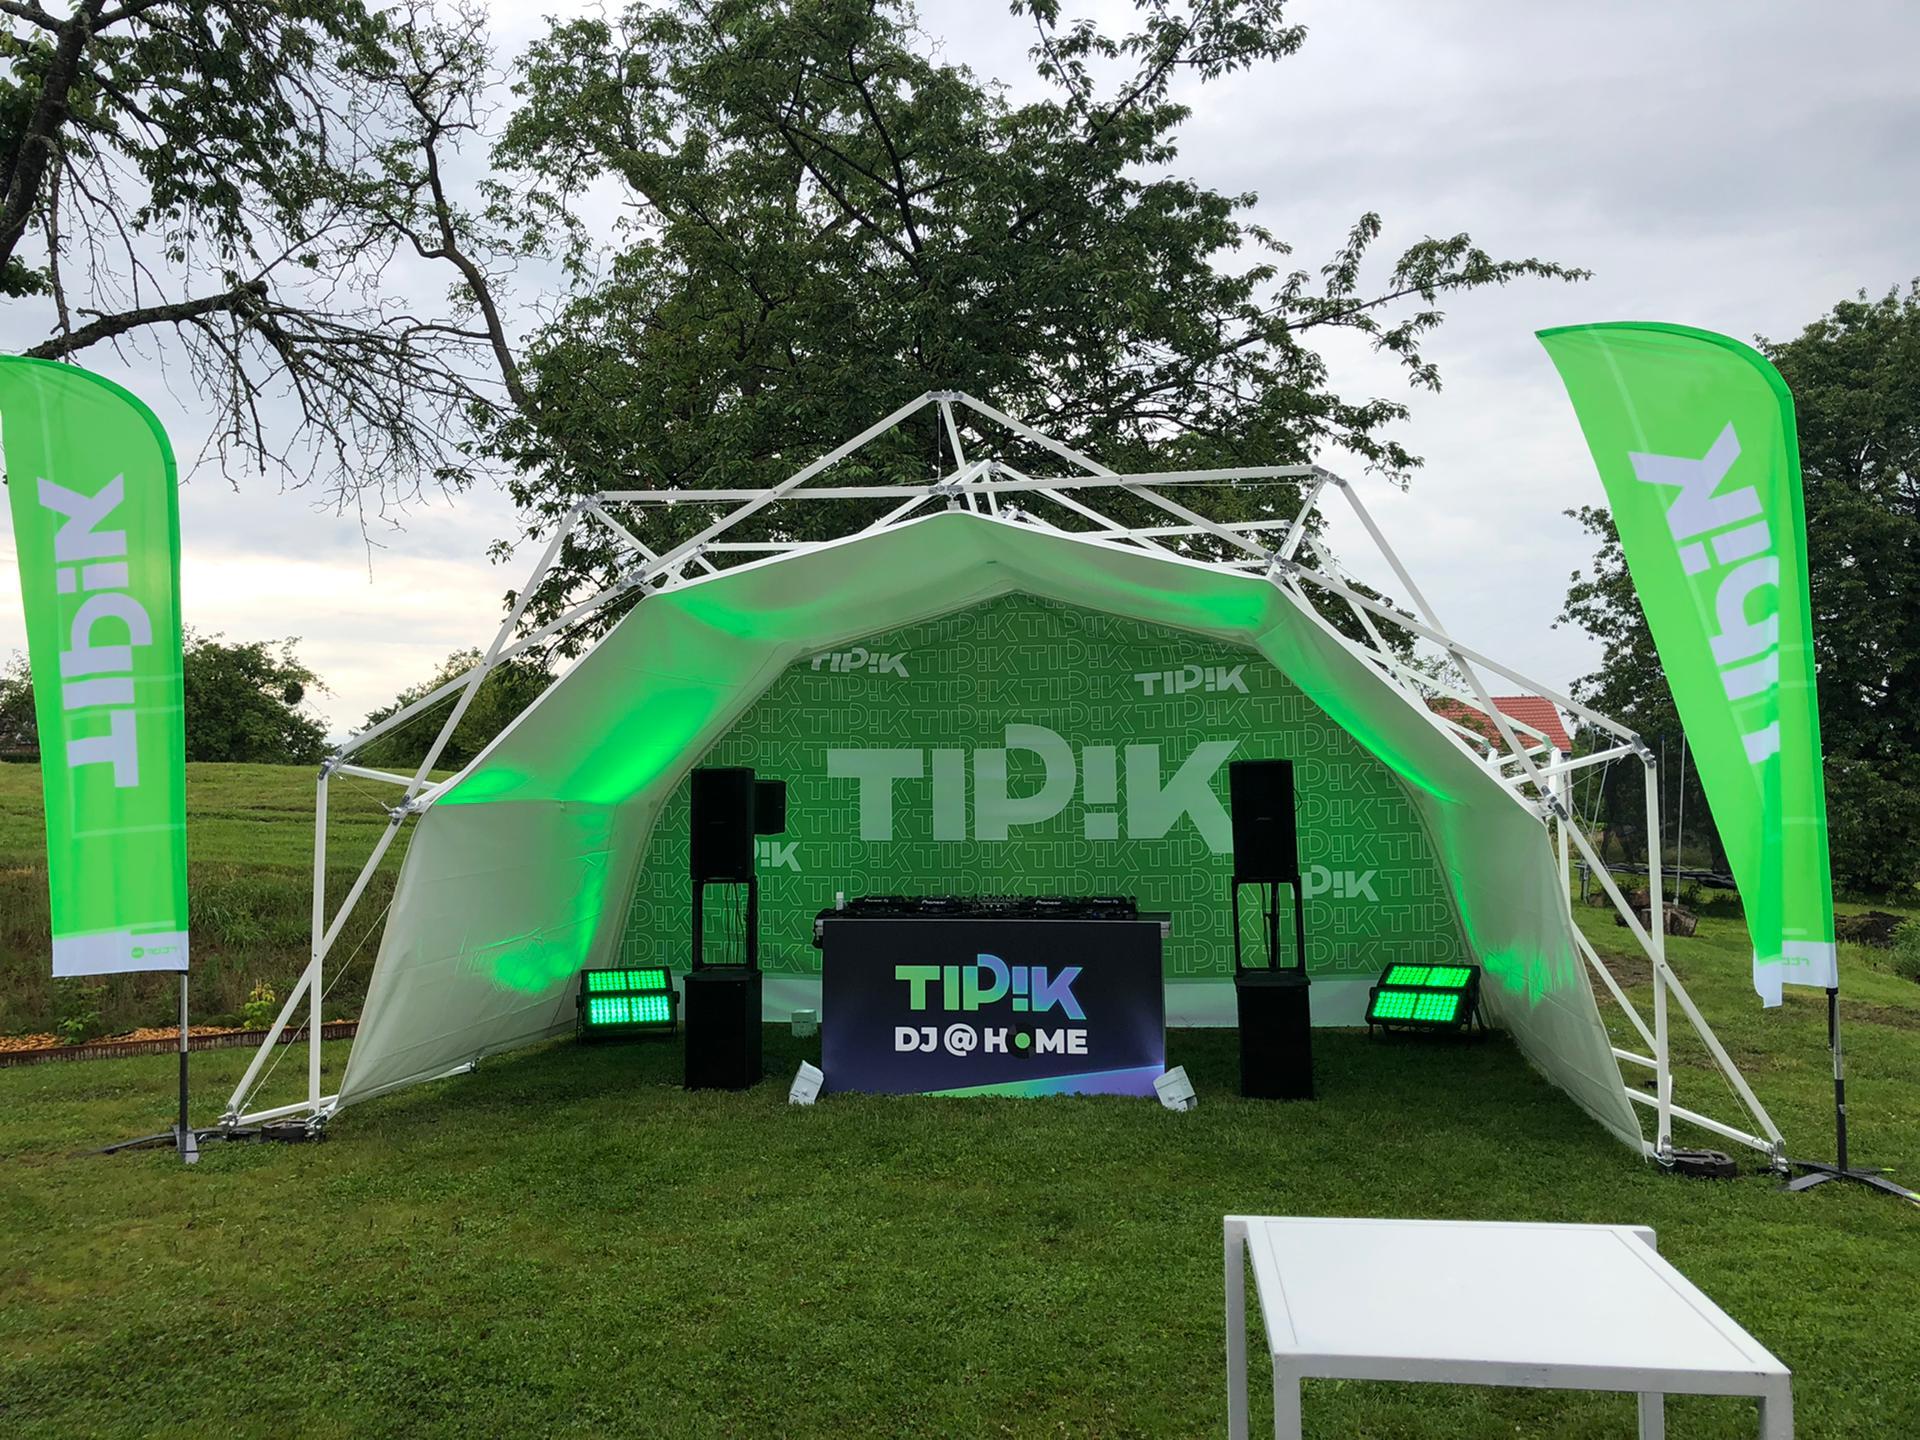
Fastival dome / stage
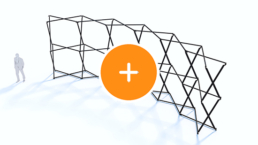
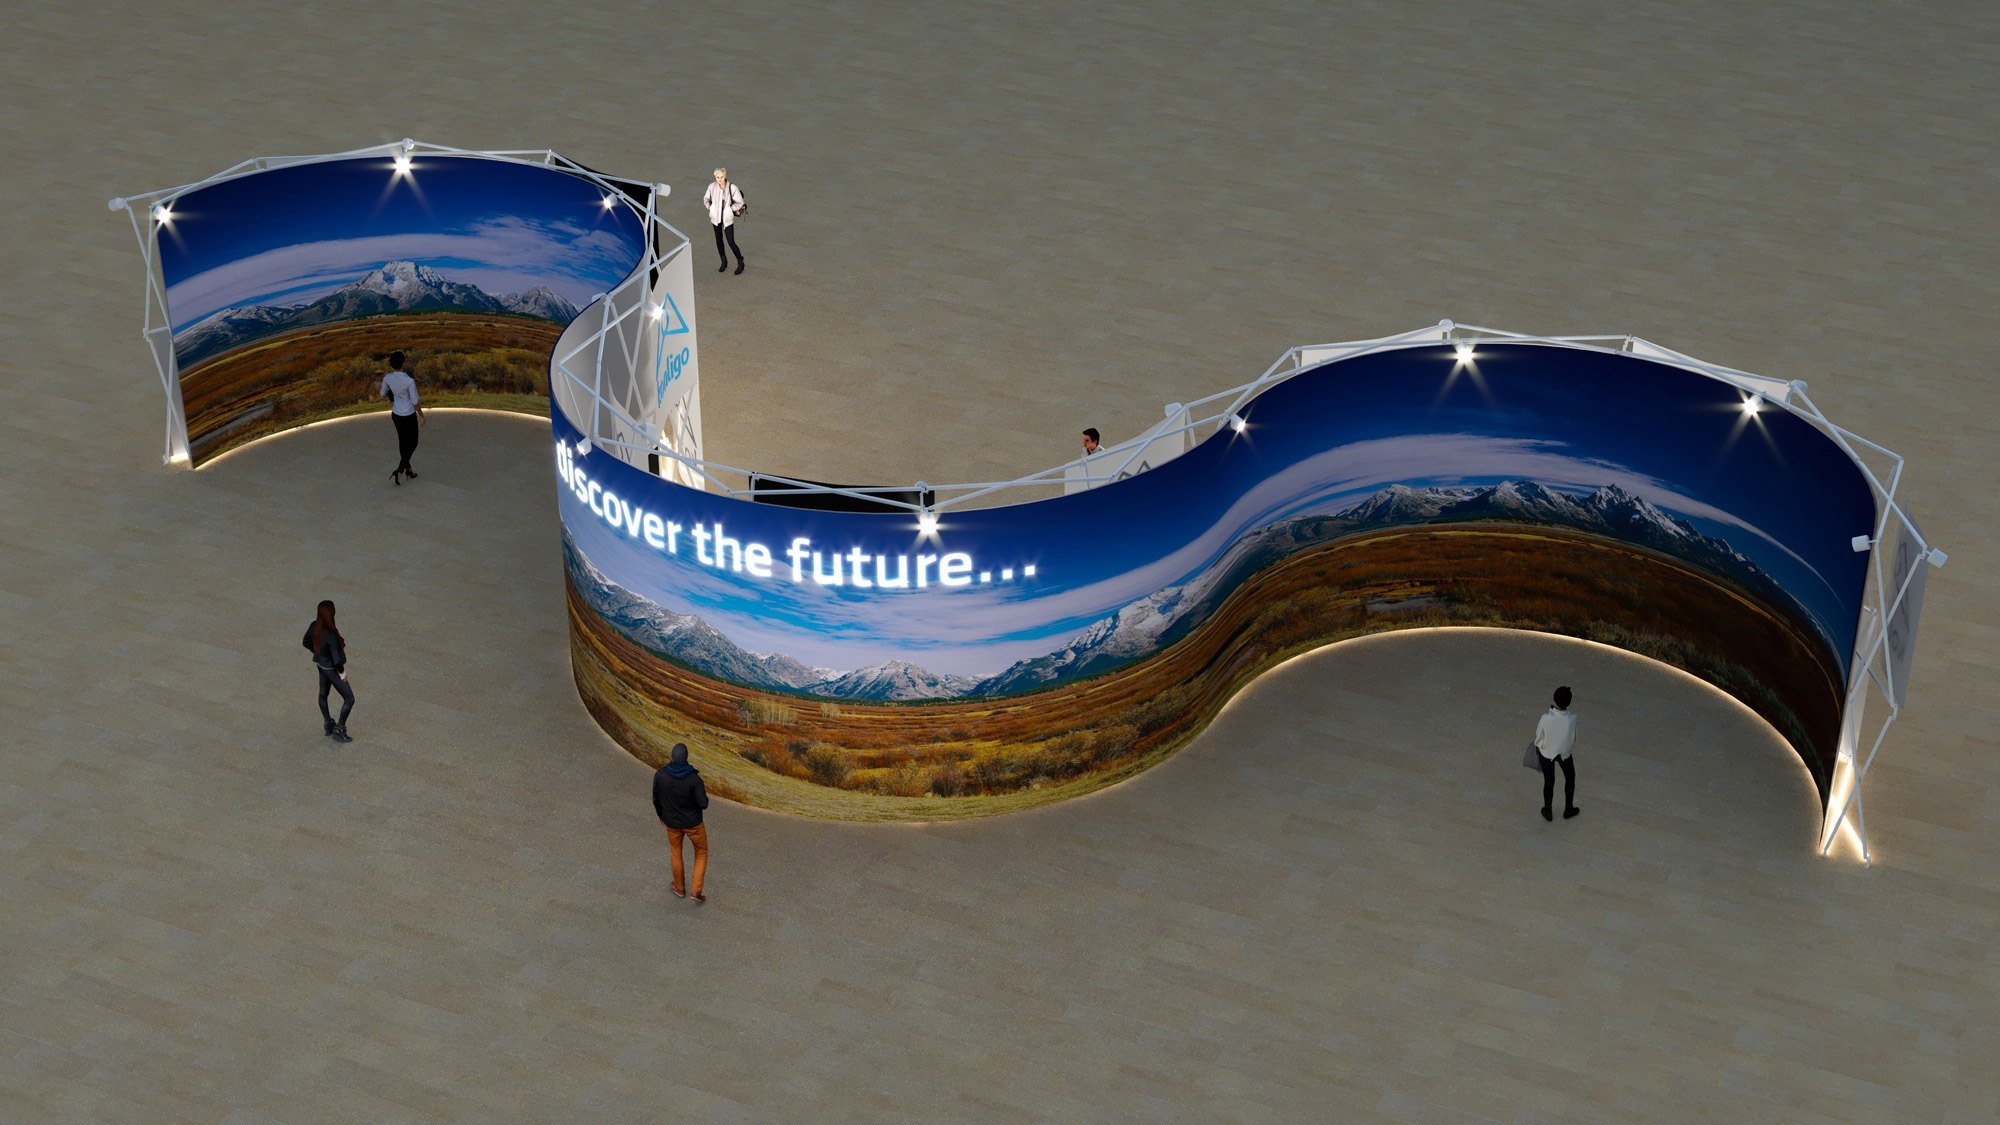
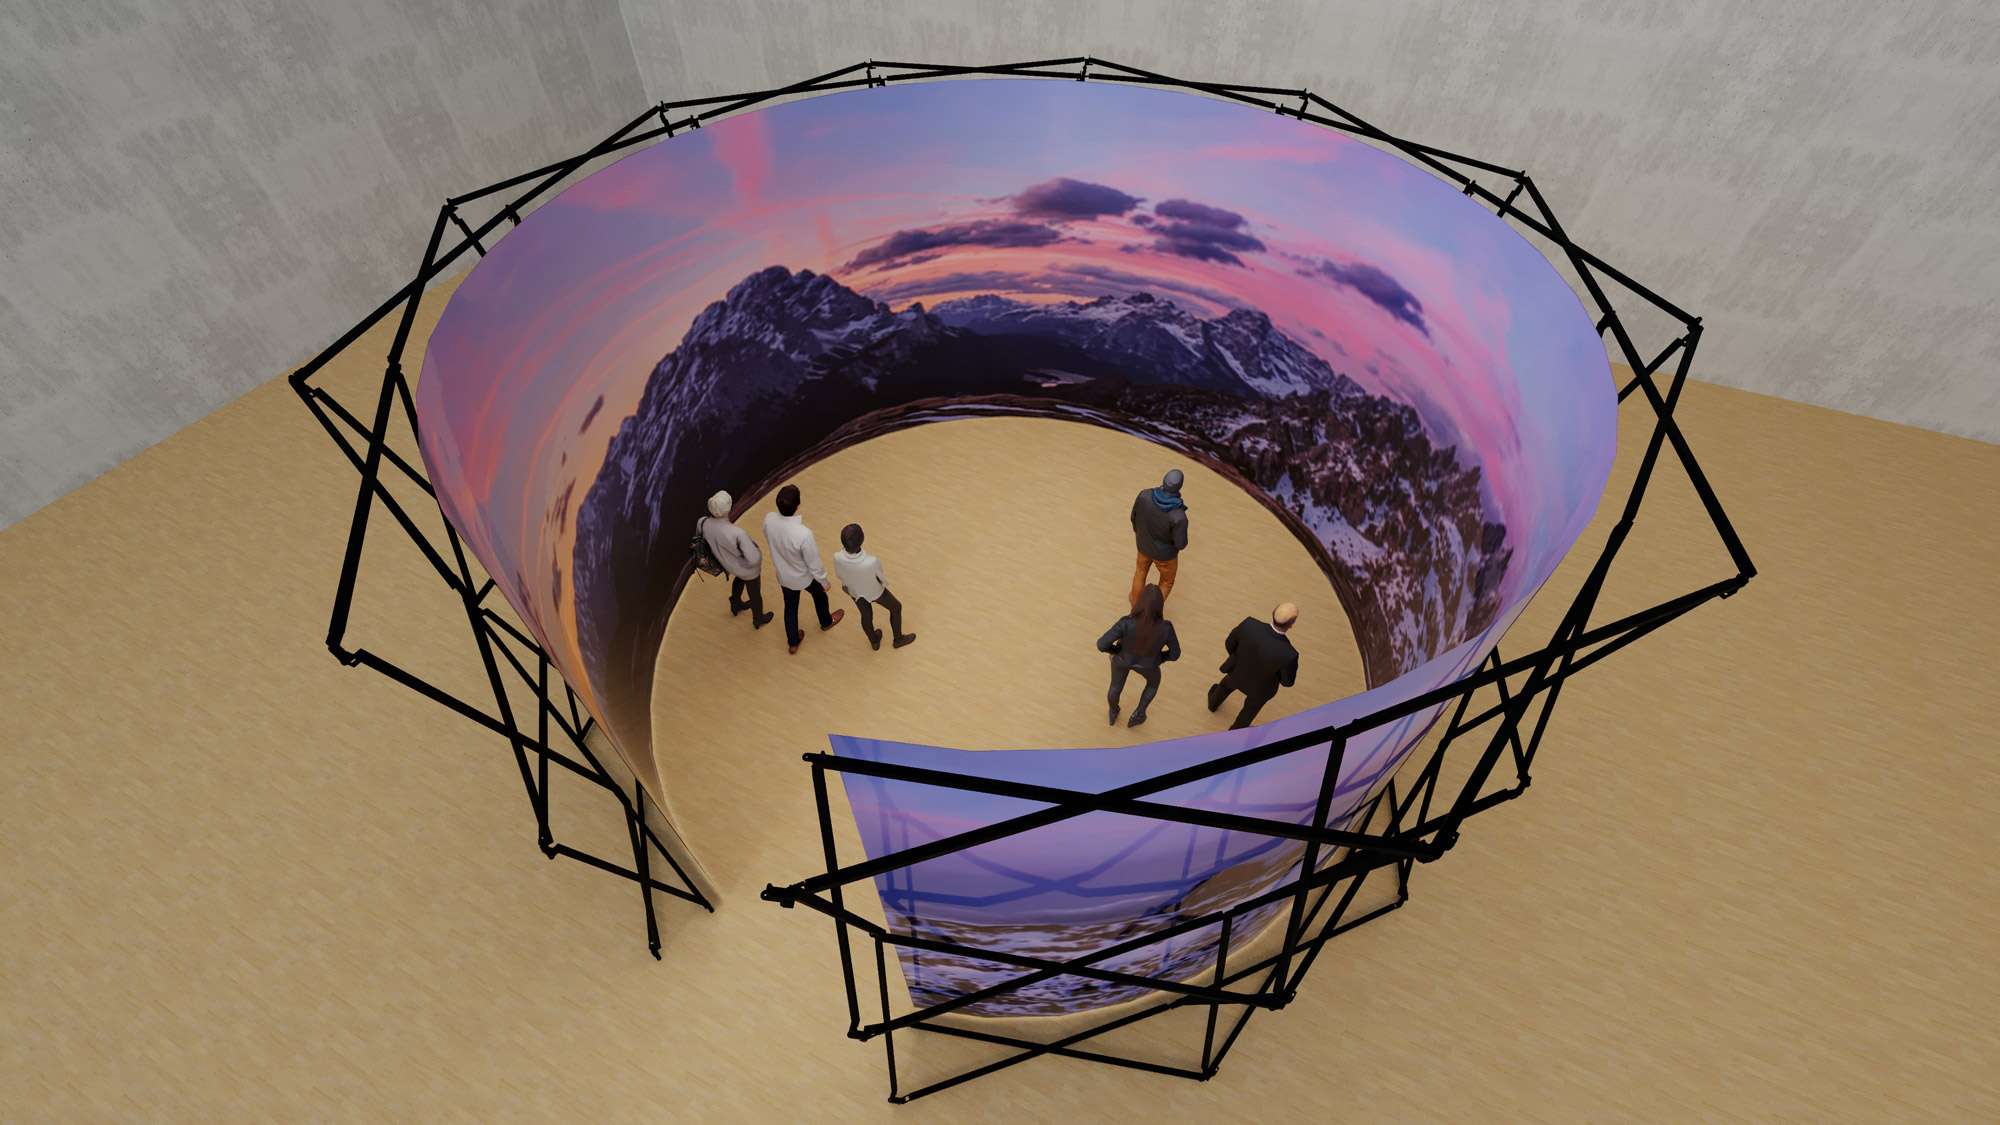
Luno
Arko dome collection

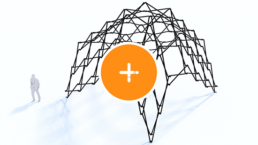
Ondo dome
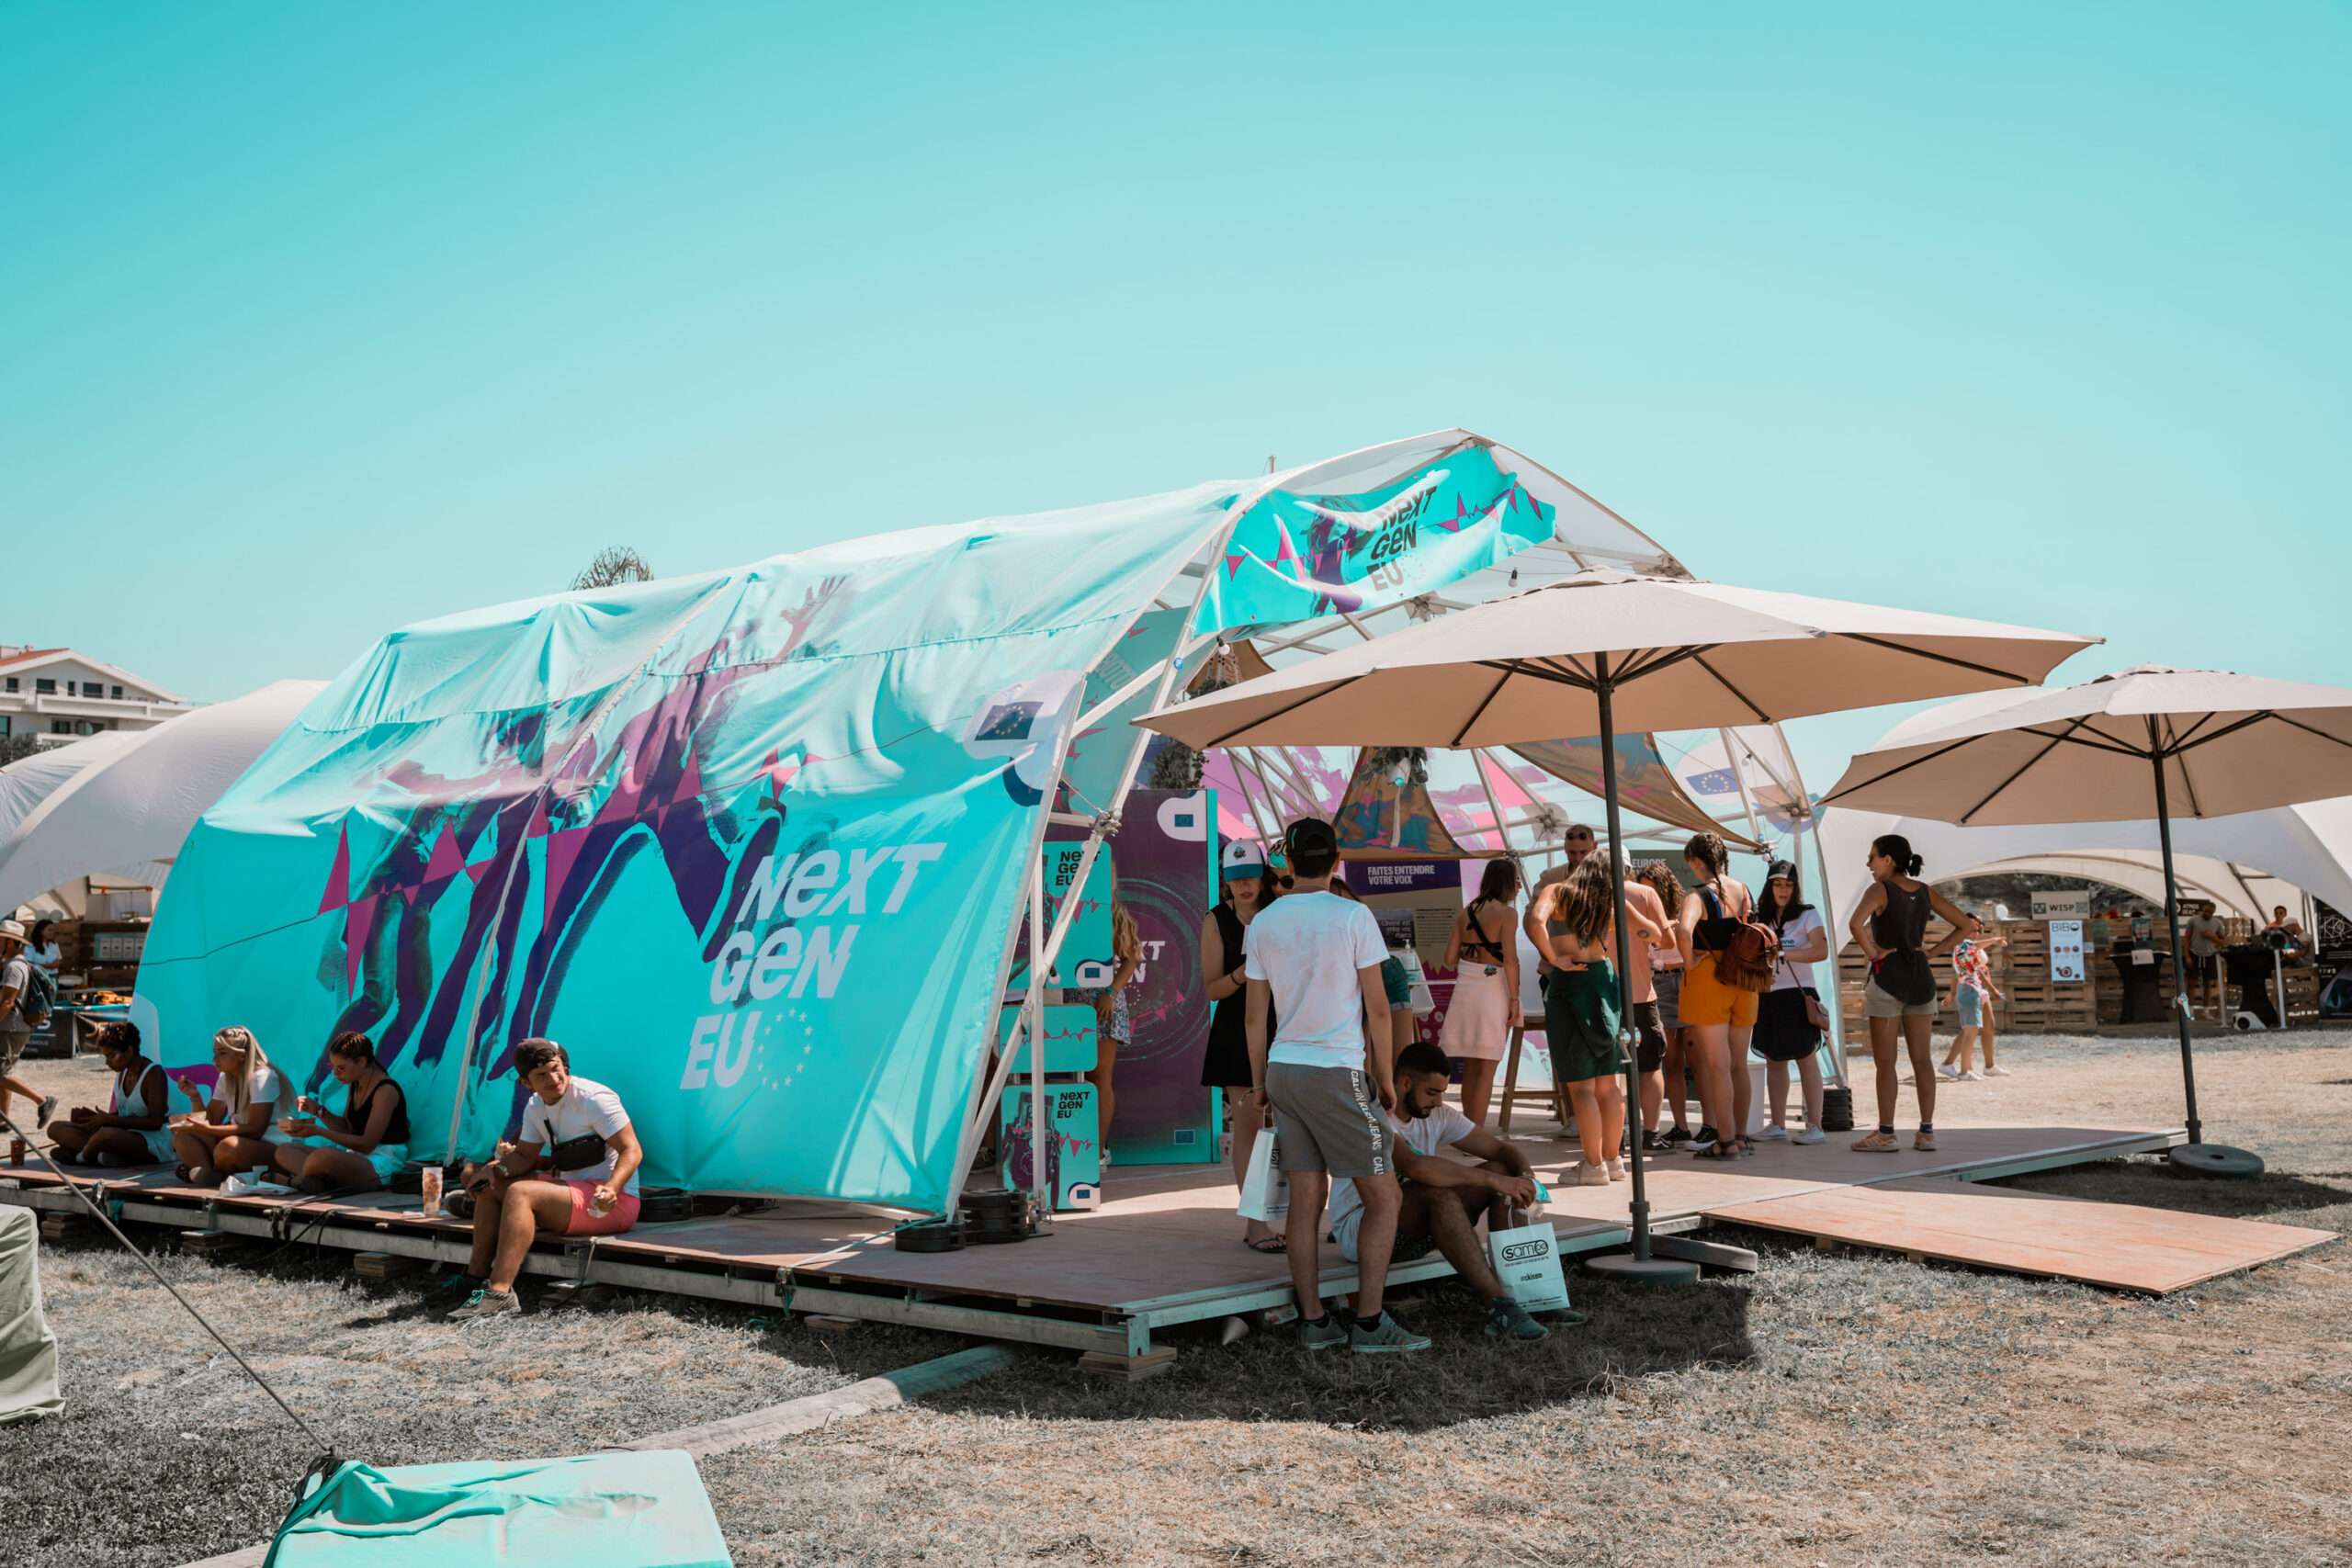
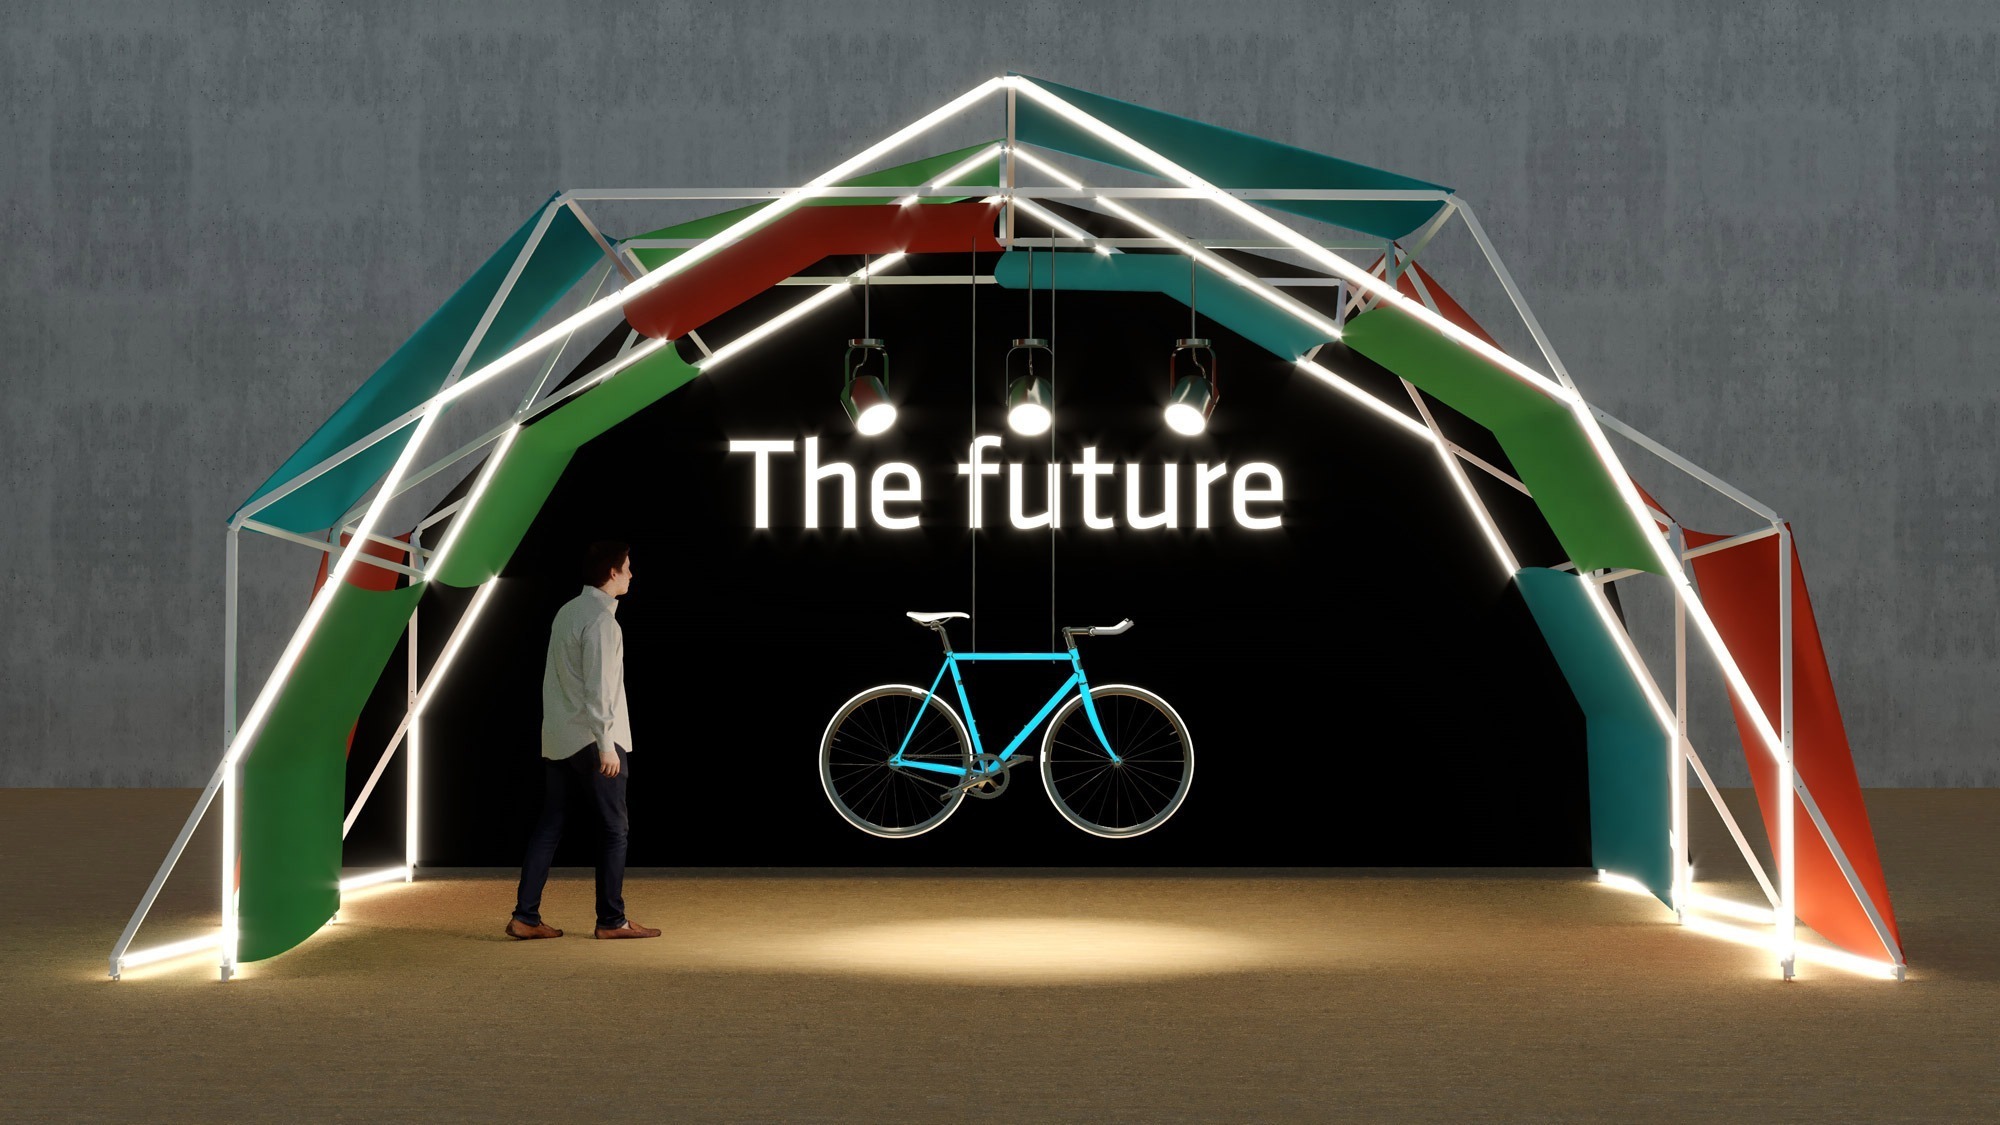
Branded membranes
When ordering your Konligo dome or stage, think about how membranes can help you customize your structure. Whether you want a printed outer membrane or a branded inner membrane with or without a personalized backdrop, a lot of options are possible for branding your Konligo structure.
Branded inner membrane and backdrop

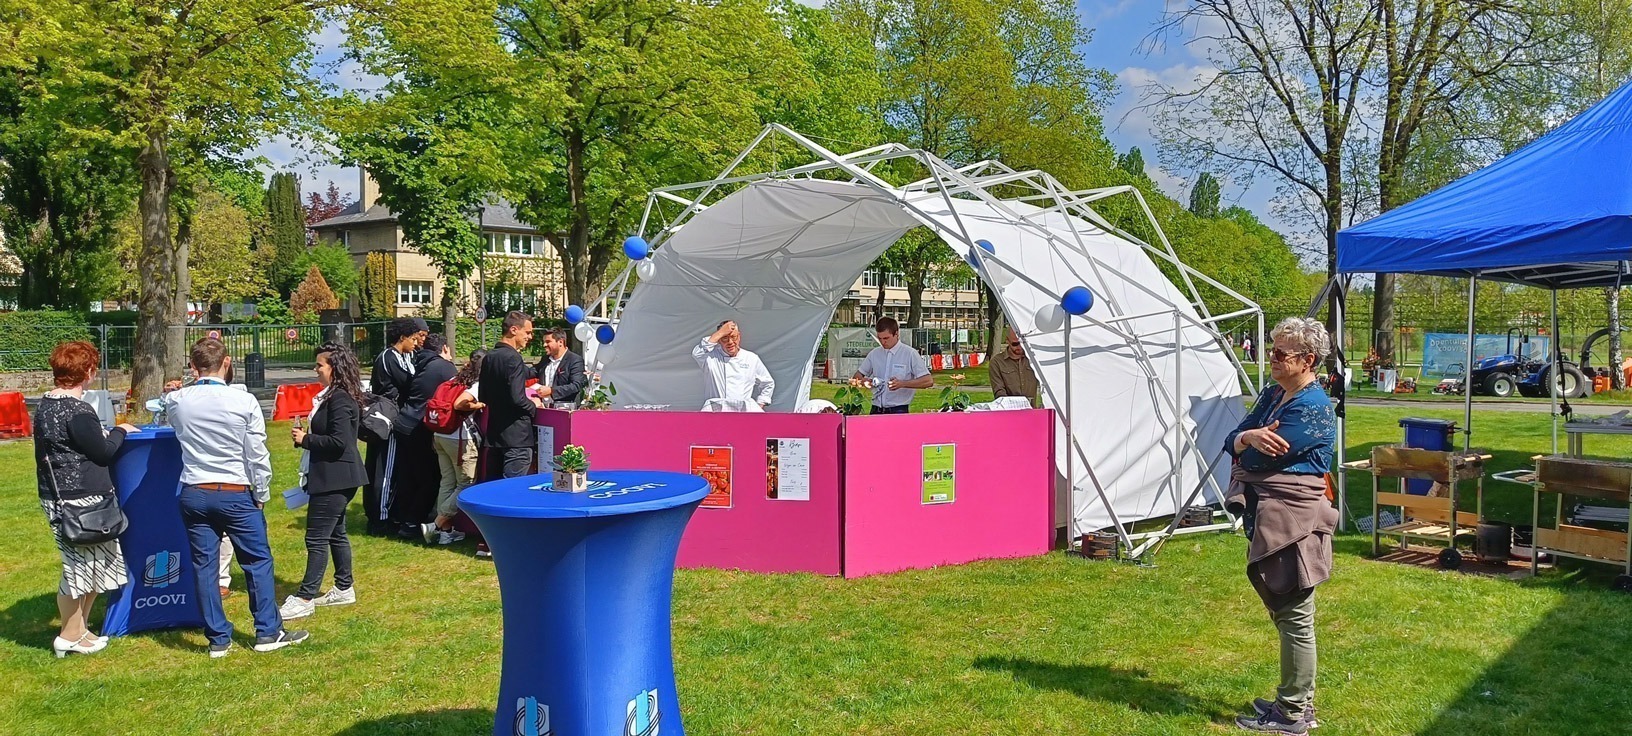
Sober inner membrane and backdrop
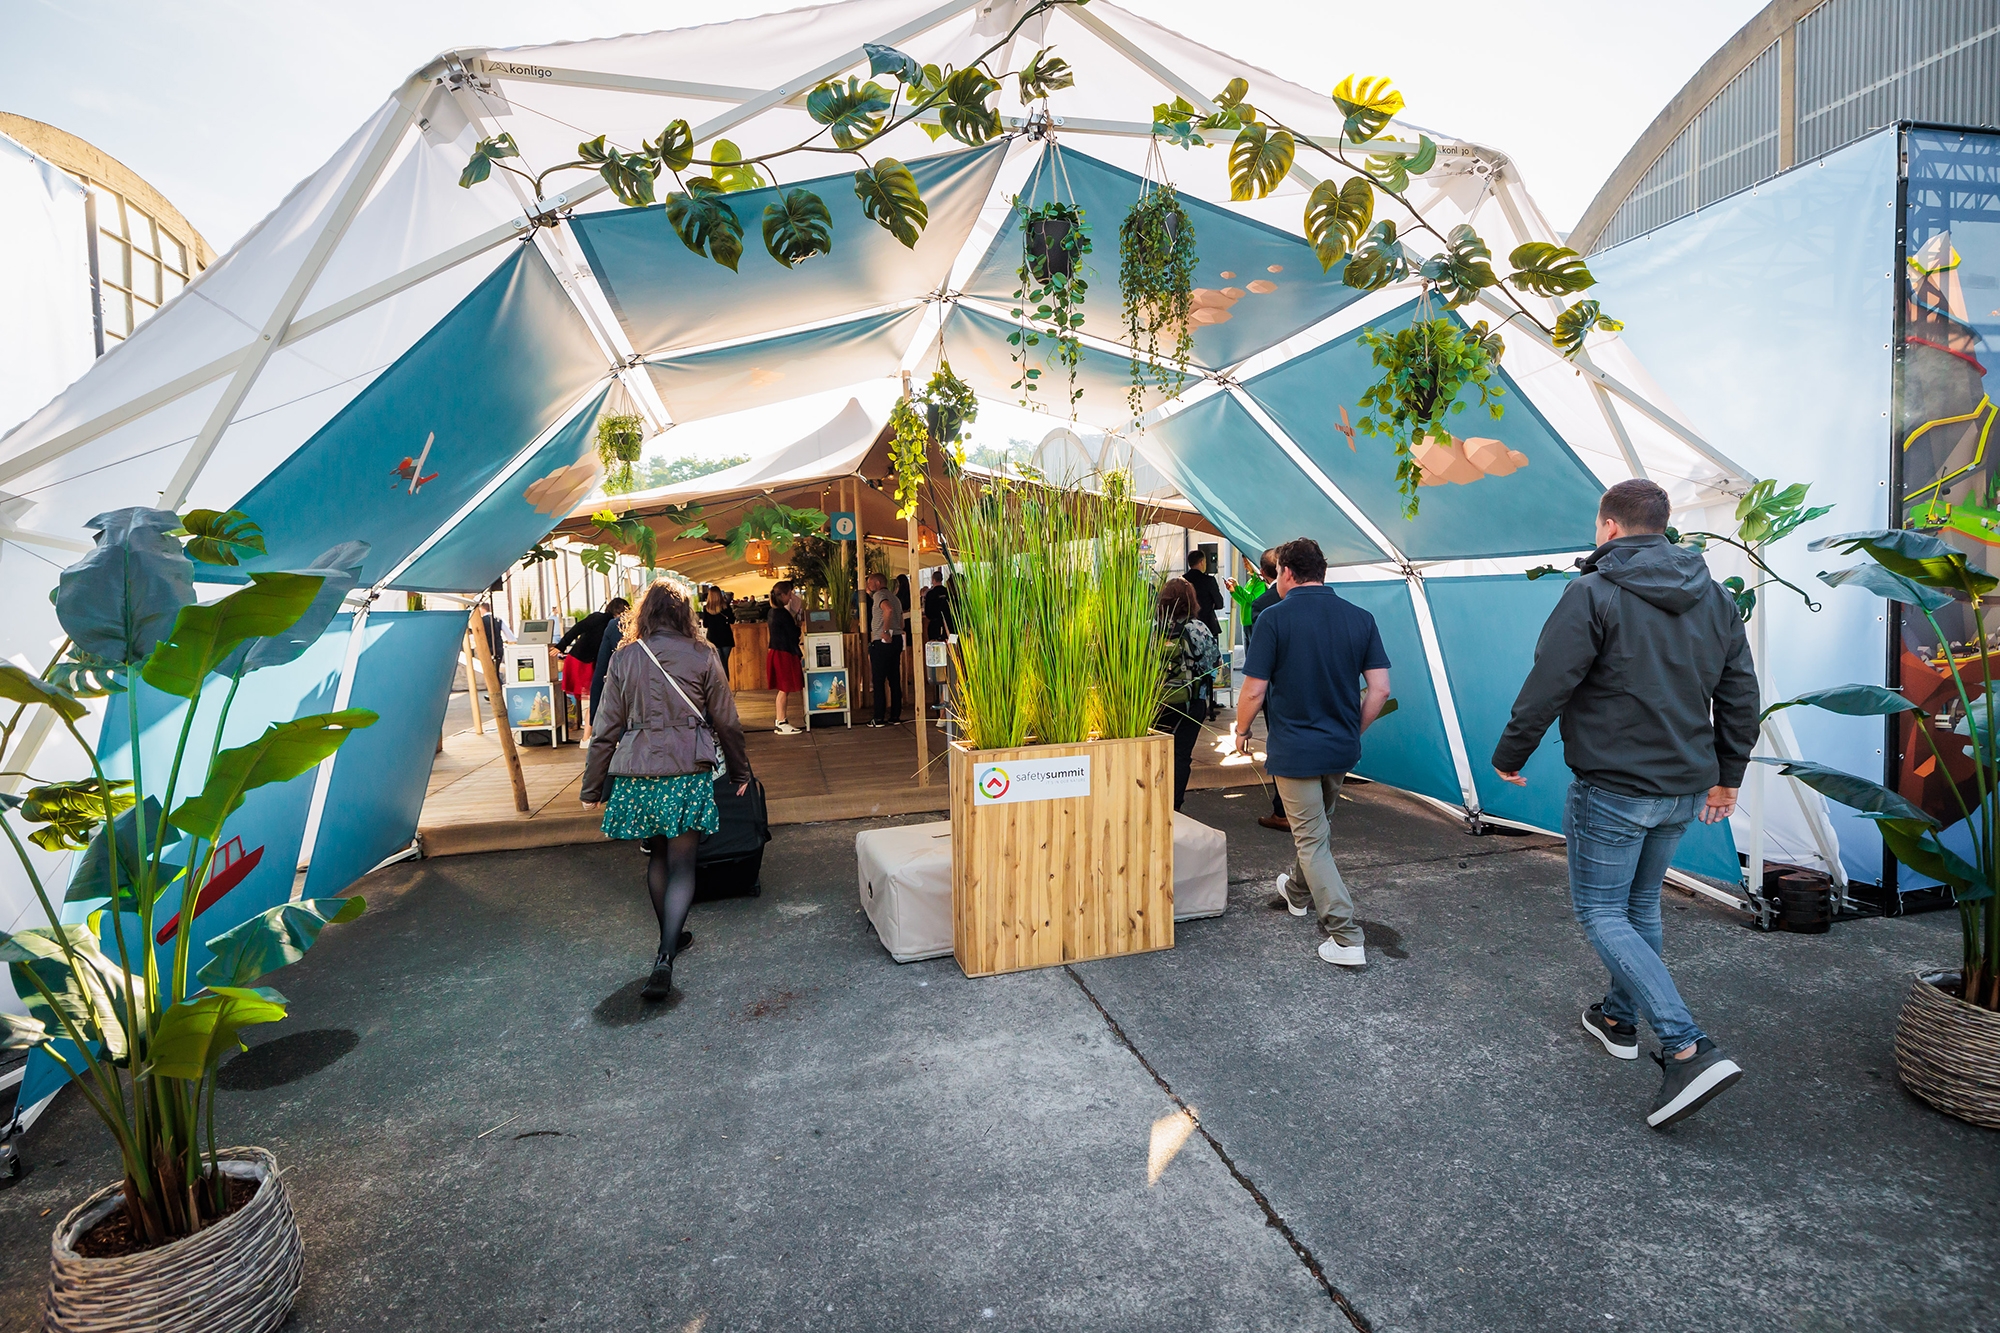
Branded outer membrane over two Fastival domes
Pimp your structure
If you don’t feel like getting a complete membrane, our structures can easily be branded with the help of canvases, cardboards or panels.
Printed PVC banners
Branded Reboard
Personalized Stadur
Put your structure in the spotlights
Our partners can install various lighting systems and projections on membranes or panels are perfectly possible. All our structures are compatible with Truss rigging systems.
Help us revolutionize the event industry
More immersive, engaging, and authentic experiences. When buying or renting a Konligo dome or stage, just remember that
- they were produced with less resource depletion (circular economy) and less production waste;
- they are made out of 80% recycled aluminium;
- it’ll have a meaningful impact on your ecological footprint;
- they’ve been manufactured to help you save time for your event setup;
- have been carefully assembled with love in Belgium!
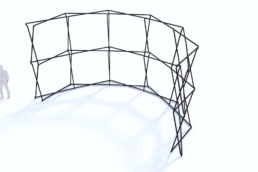
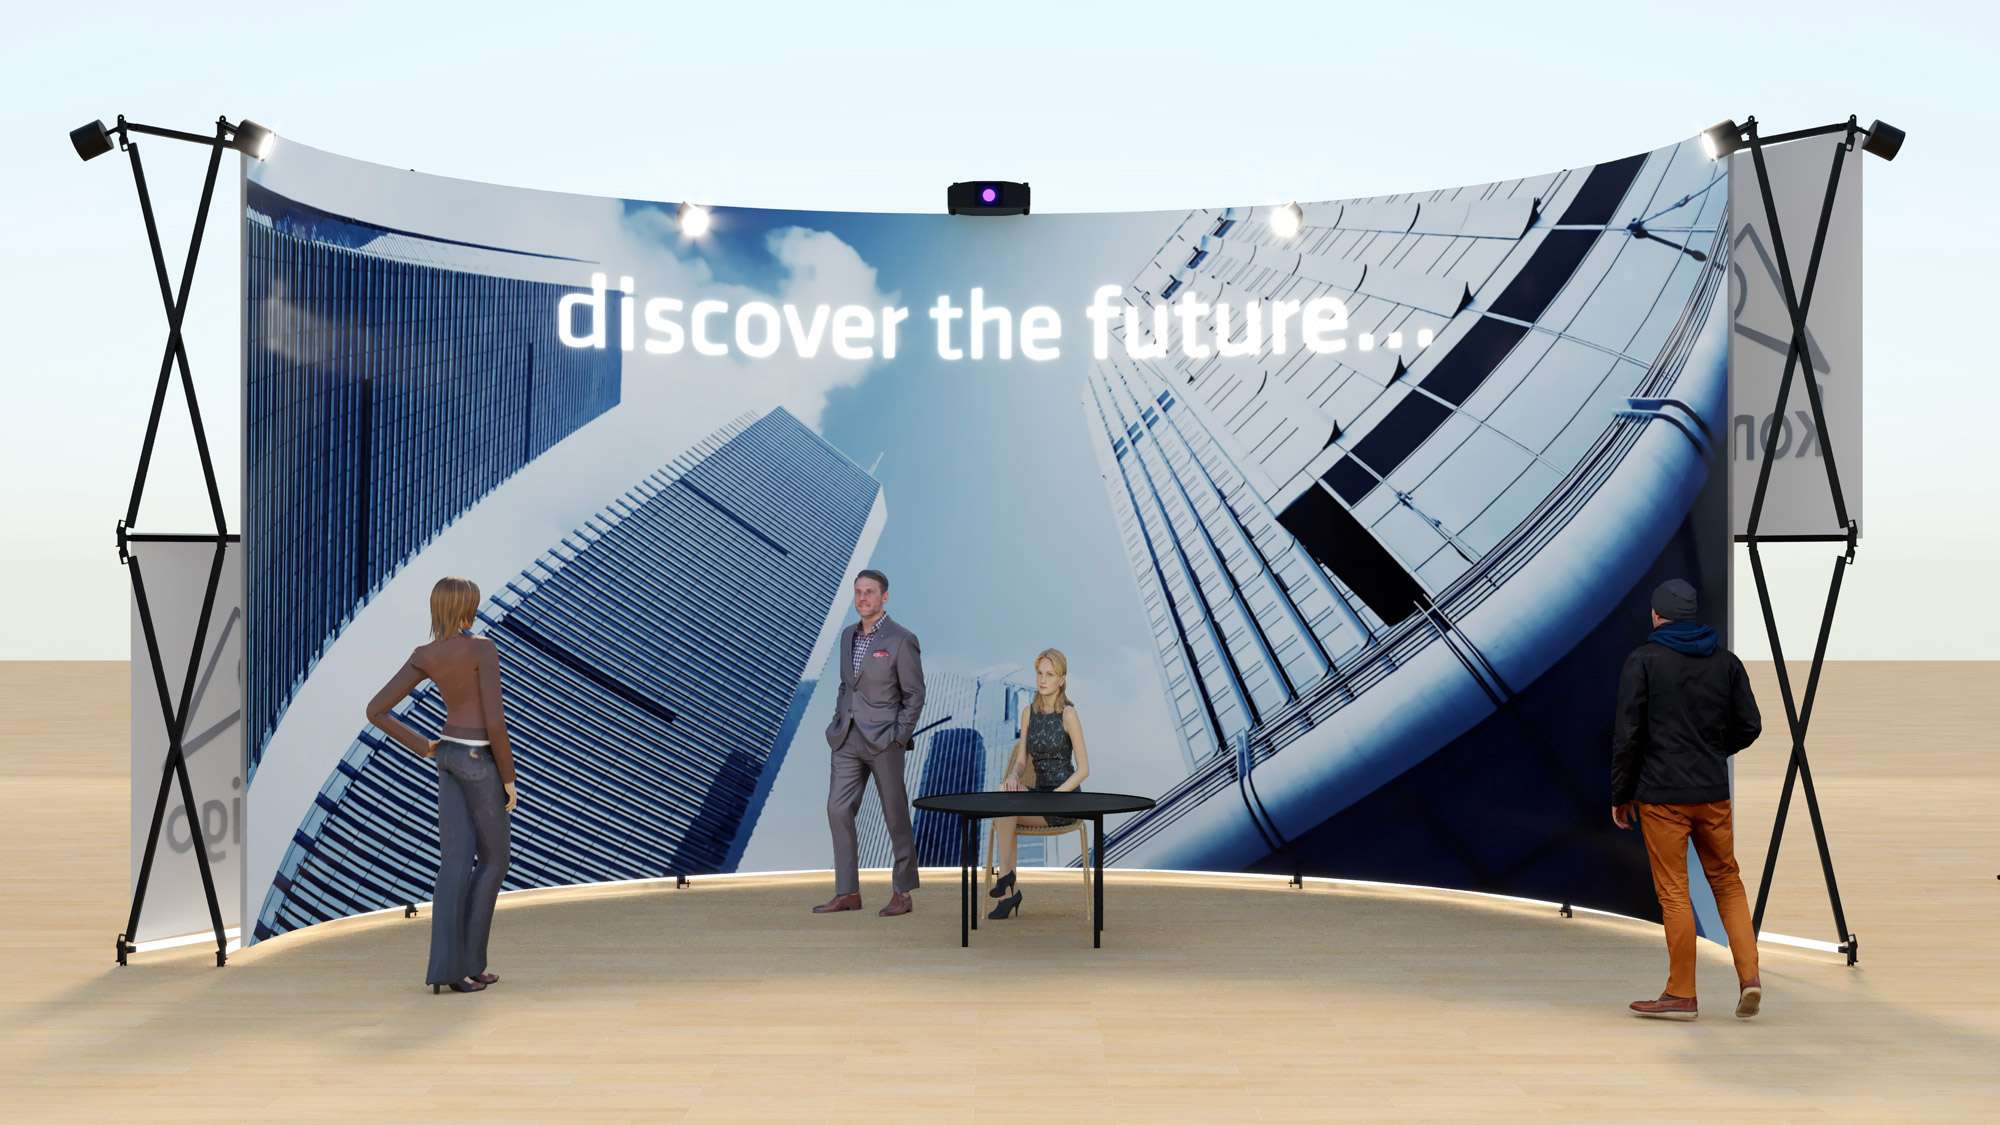
Luno
Luno.
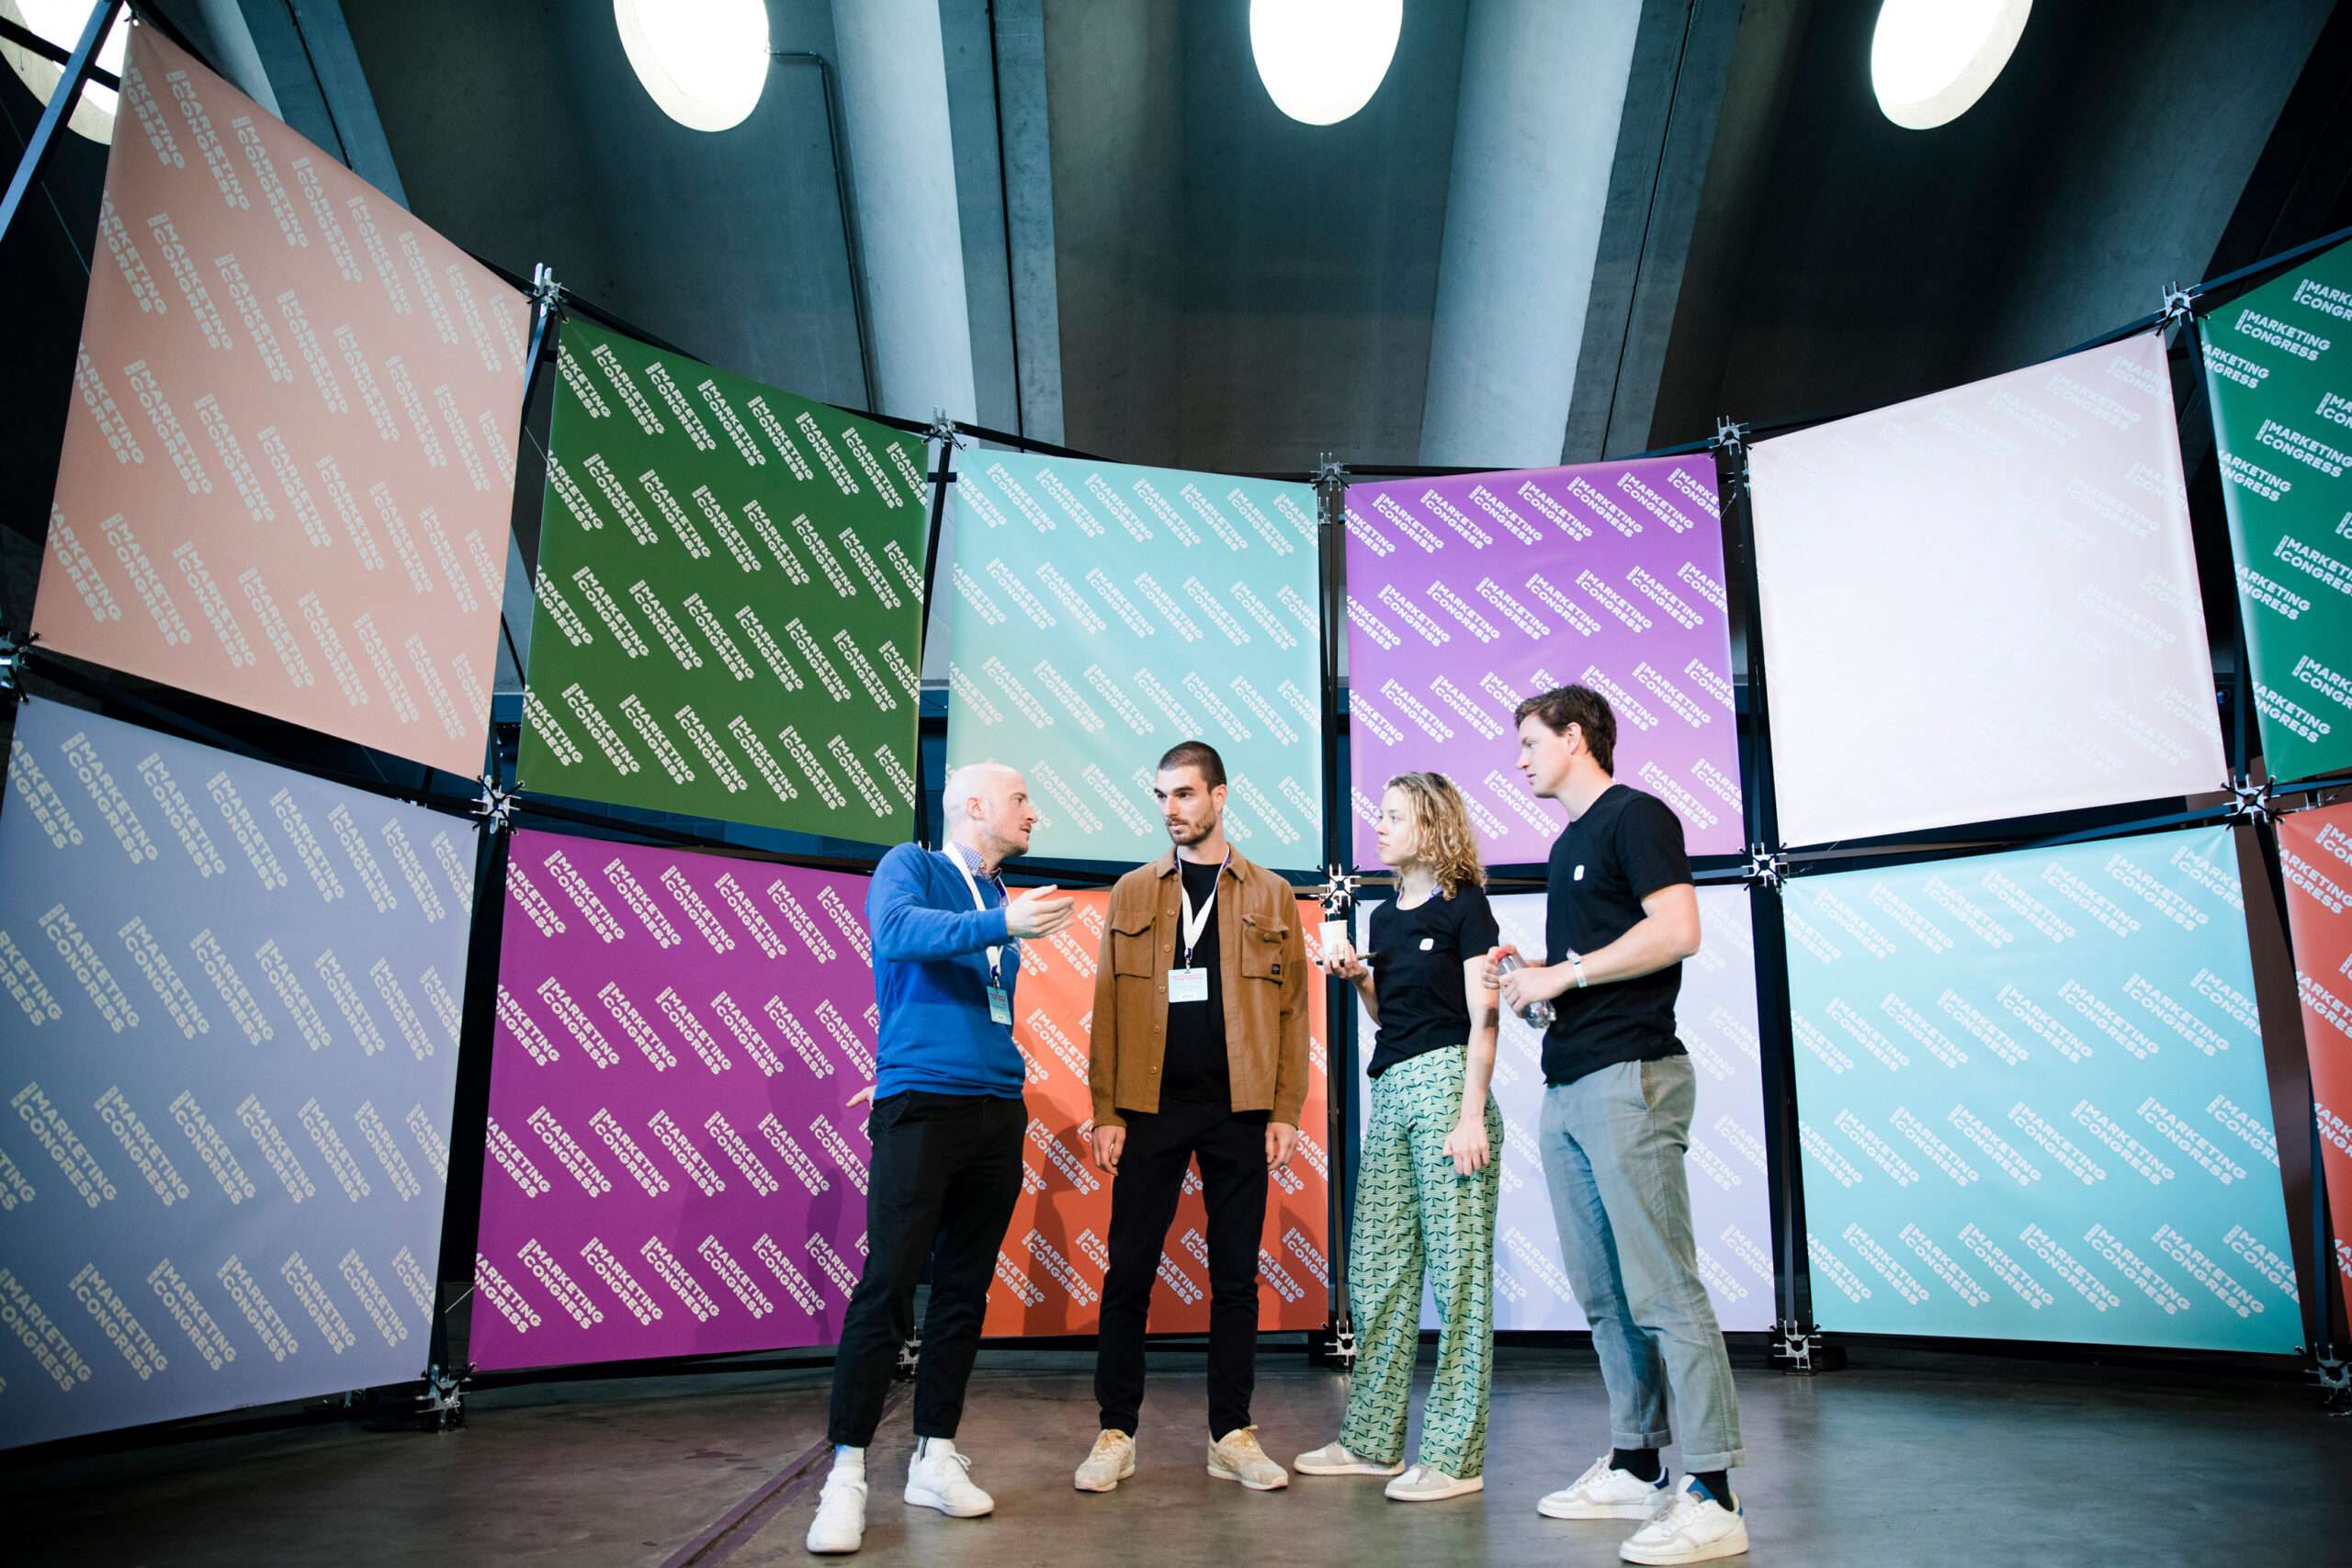
Luno is a curved wall structure for projection, an exhibition, artwork, branding, a 360° experience, etc.
The Luno is a fast-to-install and fully modular curved wall. The same structure can be used in three configurations (arch, open, closed) and additional modules can also be coupled to obtain a wave shape, a 360° experience, etc.
It is made of recycled aluminum, with anodized beams or colored powder coating, and is designed to withstand strong winds and rain. Lighting, sound, and projection functions can easily be functions can be easily integrated.
3 different versions


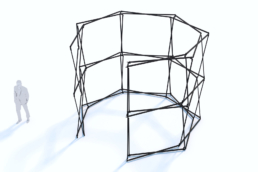


Ondo
Ondo.
Vertical walls and a clean style make it an ideal structure for a stand, brand activation, etc.
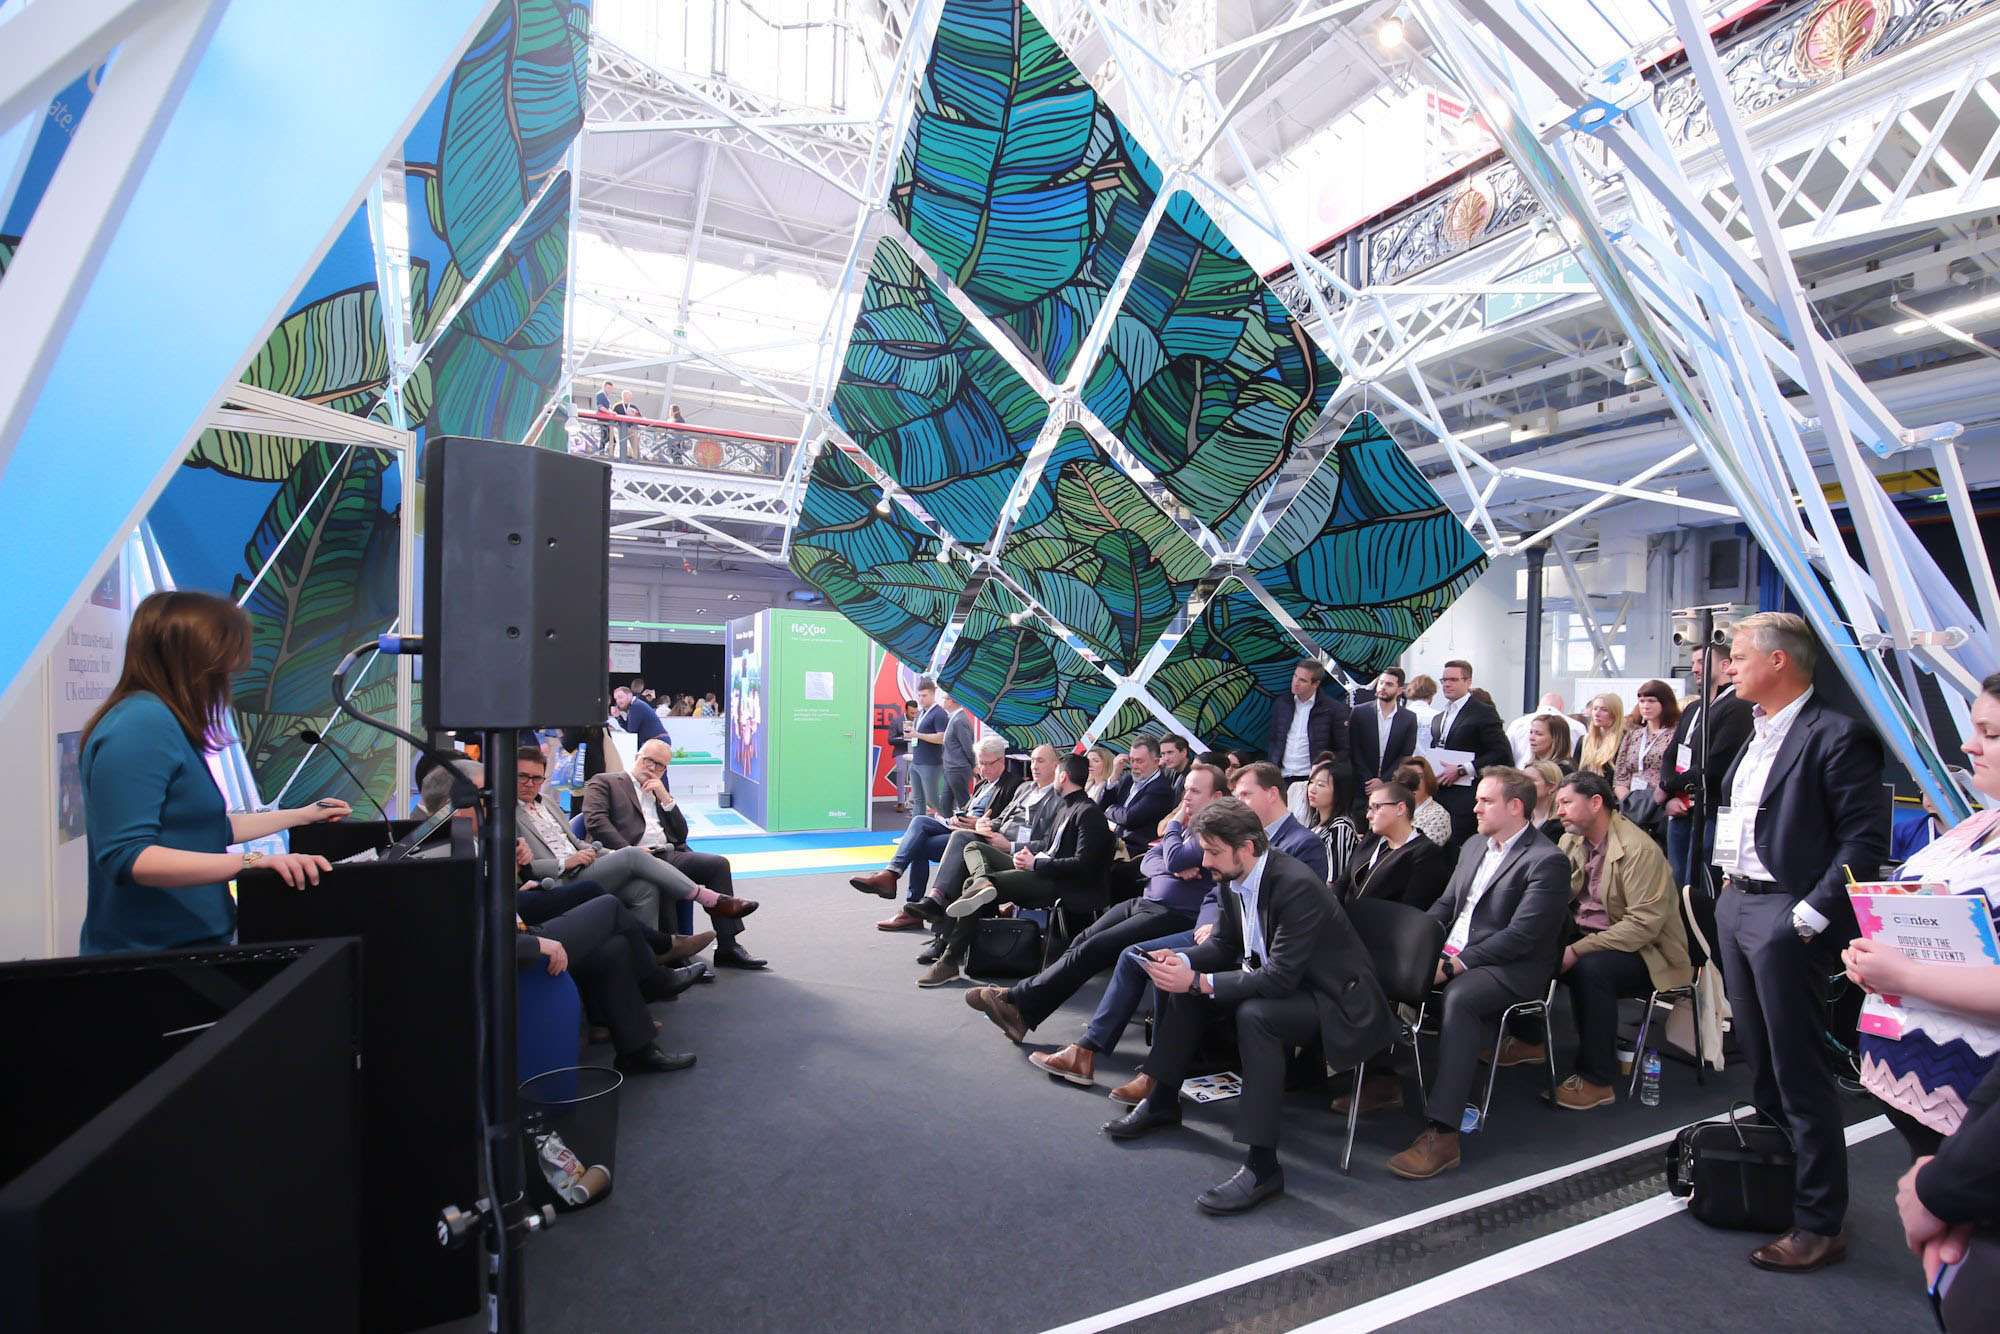
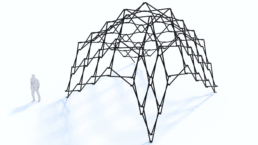
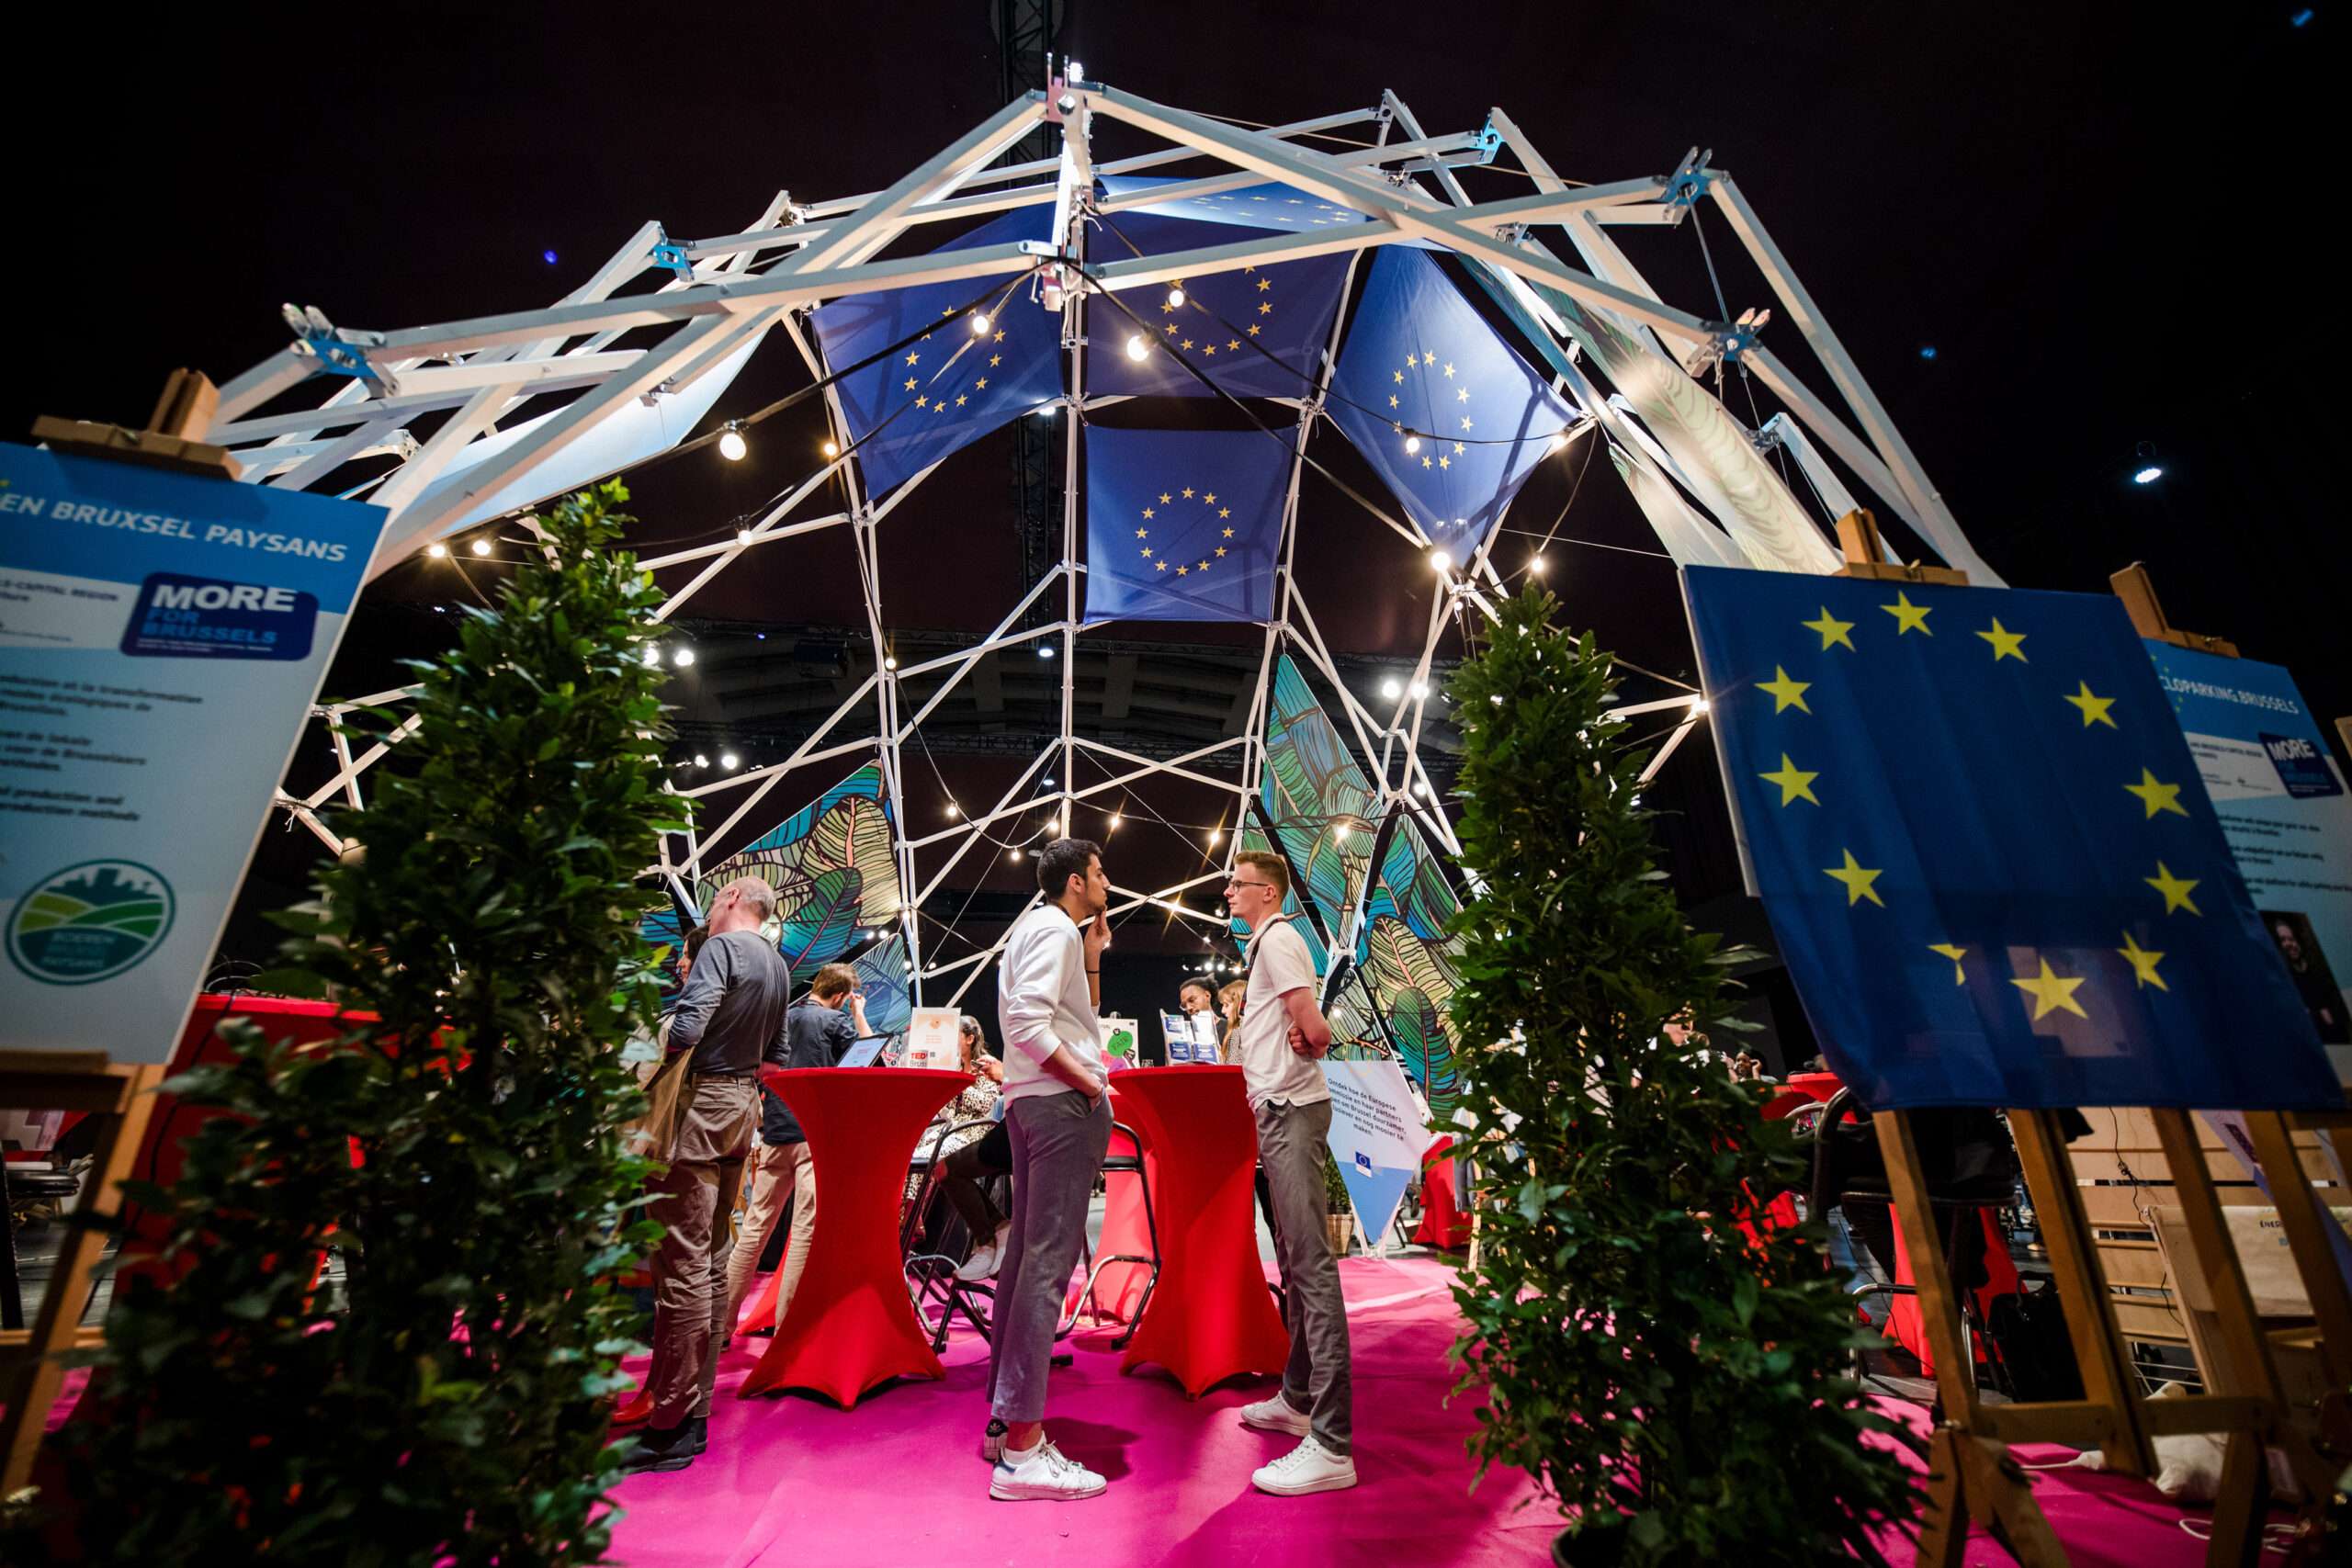
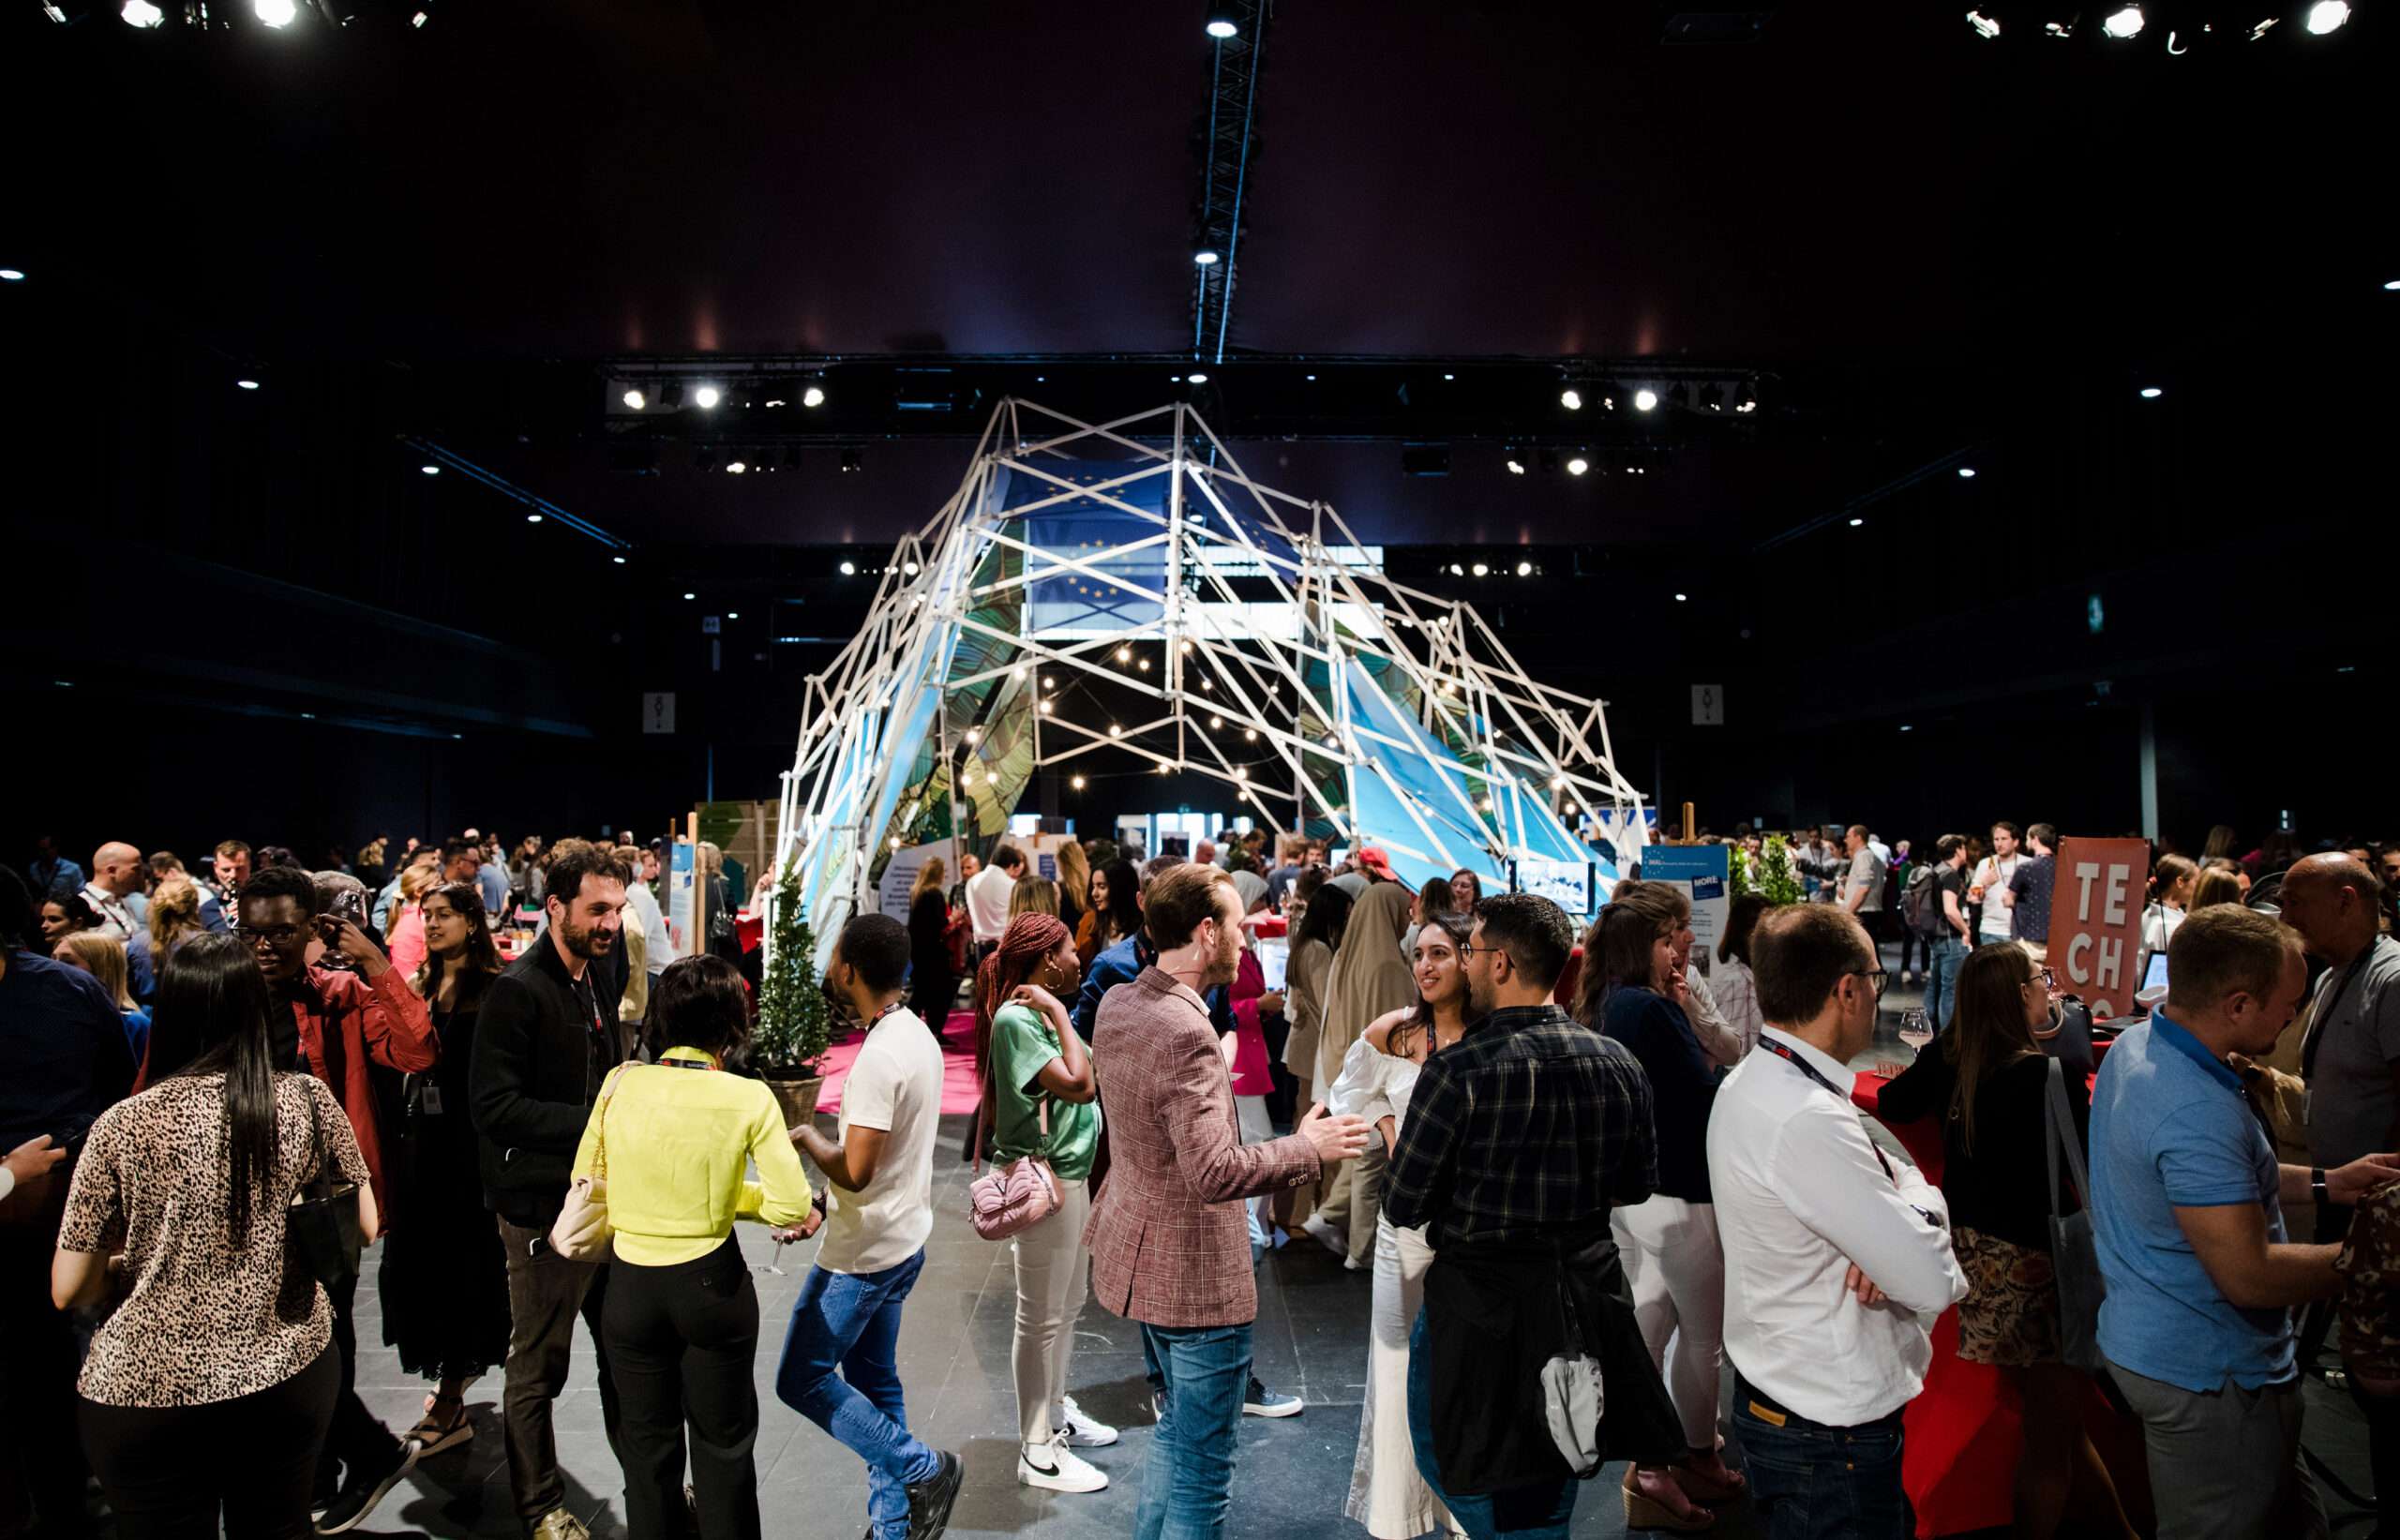
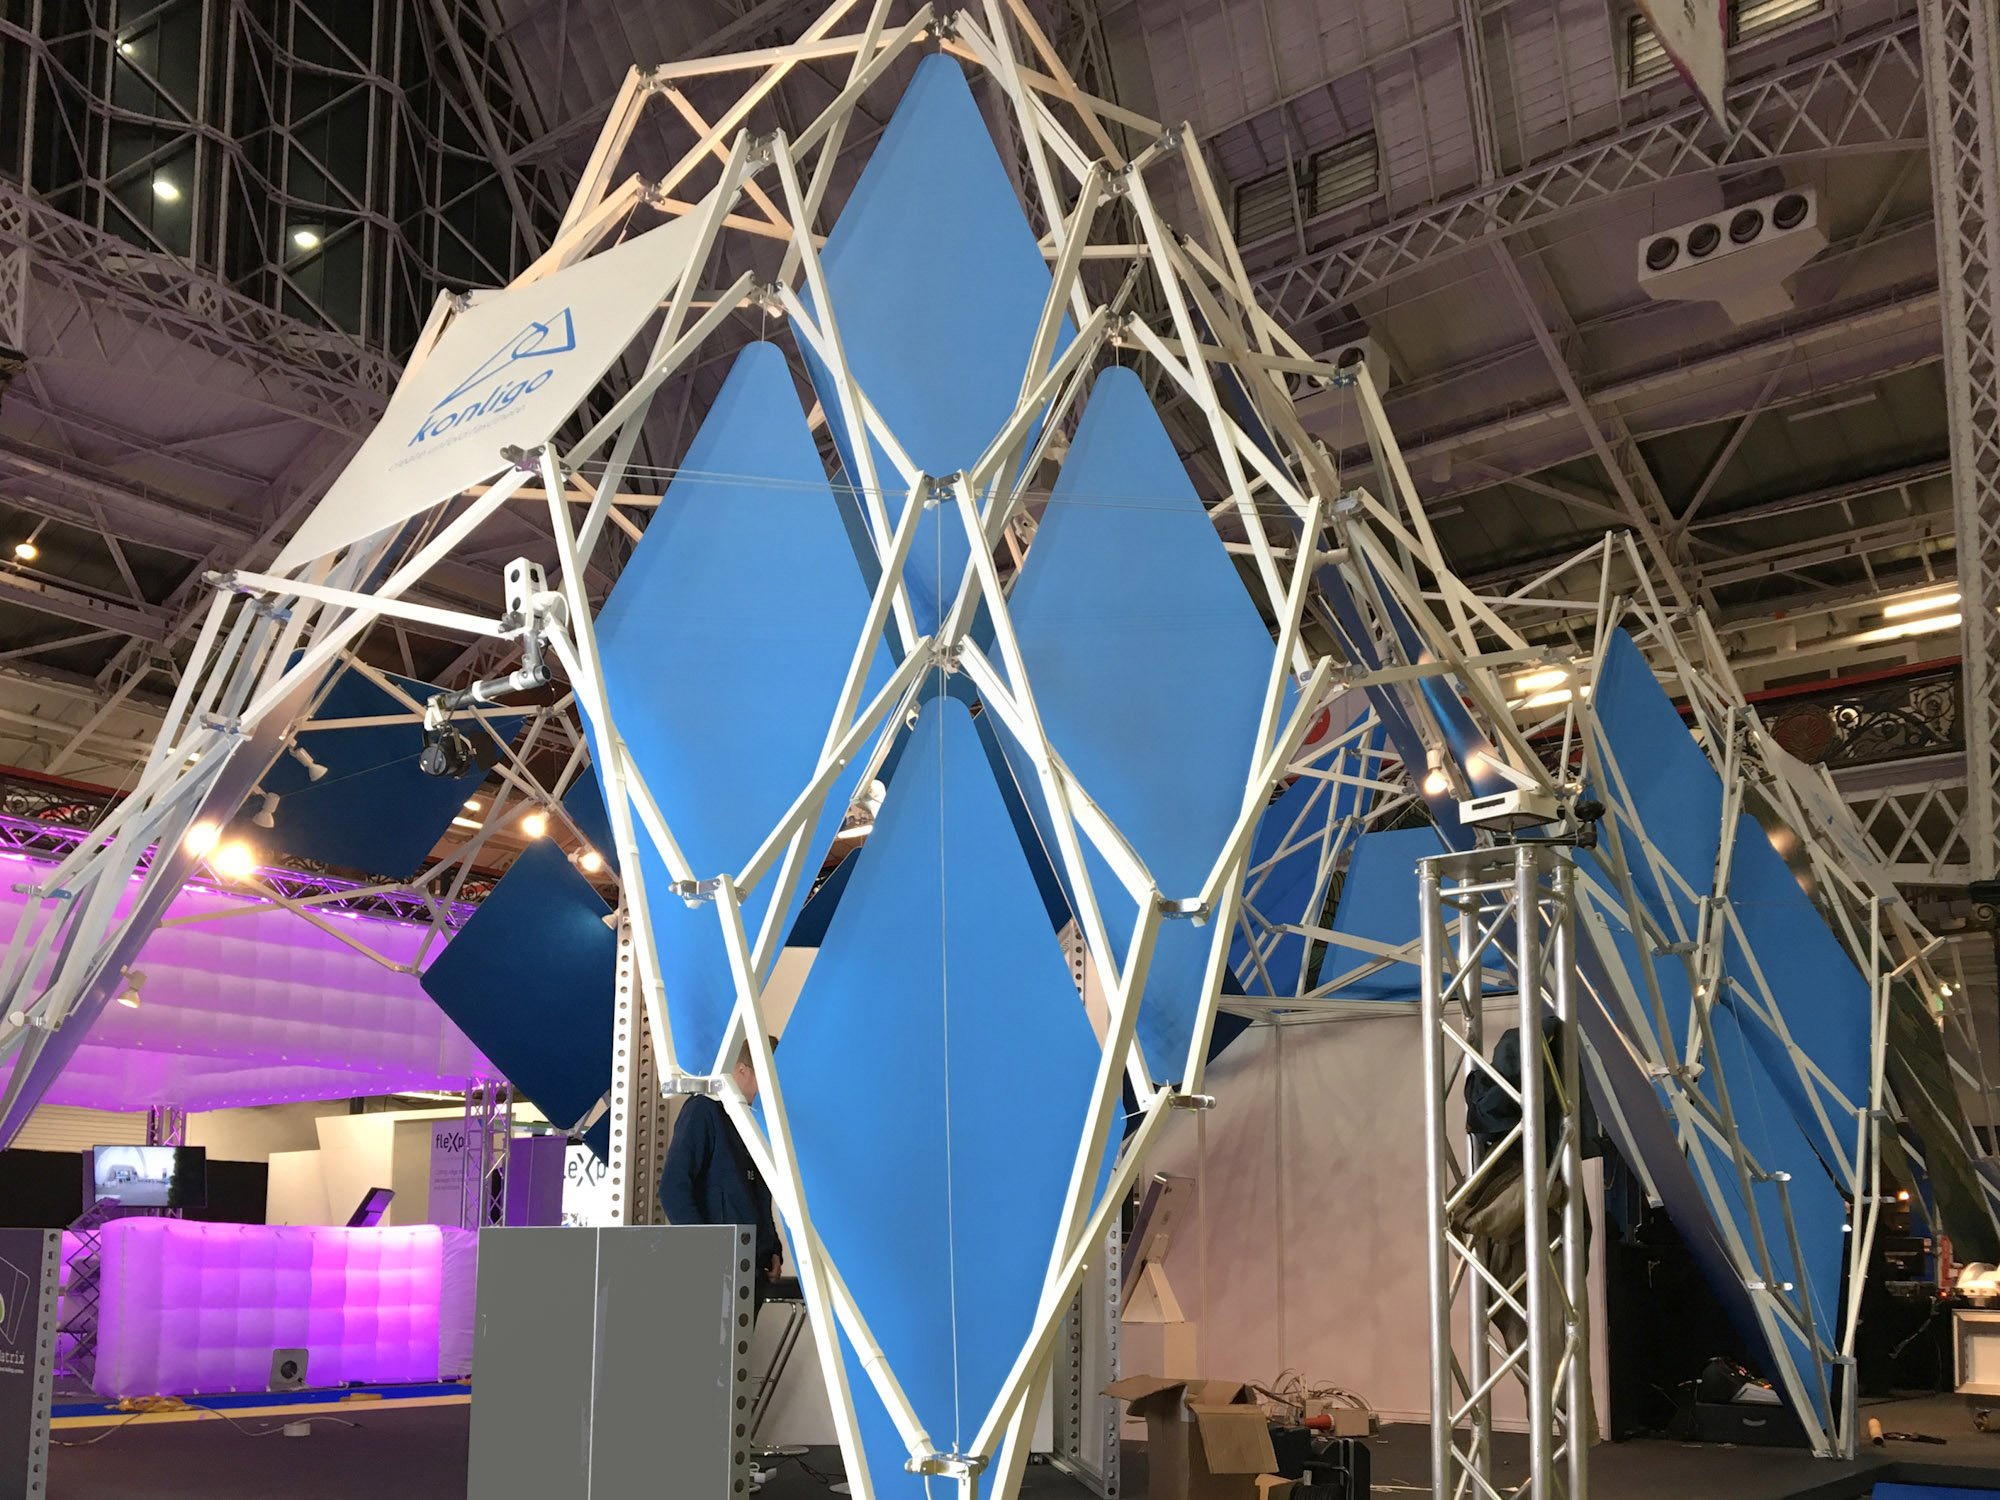
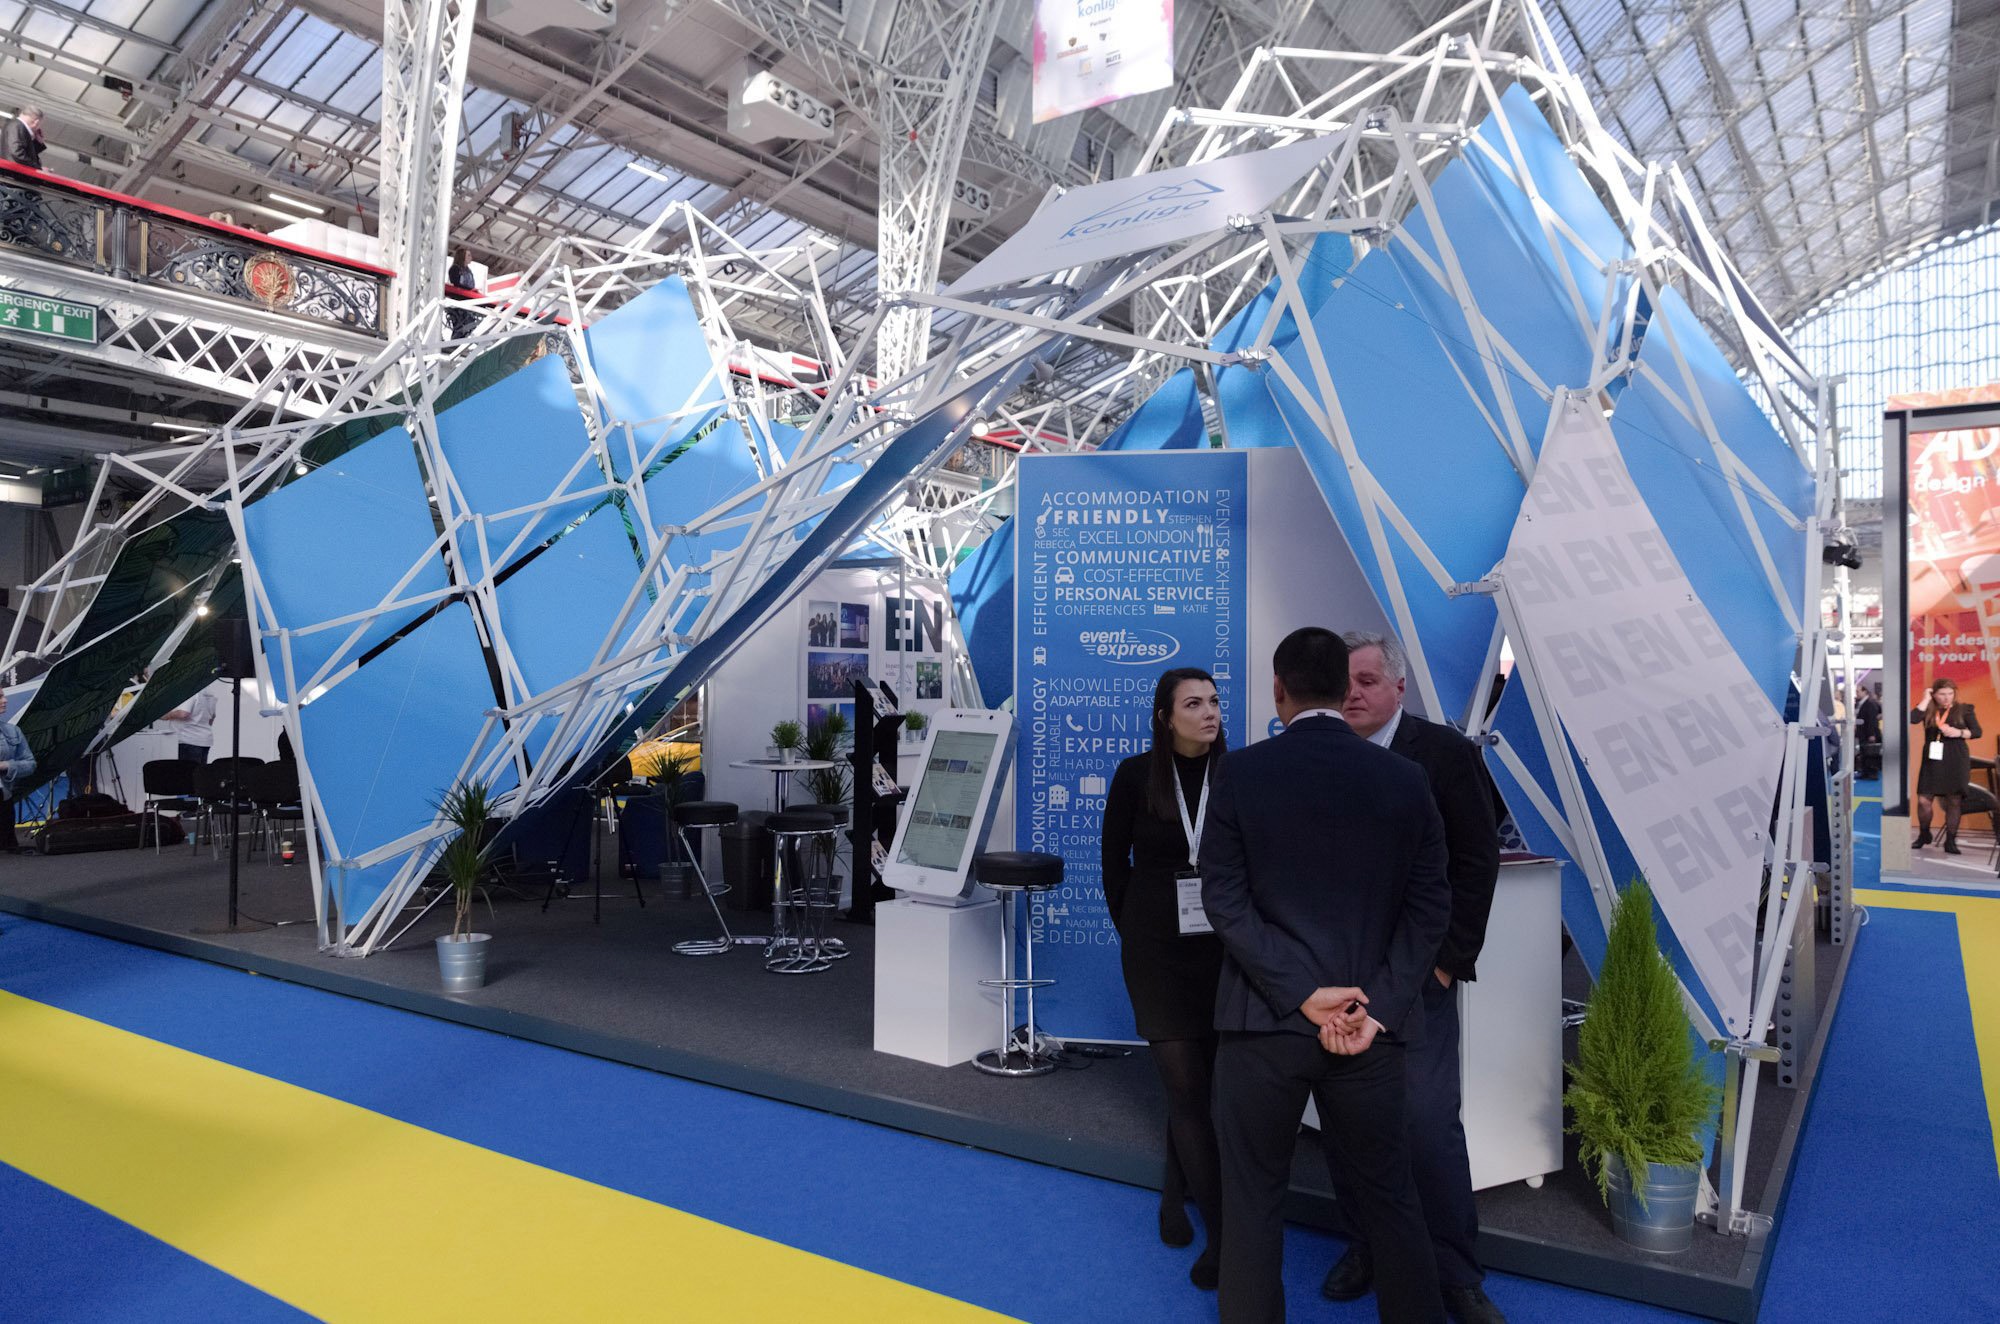
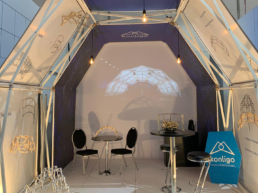
The Ondo is the tallest structure in our catalog with a height of 6m and a floor area of 42m². Thanks to its shape, the Ondo is perfect for an immersive experience and offers a real separation of spaces in an exhibition or corporate event.
It has a very unique asymmetrical shape that makes it look both complex and simple. Standing under the Ondo is a real spectacle in itself: it fascinates the audience.
It is made of recycled aluminum, with anodized beams or colored powder coating, and designed to withstand strong winds and rain. Lighting, sound, and projection functions can easily be integrated.


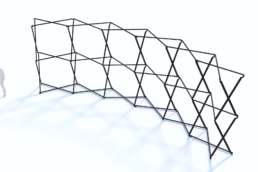
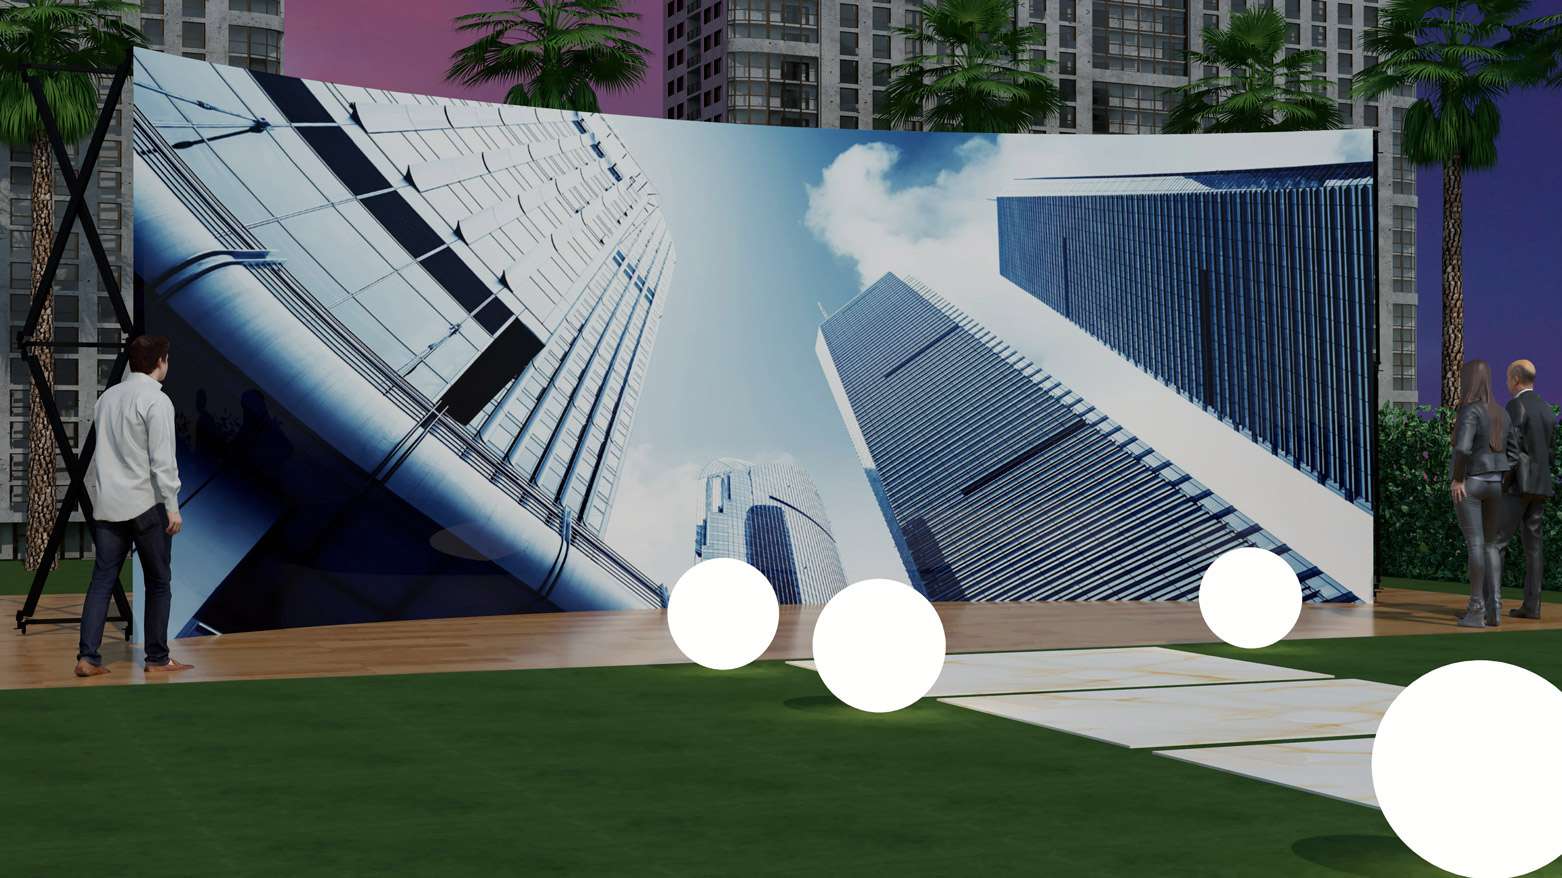
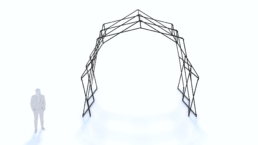
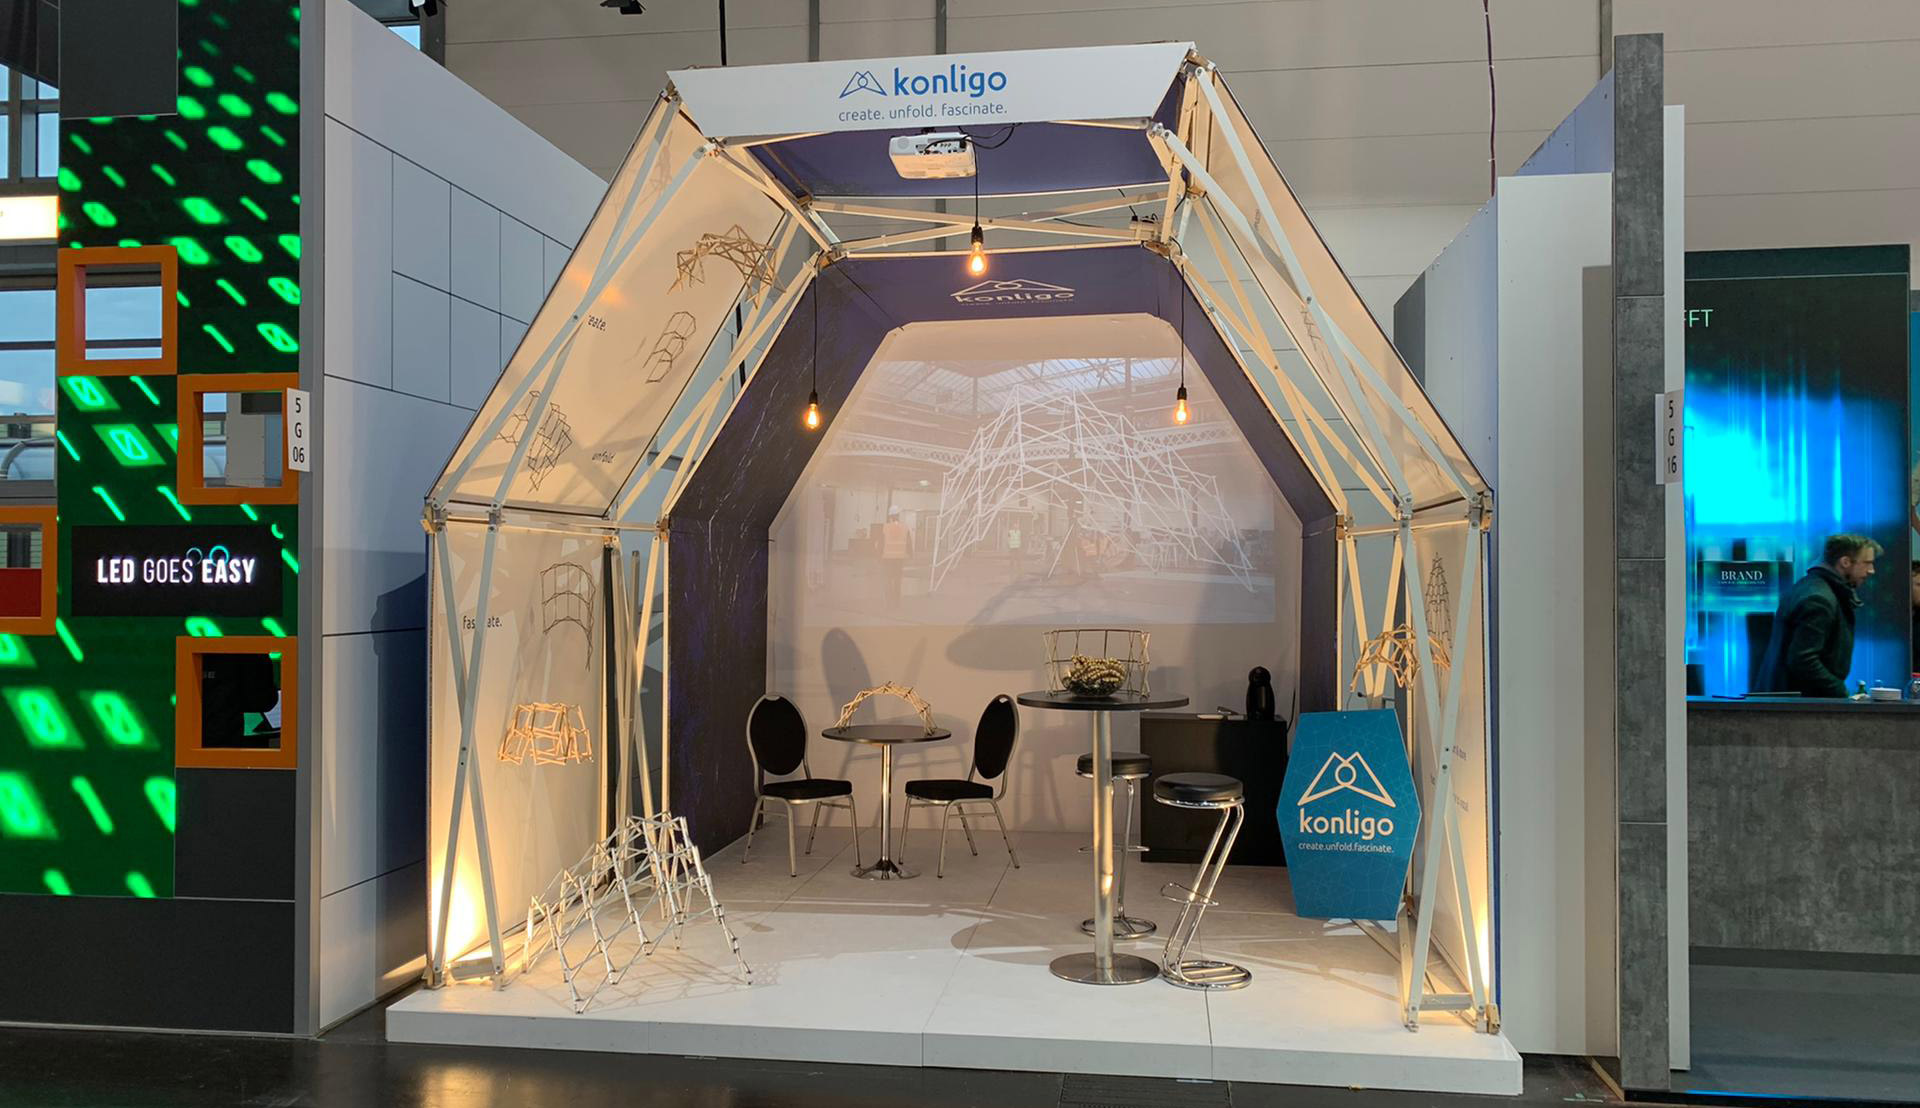
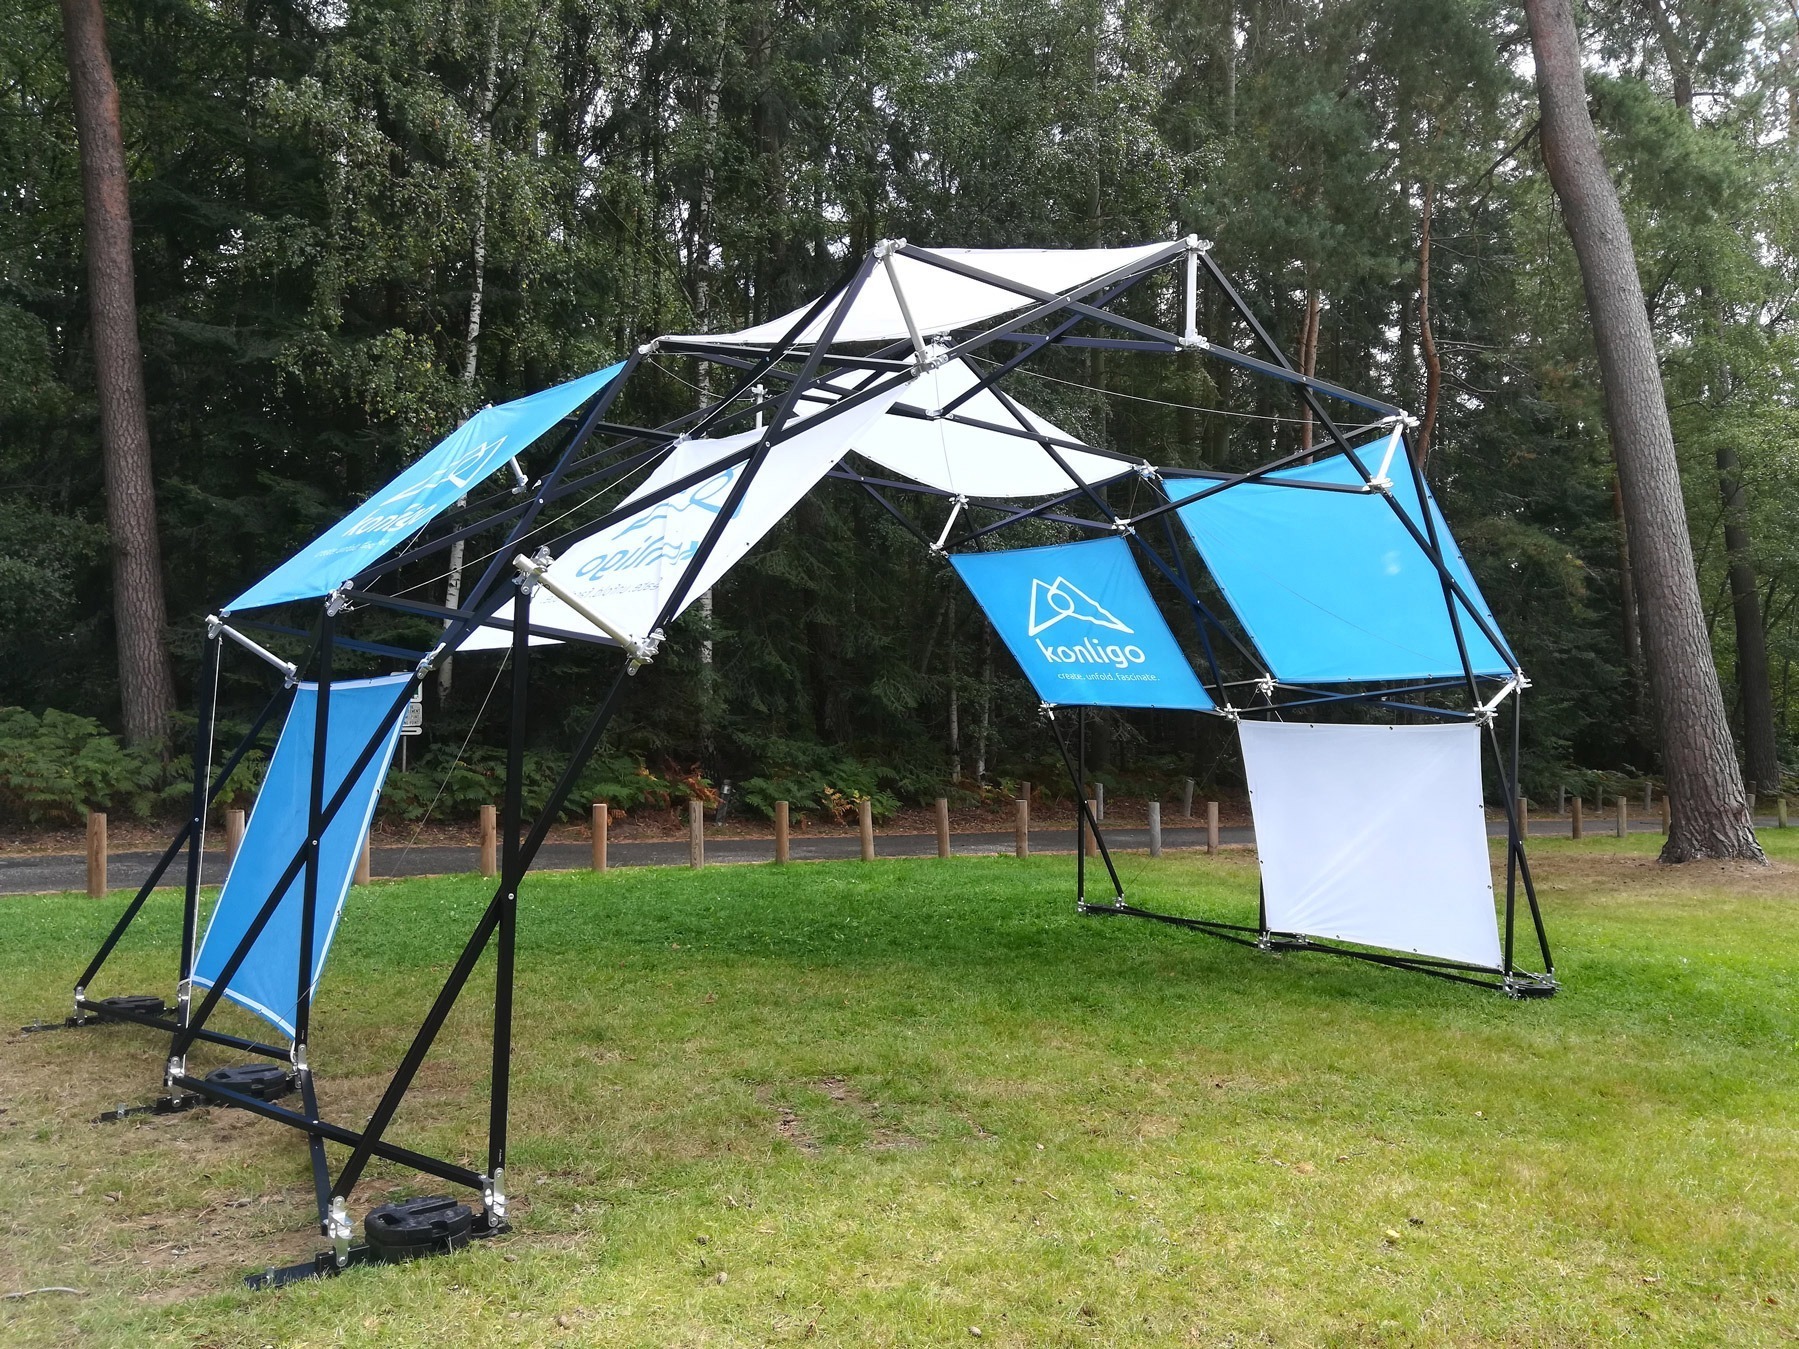
Arko
Arko.
Vertical walls and a clean style make it an ideal structure for a stand, brand activation, etc.
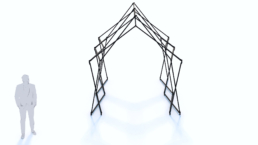
Arko is a Konligo product a derivative of Fastival but with vertical walls and a smaller with steep walls and a smaller span. Similar to the Fastival, the Arko can also be combined to form a tunnel.
Thanks to its vertical walls, the usable area is larger than with an arch. It is very easy to display text and graphics. It is made of recycled aluminum, with anodized beams or colored powder coating, and is designed to withstand strong winds and rain. and rain. Lighting, sound, and projection functions can easily be functions can be easily integrated.
3 different models

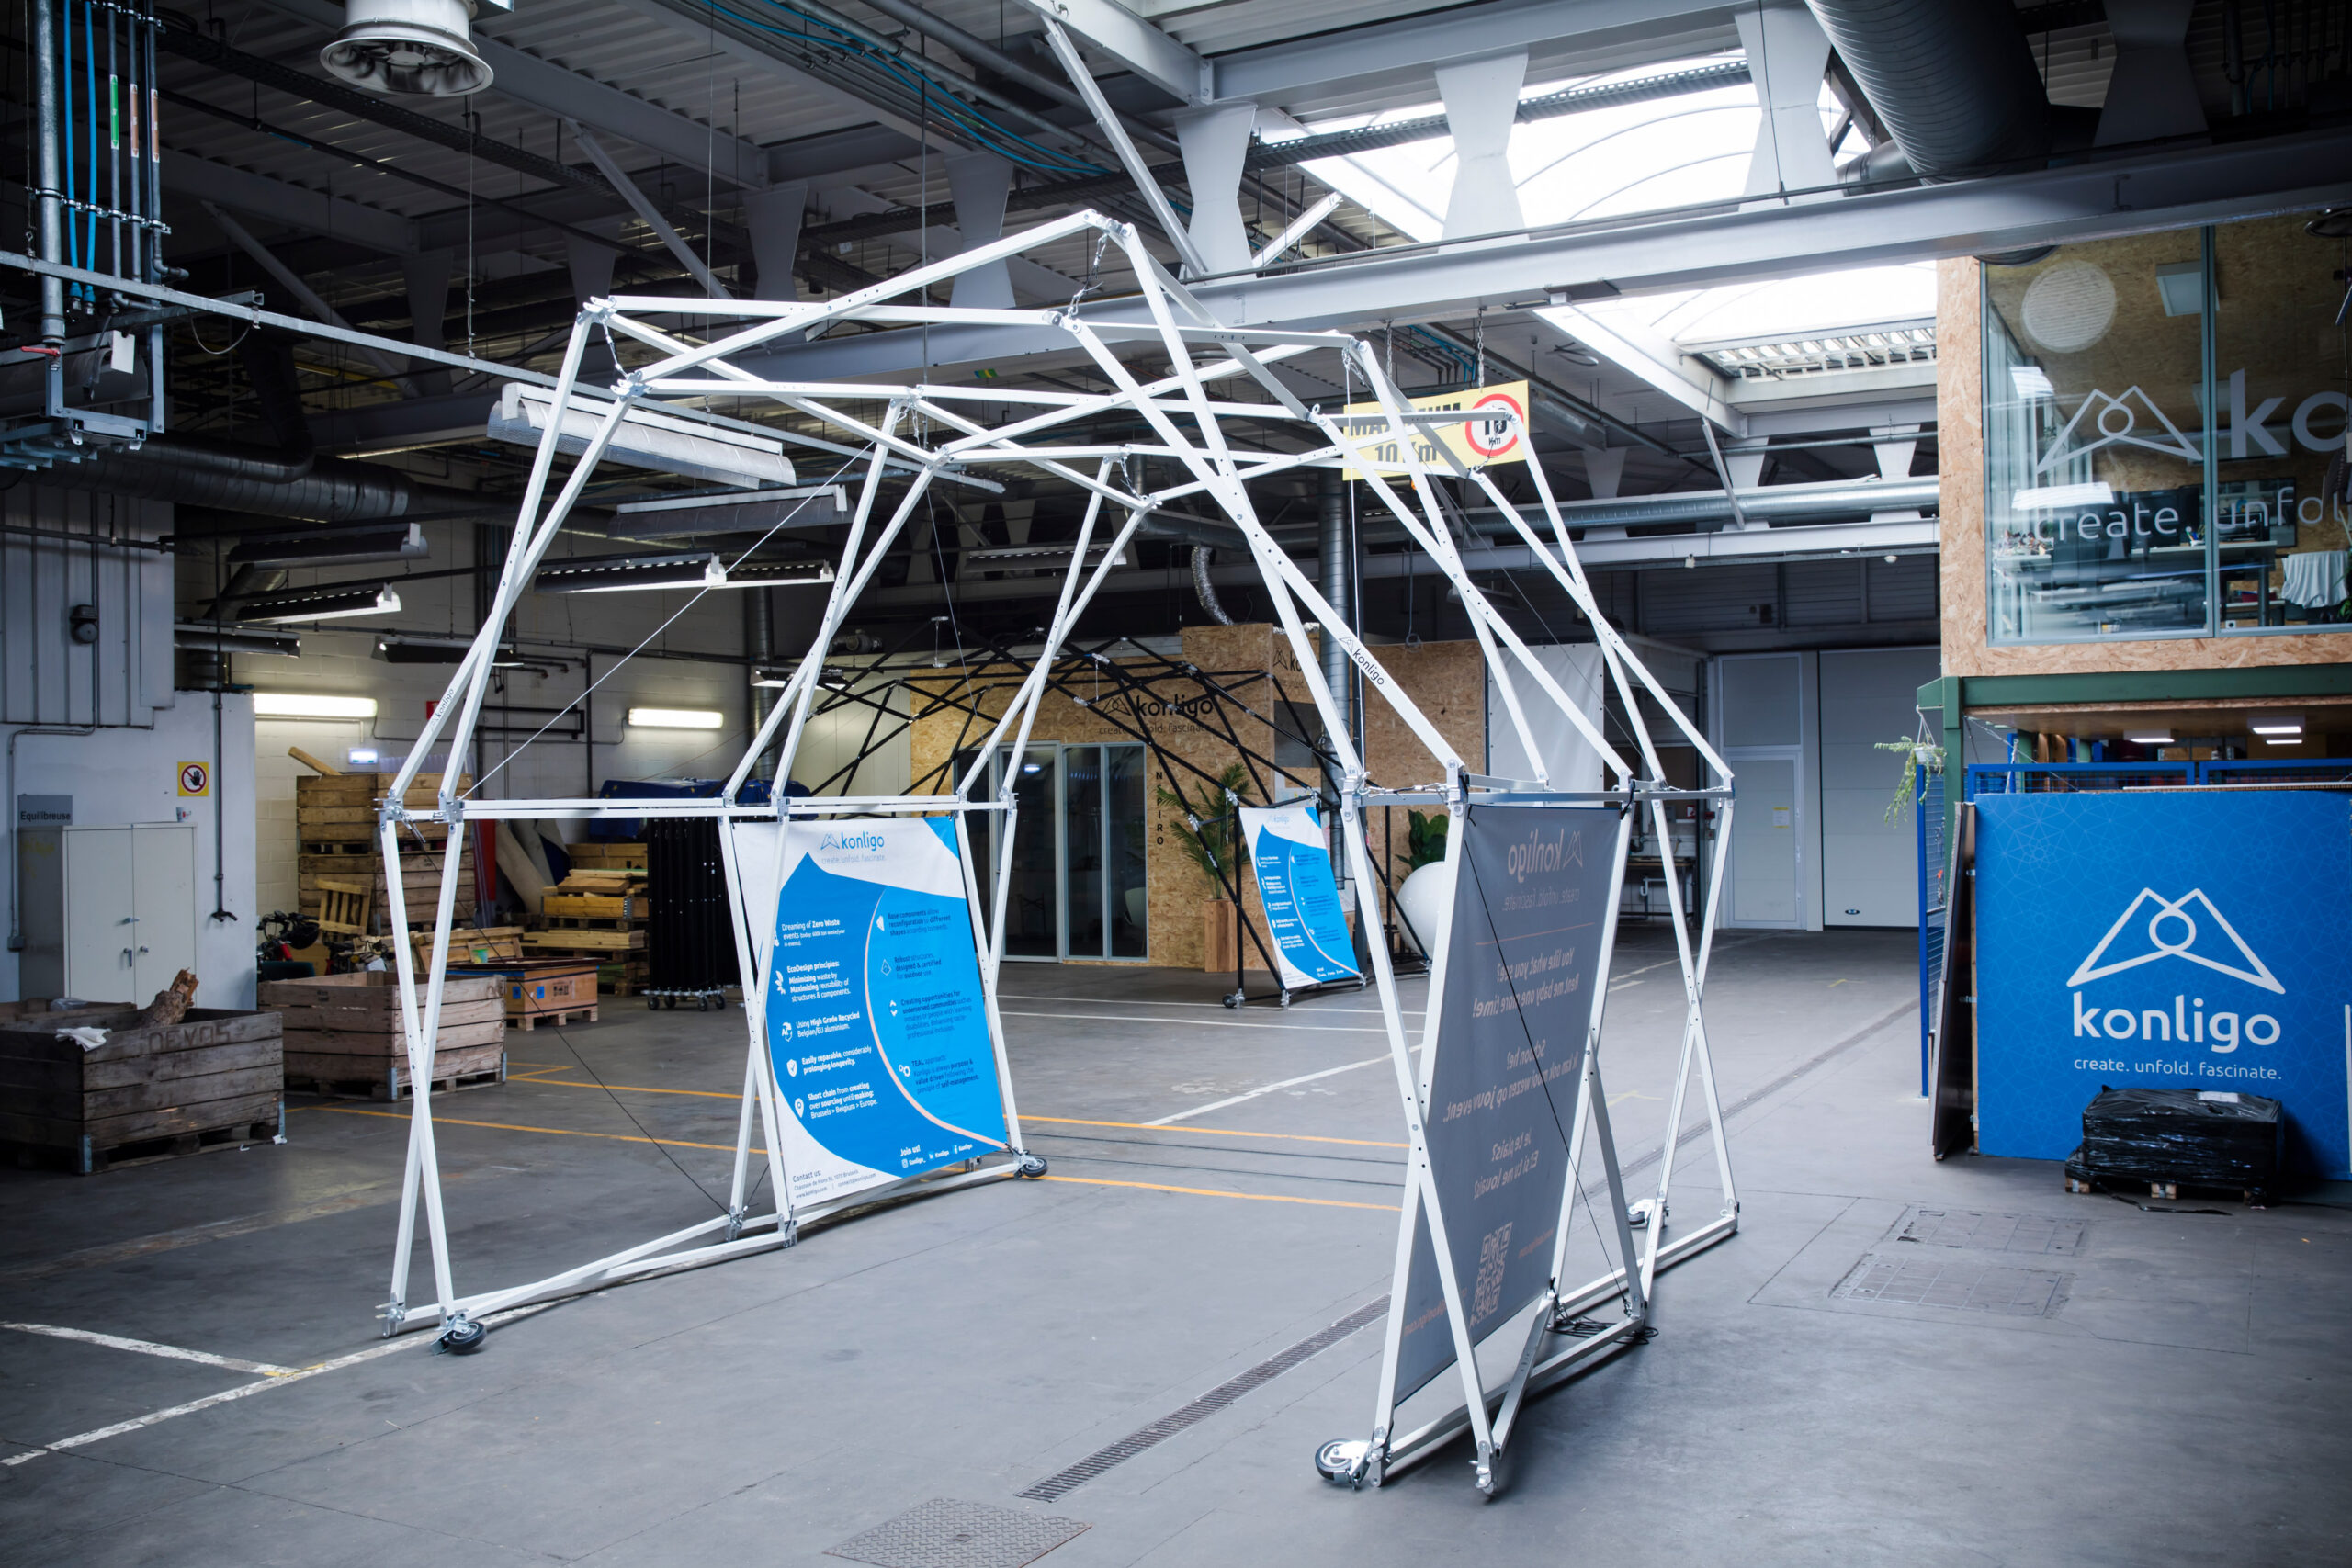
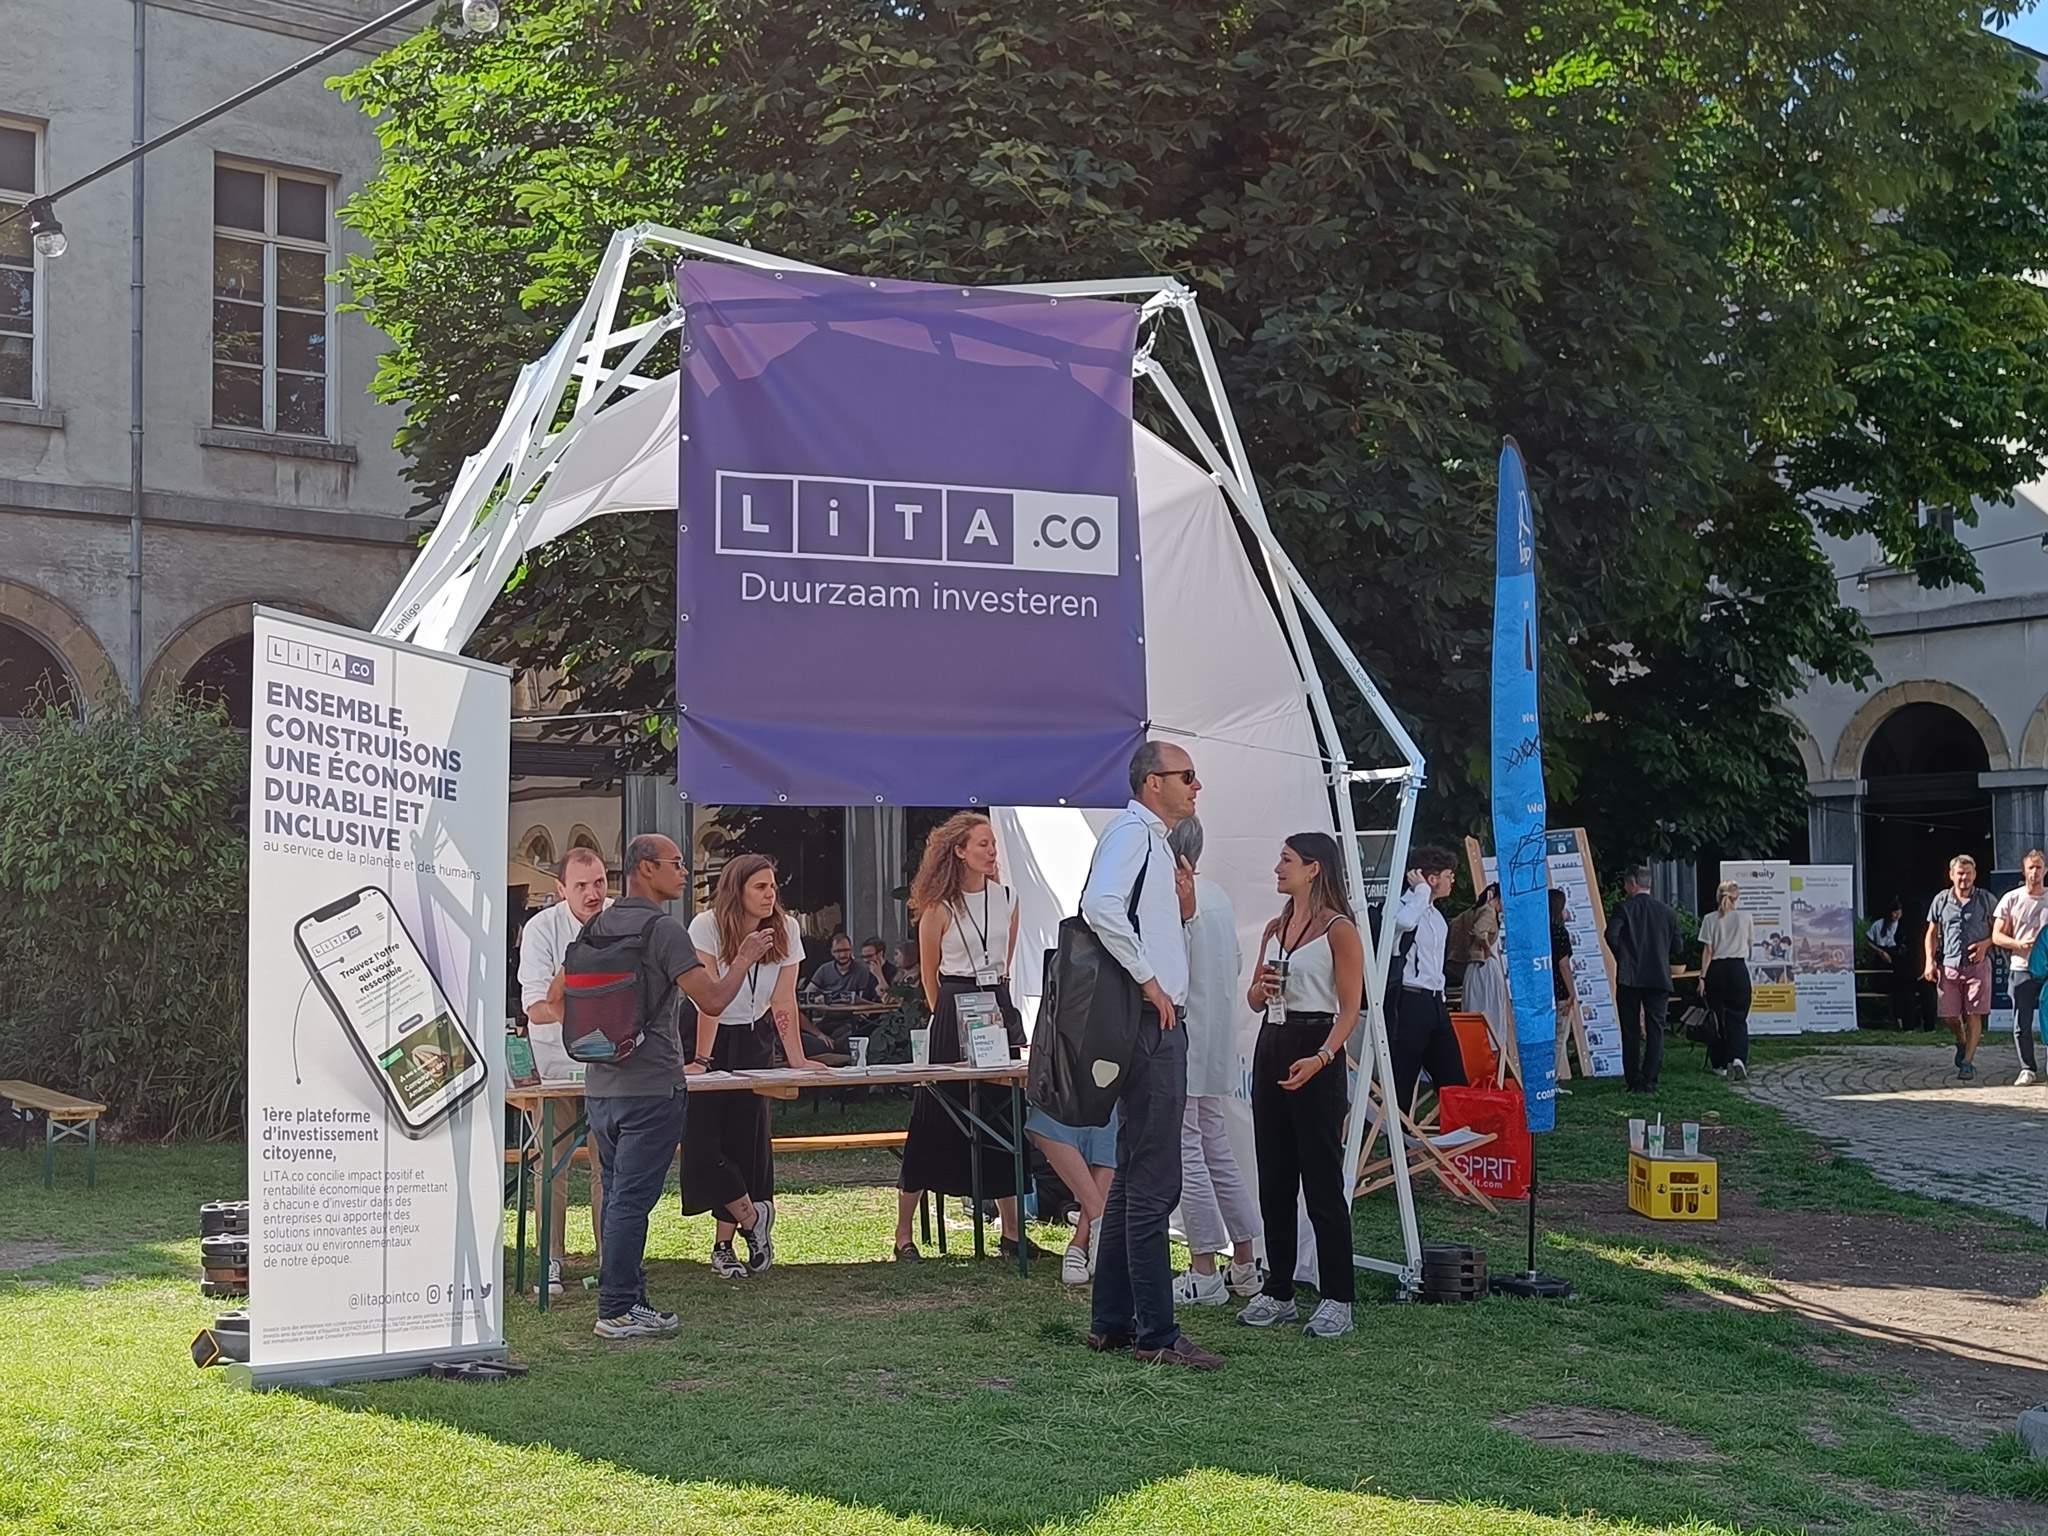

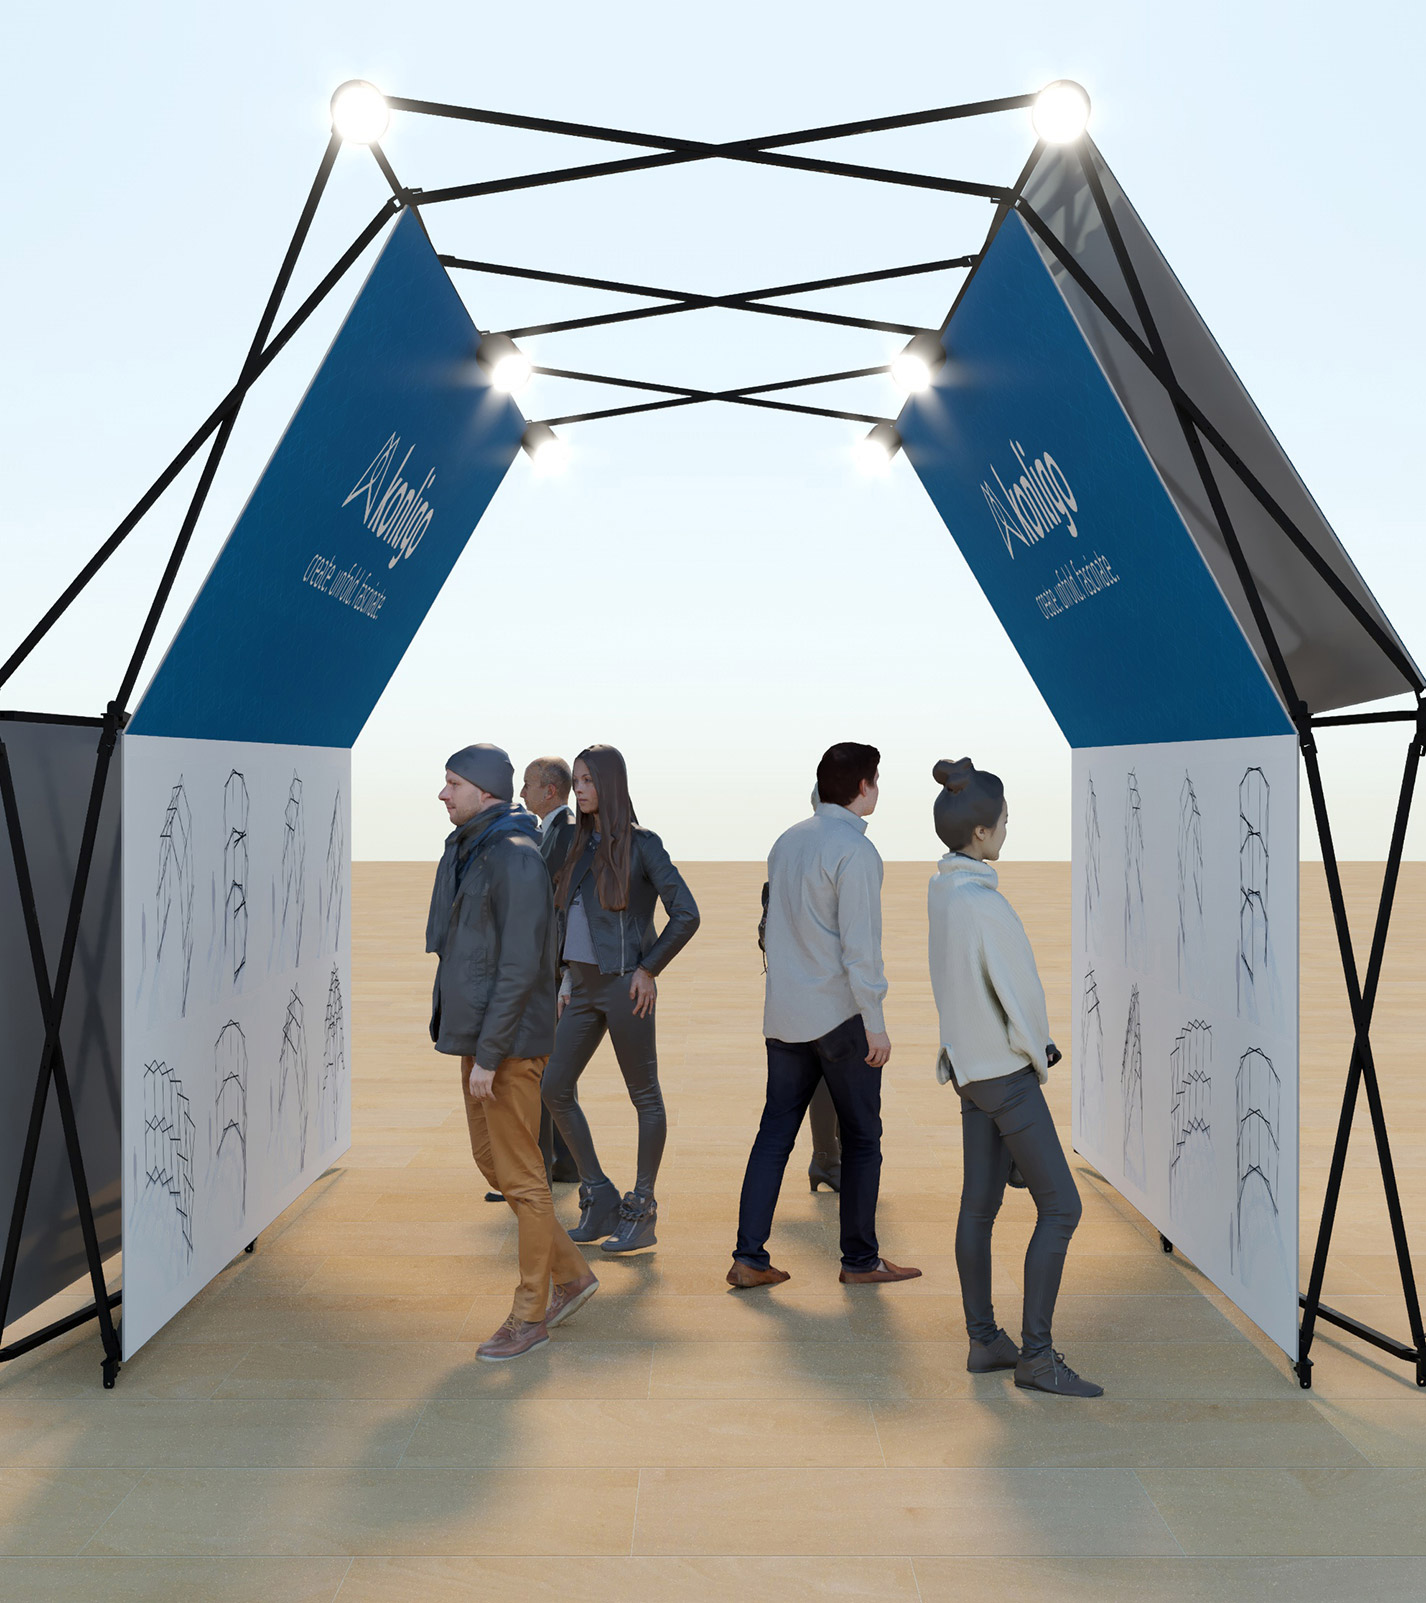
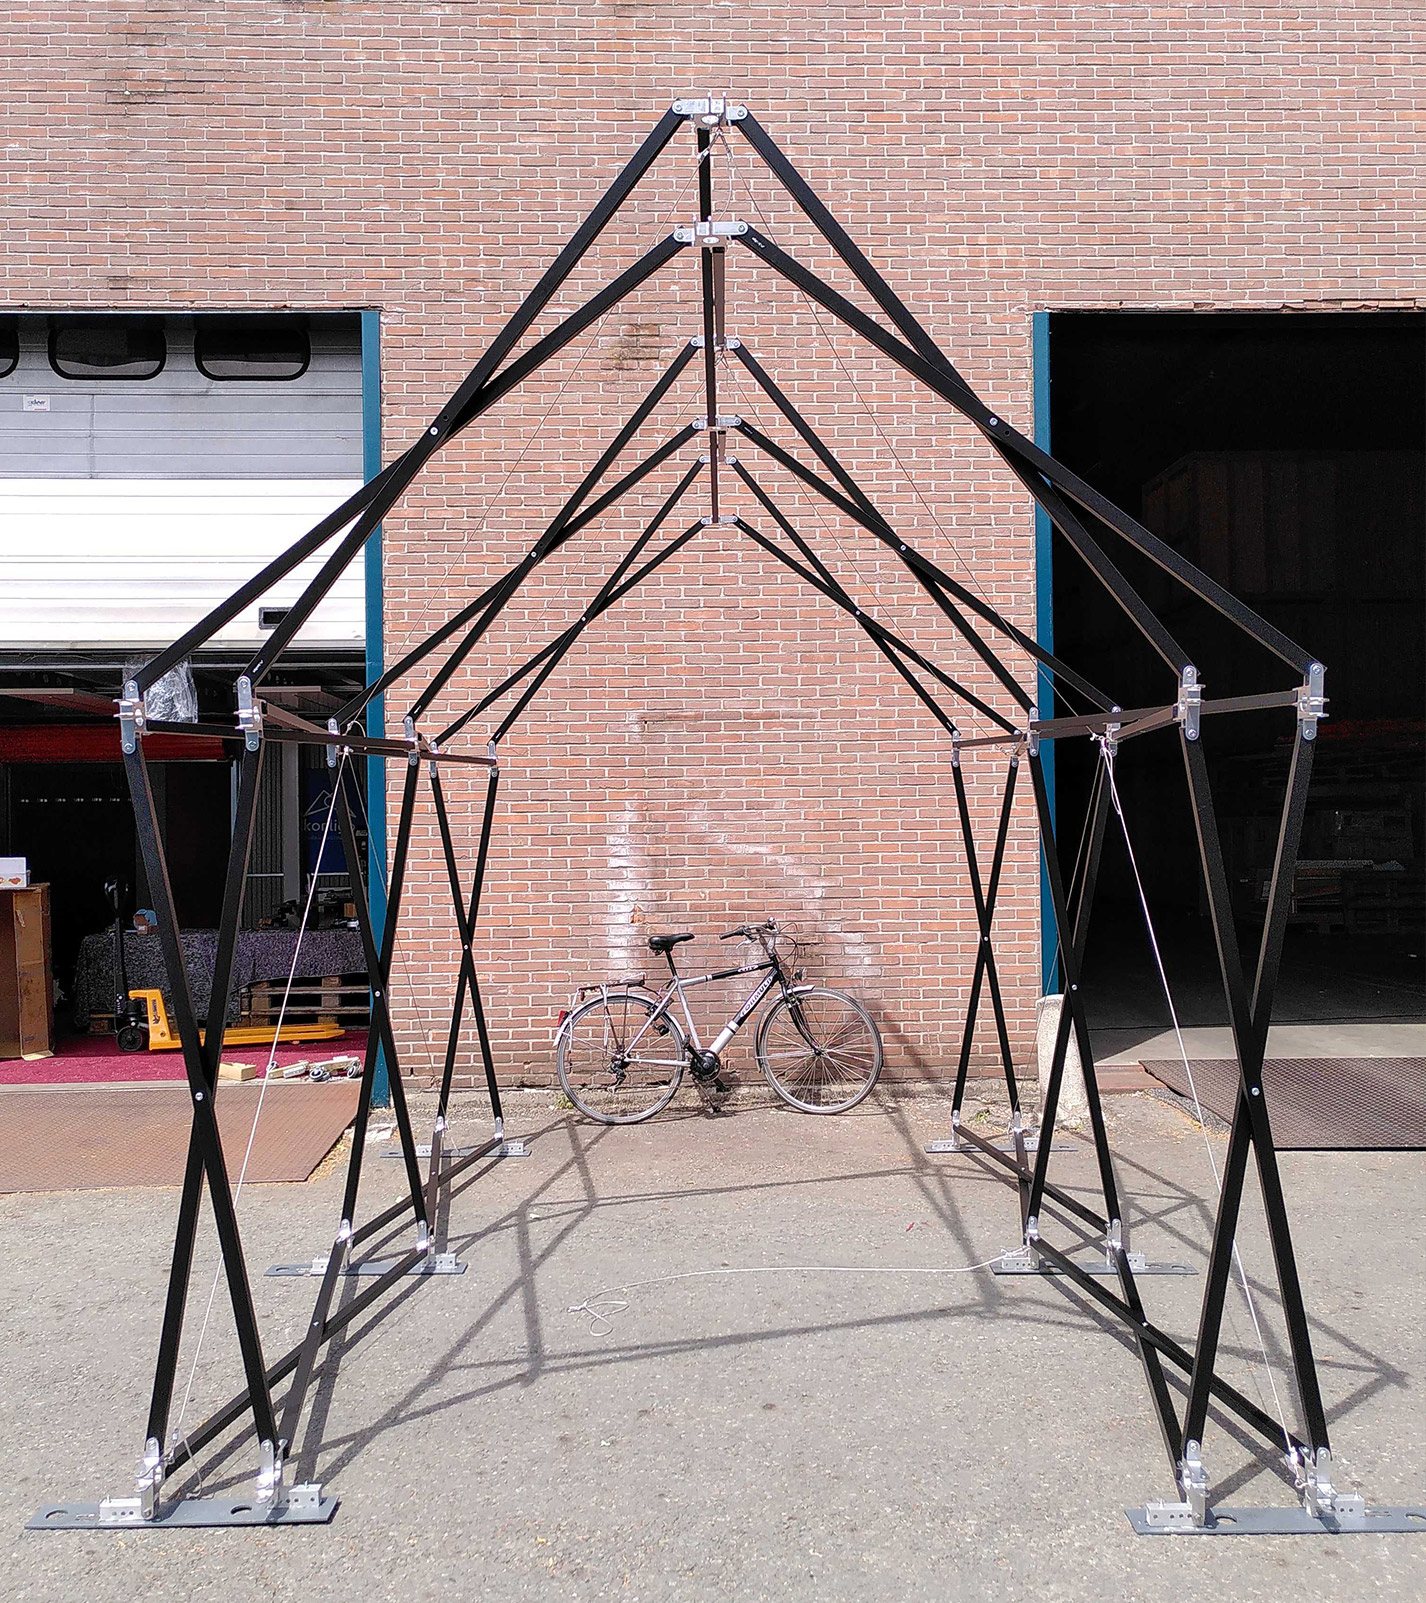
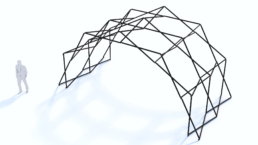
Fastival
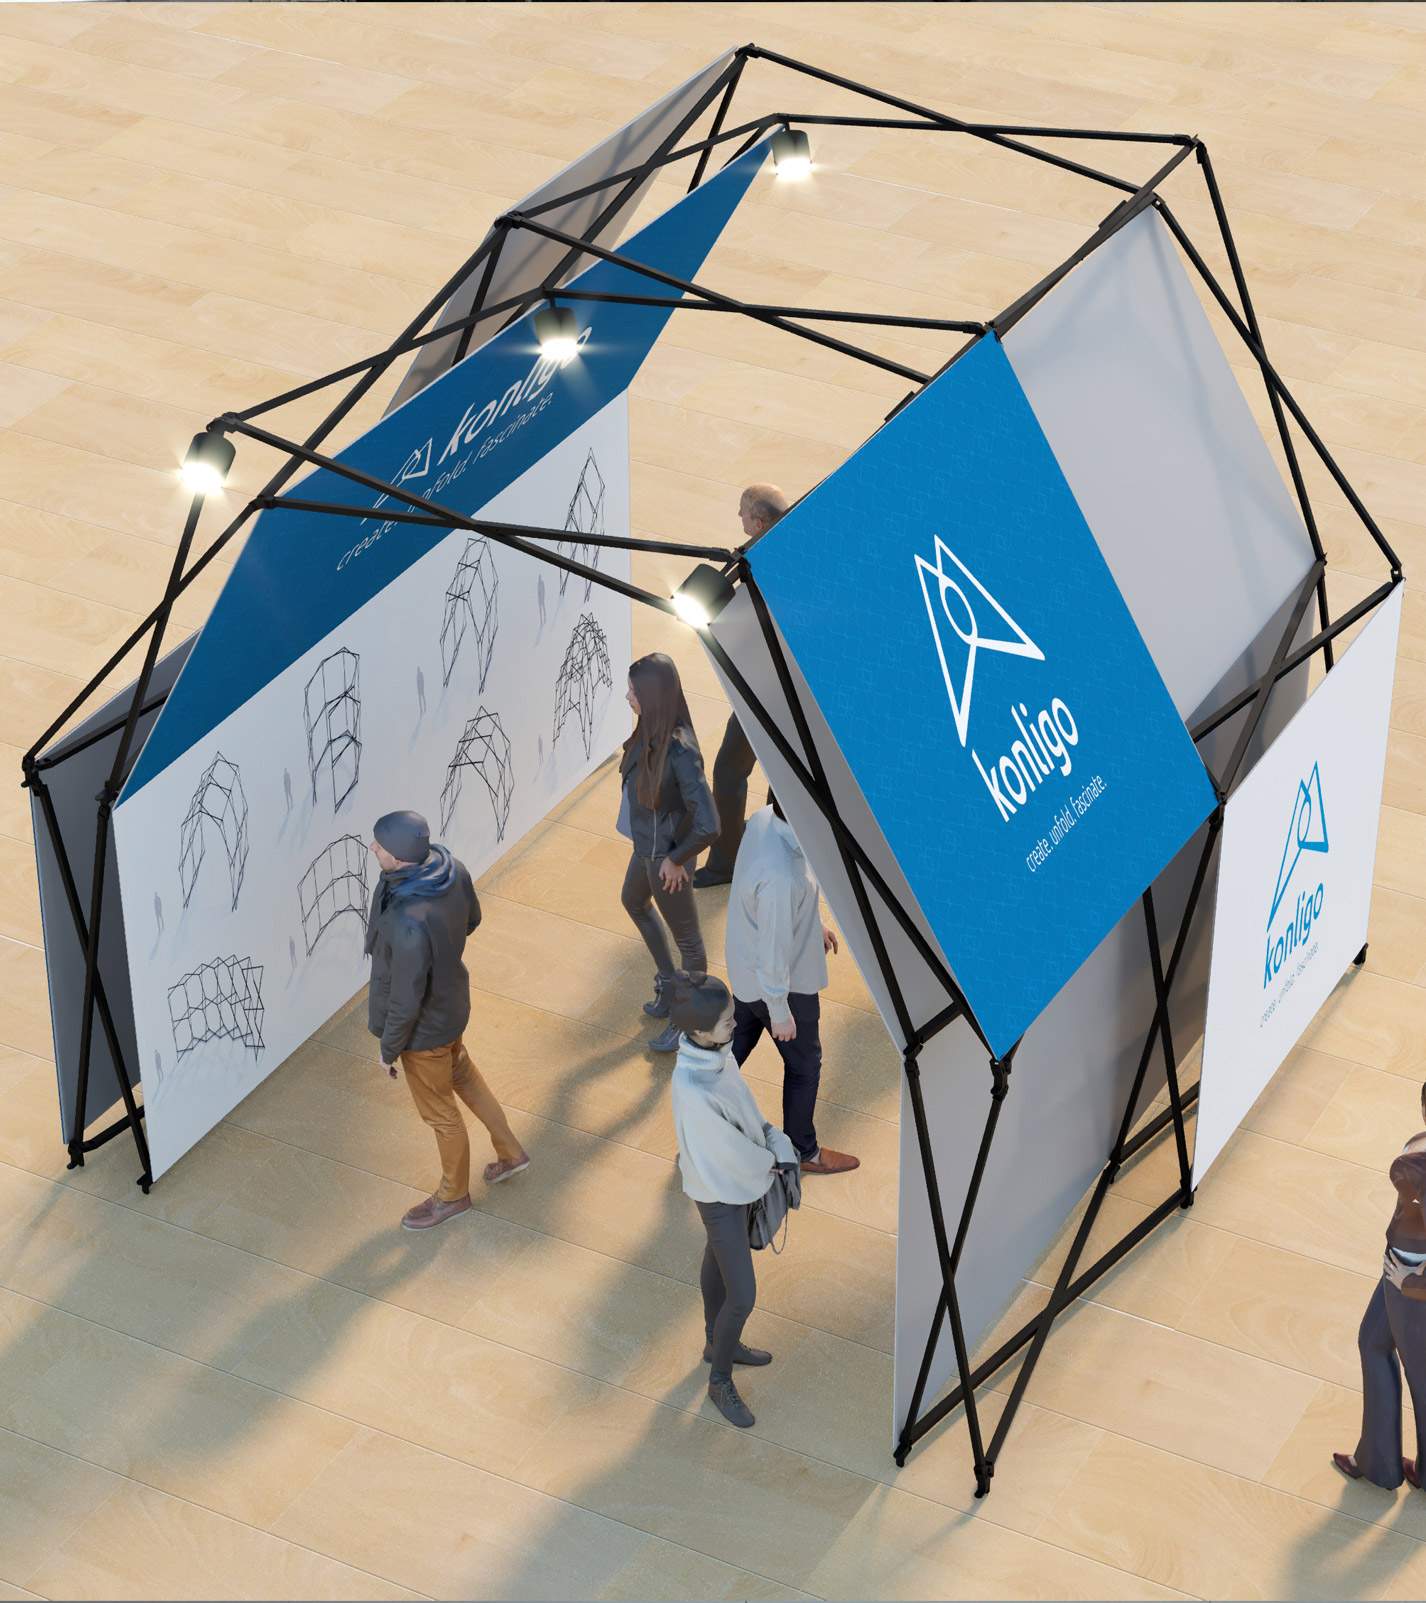
Fastival.
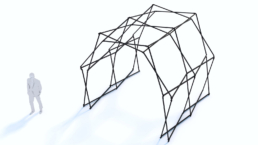
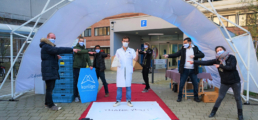
A complete arc for a stage, a DJ area stage, an entrance arch arches, a finish line, a shelter, etc.
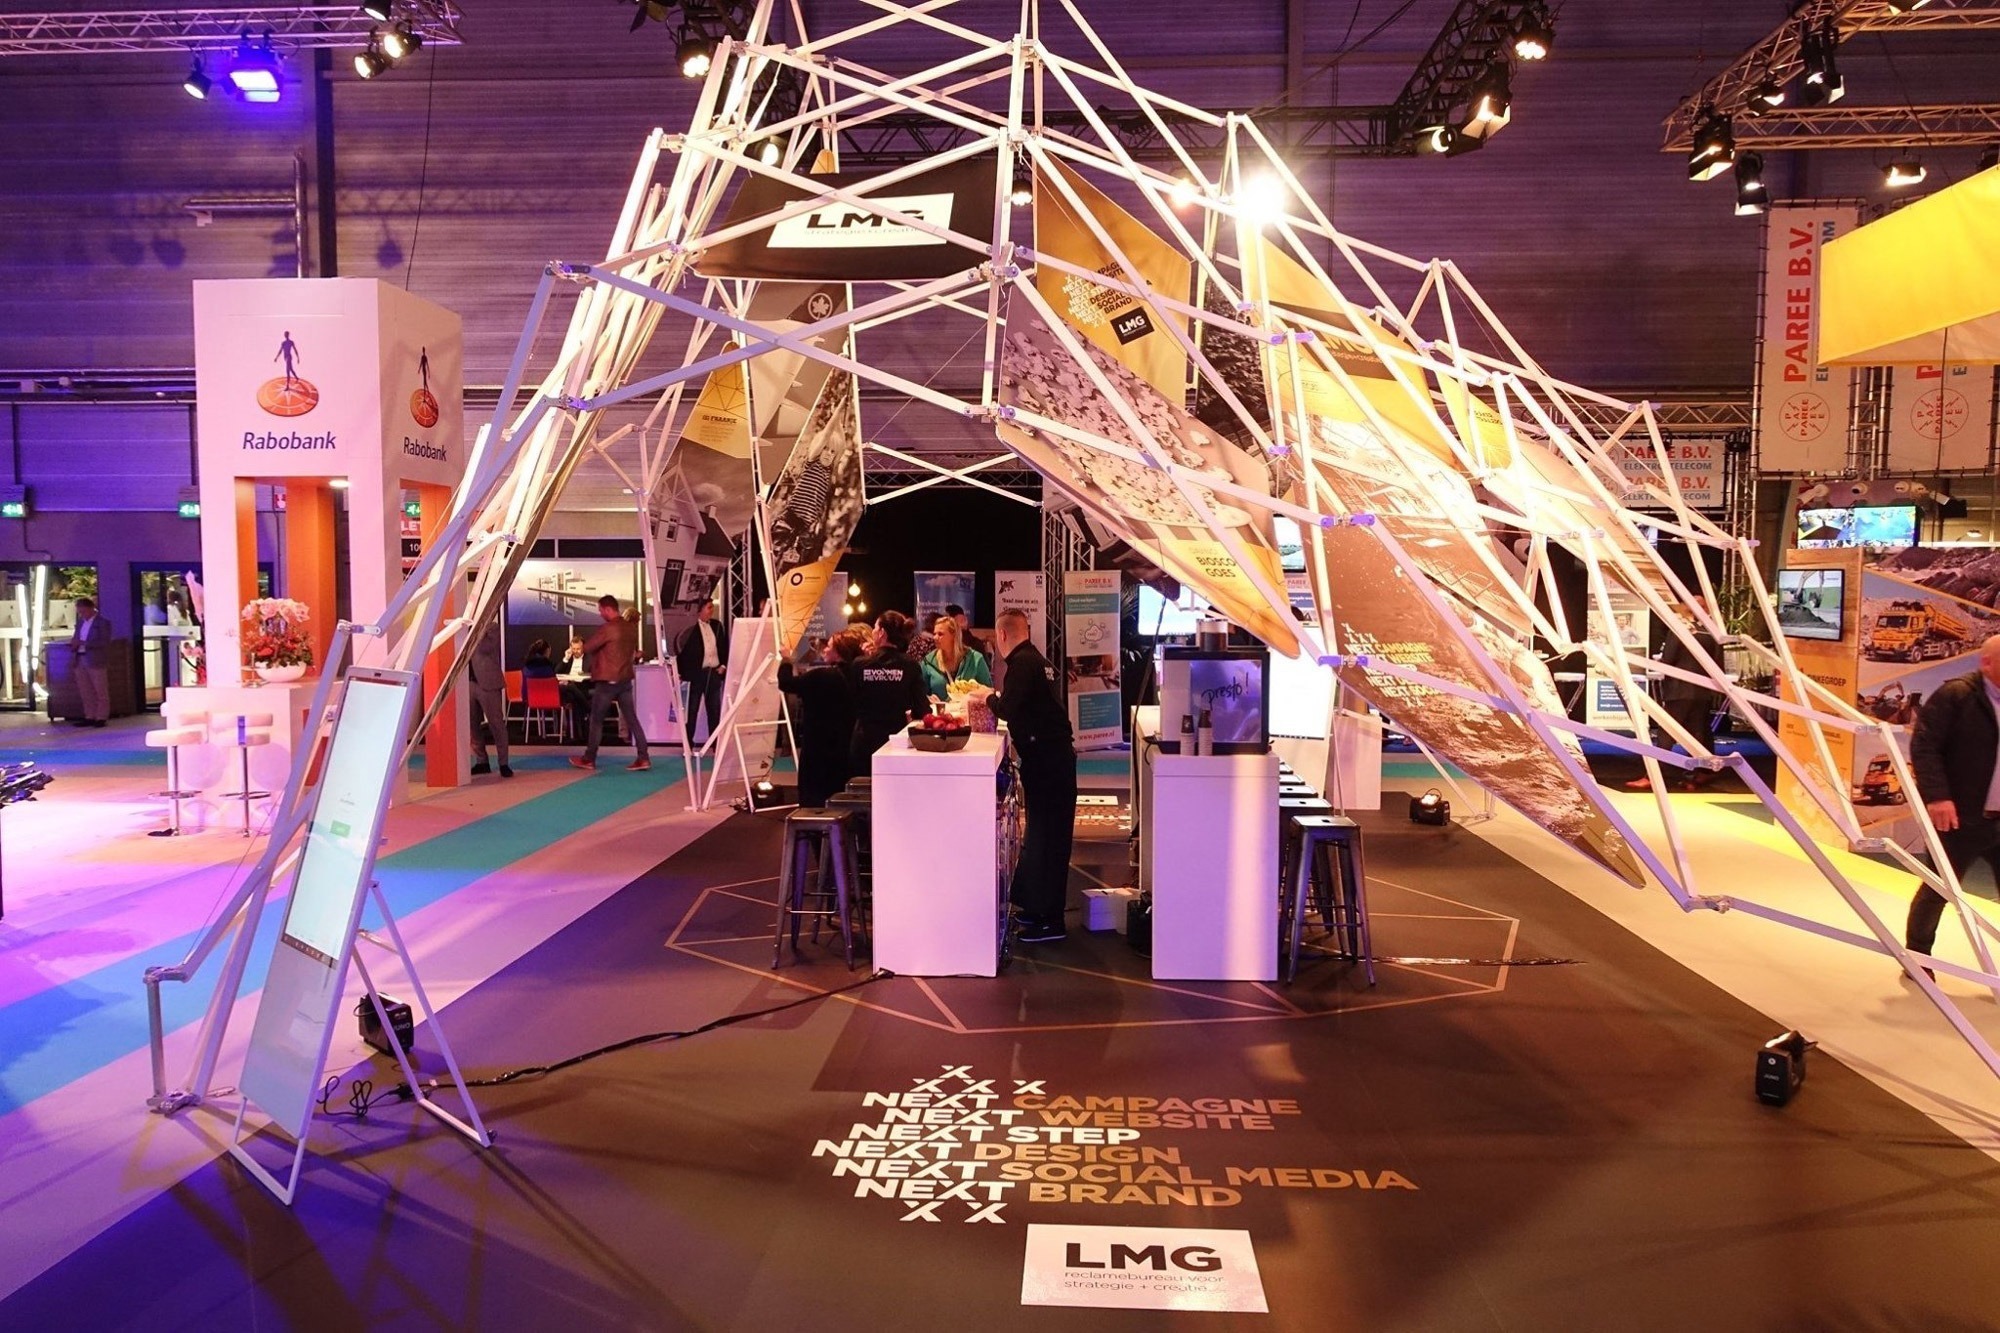
The Fastival is a robust 7.5 m long semi-circular structure with a semicircular span and a design that leaves no one unmoved. It can be installed very quickly, and the structure can be used alone or in combination to create real immersive tunnels.
The success of the Fastival lies in its iconic shape, which gives it a very innovative and authentic look. It is made of recycled aluminum, with anodized beams or colored powder coating, powder coating, and is designed to withstand strong winds and rain. Lighting, sound, and projection functions can easily be functions can be easily integrated.


Installation manual of the FasTival/Arko with PES membrane
The images used in this manual are from the FasTival, but the set-up is similar for the Arko.
Step 1: Releasing safety cable
Roll the structure to the designated place (for this: unlock the brake of the wheels) and loosen the long safety cable (which is around the structure)

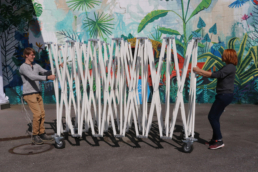
Step 2: First opening of the structure
Pull the structure open with 2 (or with 4) persons. Open the structure as far as you can, until the structure is half open in a stable position.
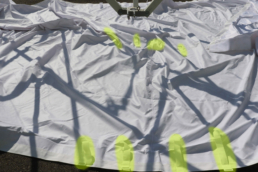
Step 3: Attaching the membrane, initial positioning
To hang the membrane with the velcro bands, start from the middle where you see 4 velcro bands next to each other (yellow in the picture) and align that part with the middle of the structure (where the joint is the highest).
Step 4: Attaching the membrane with velcro bands
Attach the velcro bands to the beams – 2 left and 2 right from the joints. Don’t tension them too much: fold the end part of the velcro back over the buckle until the stitched line.
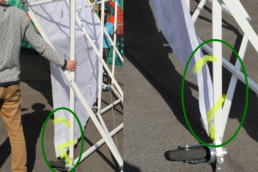
Step 4 attention point: Don't attach the velcro bands at the edge
Attach all the connection points, except those at the edges. There are three velcro straps per edge, so 6 x 3 in total that should still be loose.
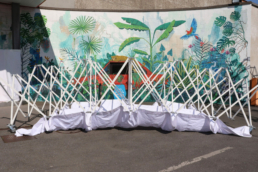
Verification stage
At this stage, the structure and membrane should look similar to this picture.
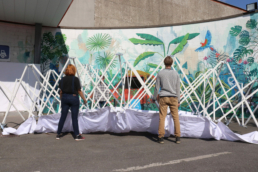
Step 5: Where to open the structure
Position the team of 4 people exactly like in this picture: two persons at each side, one person per joint, being the third joint starting from the sides.
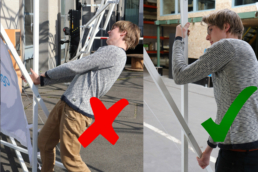
Step 6: Full opening of the structure
Push the structure upwards with 4 people along the arch side: first push the structure up (at the starting joints) and then go to the lower joint next to you to pull the structure inwards. It’s a combination of keeping the center of the structure high enough and pulling the sides inwards.
Keep in mind that you need a larger space to deploy and open the structure than the ultimate span of the structure in open state (in total 10m for the FasTival, a bit less for the Arko’s)!
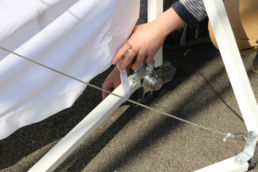
Step 7: Connecting safety cable
Connect the safety cable between the two middle ground joints, at the eye bolts with the carabiner hooks. If the span of the structure is too big for the safety cable, you should push the sides of the structure more inwards, until the safety cable fits.
While someone is installing the safety cable, make sure that two other persons hold the structure in place so that it cannot close back down.
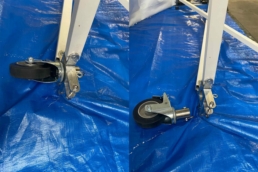
Step 8: Removing the wheels
Remove the wheels on the ground joints.

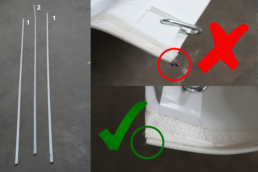
Verification stage for the keder rails
(if you want to connect a backdrop or a second membrane, otherwise go to step 13)
The keder rails should slide over the circular keder profile at the edge of the membrane. Start with a short rail (1), then the long one (or two times a long one if you have 4 keders) (2), to end with a short one again (1). Make sure you use the correct side to start sliding.
Step 9: Installing the keder rails
Slide the keder rails over the circular keder profile at the edge of the membrane: one per one, and use the next one to push the previous one into place.
Step 10: Installing the backdrop/connection membrane
Once all keder rails are installed (over the full edge length of the membrane), slide the keder profile of the backdrop or the connection membrane into the rail. Do this with two persons: one person helping at the bottom to slide the membrane into the rail and the other one pulling from the other end.
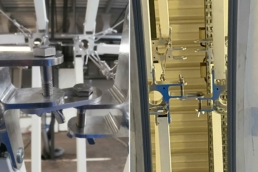
Step 11: Installing the connection pieces
(if you want to connect a second structure, e.g. in the case of a FasTival L, otherwise go to step 13)
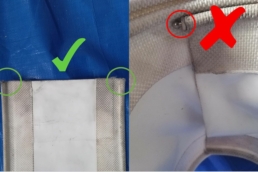
First set up both structures separately and bring them as close together as possible. In the best scenario (first picture) the fins of the joints are (almost) touching each other. Sometimes this may not be possible (see second picture). Then attach the connection pieces by connecting the fins of the two joints concerned. For the FasTival, do this at 5 locations on the structure (so not at the level of the two ground joints).
Make sure you connect the pieces in the right way as shown in the picture.
Step 12: Sliding the connection membrane
When the two structures are connected by the 5 connection pieces at the joints, you can slide the connecting strip into the keder rails. Make sure that you choose the right side to start with (without the metal closing piece).
Step 13: Connecting the last joints
Attach the last 3×6 velcro bands of the membrane with the beams (the lowest velcro band should be attached to the bottom beam).
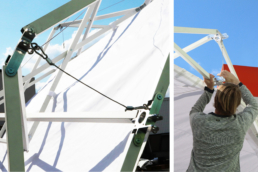
Step 14: Attaching the locking cables
(if you want to remove the safety cable and/or if you expect high winds)
Attach all locking cables (at both sides of the structure). If they seem too short, then push the lower joint upwards to reduce the distance. Use a ladder where necessary.
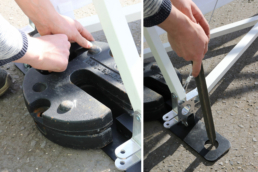
Step 15: Installing the feet plates
If you have the version with the position pins, you can tighten the pins in the bolts. The ballast weights are placed over these position pins to block the lateral movement and position of the weights.

Step 16: Removing the safety cable
Only remove the safety cable when it hampers the passage underneath the structure. Only do this when the locking cables and the feet are secured!
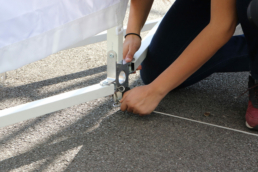
Step 17: Installing ballast weights or anchors
Anchor the structure by putting the necessary ballast weights on the feet (when the structure is on hard underground). If the structure is on grass or soil, you can additionally use ground anchors through the big holes of the feet plates.
The total amount of ballast weight depends on the expected wind speed and extra loading of the structure: follow the instructions of the provided load bearing sheet.
Closing the structure
Step: Follow all the previous 17 steps in exact the opposite order
Make sure that the brake of the wheels are loose once you want to fold the structure back in its fully folded state.
Additional information: removing the backdrop
One person should pull the backdrop from the inside out the keder rails, while another person pushes to make it easy to slide.
DANGER: Be aware of the position of the hands! (from arch to half open)
Keep the hands at the outside to prevent them getting squeezed in between the beams when you close the structure from arch position to half open position.
DANGER: Be aware of the position of the hands! (from half open to fully closed)
Keep the hands at the outside of the top joints when closing the structure fully.

Installation manual of the FasTival/Arko with PVC membrane
The images used in this manual are from the FasTival, but the set-up is similar for the Arko.
Step 1: Releasing safety cable
Roll the structure to the designated place (for this: unlock the brake of the wheels) and loosen the long safety cable (which is around the structure).
Step 2: First stage opening of the structure
Pull the structure open with 2 (or with 4) persons. Open the structure as far as you can, until the structure is half open in a stable position.
Step 3: Attaching the membrane
Hang the membrane with the carabiner hooks in the eye bolts of the lower layer of the joints. Attach all the connection points, except those at the edges, at the wheels (meaning 2 x 3 connection points).
Verification stage
At this stage, the state of the structure and membrane should look similar to this picture.
Step 4: Where to open the structure
Position the team of 4 people exactly like in this picture: two persons at each side, one person per joint, being the third joint starting from the sides.
Step 5: Full opening of the structure
Push the structure upwards with 4 people along the arch side: first push the structure up (at the starting joints) and then go to the lower joint next to you to pull the structure inwards. It’s a combination of keeping the center of the structure high enough and pulling the sides inwards.
Keep in mind that you need a larger space to deploy and open the structure than the ultimate span of the structure in open state (in total 10m for the FasTival, a bit less for the Arko’s)!
Step 6: Connecting safety cable
Connect the safety cable between the two middle ground joints, at the eye bolts with the carabiner hooks. If the span of the structure is too big for the safety cable, you should push the sides of the structure more inwards, until the safety cable fits.
While someone is installing the safety cable, make sure that two other persons hold the structure in place so that it cannot close back down.
Step 7: Removing the wheels
Remove the wheels at the 4 ground joints.
Verification stage for the keder rails
(if you want to connect a backdrop or a second membrane, otherwise go to step 12)
The keder rails should slide over the circular keder profile at the edge of the membrane. Start with a short rail (1), then the long one (or two times a long one if you have 4 keders) (2), to end with a short one again (1). Make sure you use the correct side to start sliding.
Step 8: Installing the keder rails
Slide the keder rails over the circular keder profile at the edge of the membrane: one per one, and use the next one to push the previous one into place.
Step 9: Installing the backdrop/connection membrane
Once all keder rails are installed (over the full edge length of the membrane), slide the keder profile of the backdrop or the connection membrane into the rail. Do this with two persons: one person helping at the bottom to slide the membrane into the rail and the other one pulling from the other end.
Step 10: Installing the connection pieces
(if you want to connect a second structure, e.g. in the case of a FasTival L, otherwise go to step 12)
First set up both structures separately and bring them as close together as possible. In the best scenario (first picture) the fins of the joints are (almost) touching each other. Sometimes this may not be possible (see second picture). Then attach the connection pieces by connecting the fins of the two joints concerned. For the FasTival, do this at 5 locations on the structure (so not at the level of the two ground joints).
Make sure you connect the pieces in the right way as shown in the picture.
Step 11: Sliding the PVC connection membrane
When the two structures are connected by the 5 connection pieces at the joints, you can slide the PVC connecting strip into the keder rails. Make sure that you choose the right side to start with (without the metal closing piece).
Step 12: Connecting the last joints
Attach the last loose connection points of the membrane to the corresponding eye bolts. Use again the carabiner hooks or the extra piece provided.

Step 13: Attaching the locking cables
(if you want to remove the safety cable and/or if you expect high winds)
Attach all locking cables (at both sides of the structure). If they seem too short, then push the lower joint upwards to reduce the distance. Use a ladder where necessary.
Step 14: Installing the feet plates
Place the ground joints on the feet plates (there are 6 plates). One person should lift the structure a bit while the other one can install the footplate by positioning the joints over the holes. Move the joint to find a corresponding hole and fix it with the clevis bolt and pin.
If you have the version with the position pins, you can tighten the pins in the bolts. The ballast weights are placed over these position pins to block the lateral movement and position of the weights.
Step 15: Removing the safety cable
Only remove the safety cable when it hampers the passage underneath the structure. Only do this when the locking cables and the feet are secured!
Step 16: Installing ballast weights or anchors
Anchor the structure by putting the necessary ballast weights on the feet (when the structure is on hard underground). If the structure is on grass or soil, you can additionally use ground anchors through the big holes of the feet plates.
The total amount of ballast weight depends on the expected wind speed and extra loading of the structure: follow the instructions of the provided load bearing sheet.
Closing the structure
Step: Follow all the previous 16 steps in exact the opposite order
Make sure that the brake of the wheels are loose once you want to fold the structure back in its fully folded state.
Additional information: removing the backdrop
One person should pull the backdrop from the inside out the keder rails, while another person pushes to make it easy to slide.
DANGER: Be aware of the position of the hands! (when going from arch to half open)
Keep the hands at the outside to prevent them getting squeezed in between the beams when you close the structure from arch position to half open position.
DANGER: Be aware of the position of the hands! (from half open to fully closed)
Keep the hands at the outside of the top joints when closing the structure fully.